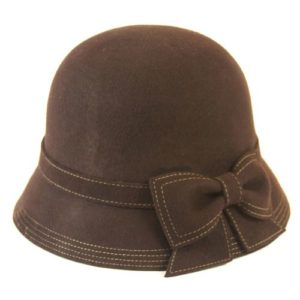
 The headdress plays one of the main roles in a woman's wardrobe. In the cold season, without this detail, the image looks unfinished, not to mention the harm it causes to health. And the available models of women's hats amaze with their diversity.
One of the popular women's hats today is the cloche hat. It came to us from the 20s of the last century. But even at the moment it remains a favorite headdress for many representatives of the fairer sex. And despite the unusual and mysterious appearance, this little thing can be made independently.
Materials and tools for sewing a hat
In order for the manufacturing process to proceed without problems and please you with the end result, you need to carefully prepare for it. Choose the material and decor, and prepare the necessary tools.
To do this, you should decide on several headgear parameters. They directly depend on which manufacturing method you prefer: sewing or knitting.
For a sewn model you will need about one and a half meters of thick fabric (felt, loden, felt, cloth).
The knitted model is made from stiff, bulky yarn. It will give the product the necessary density.
The main tool for sewing is either a sewing machine or a needle.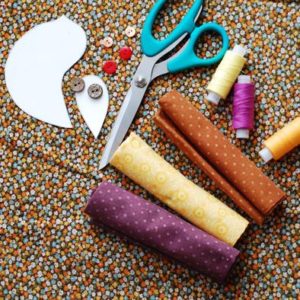
You will also need a secondary tool: needles, safety (tailoring) pins, scissors, threads in color.
For decoration the finished product can be used satin ribbons, artificial flowers, sequins, beads and beads. As well as jewelry made from base fabric.
Important! For sewing, you can use the thin fabric you like, but then the finished product will need to be placed on a lining.
Details of the hat and their pattern
Making any wardrobe item begins with creating a pattern, and this item is no exception.
There are several options for the cloche hat. Depending on the chosen variation, you will need to create a different number of patterns of parts. Their number can vary from one to six.
First you need to take measurements: head circumference and height of the product. The height will be equal to half the distance from ear to ear.
Cloche hat cut options
- The easiest way is to build a model consisting of one element. To make it, it is advisable to use a more pliable material.
Pattern of a single part
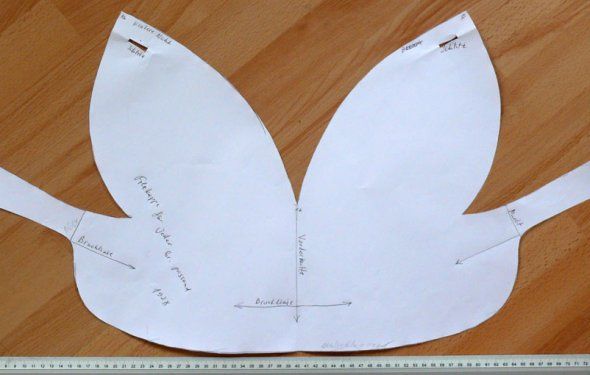
- The next most difficult was pattern with three elements.
Three-piece model
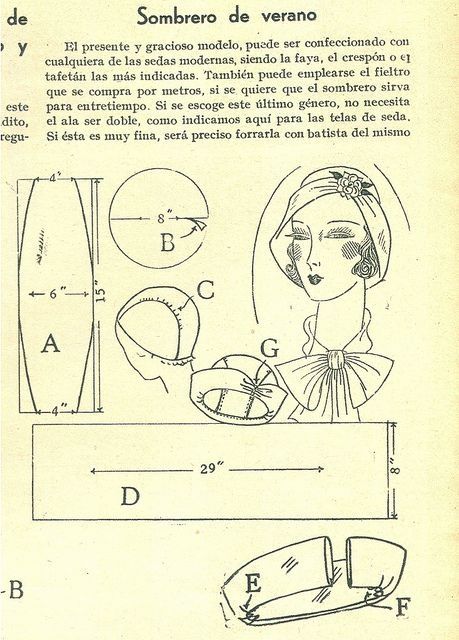
- Another option involves using four elements.
Four piece variation
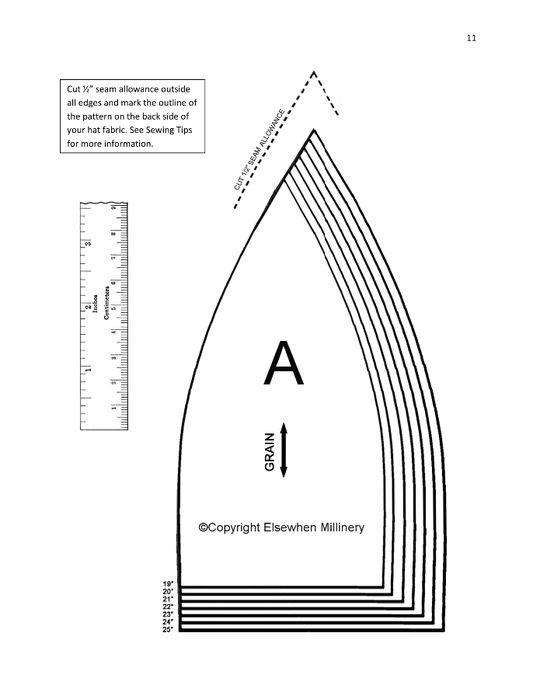
- The last one in difficulty will be six-piece product.
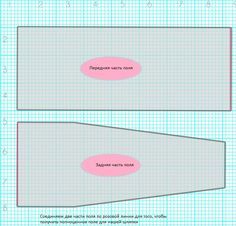
Pattern of fields
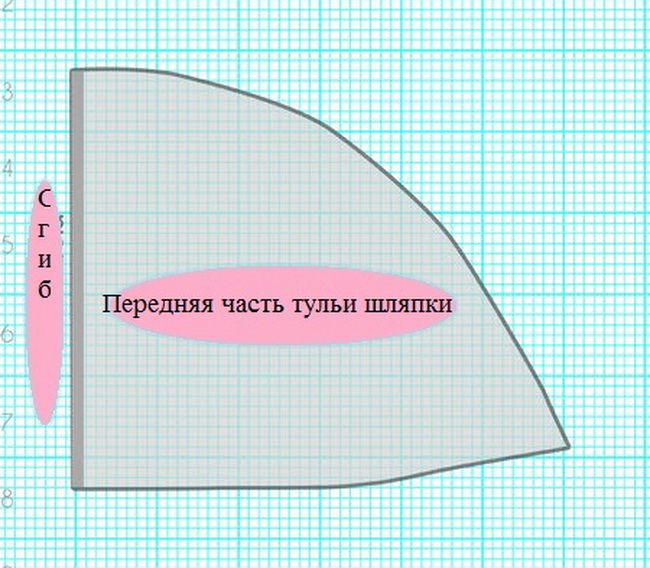
Tulya, in front
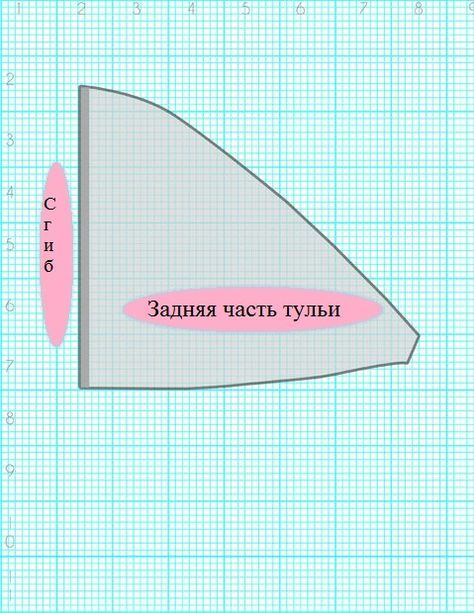
Tulya, back
Upper parts
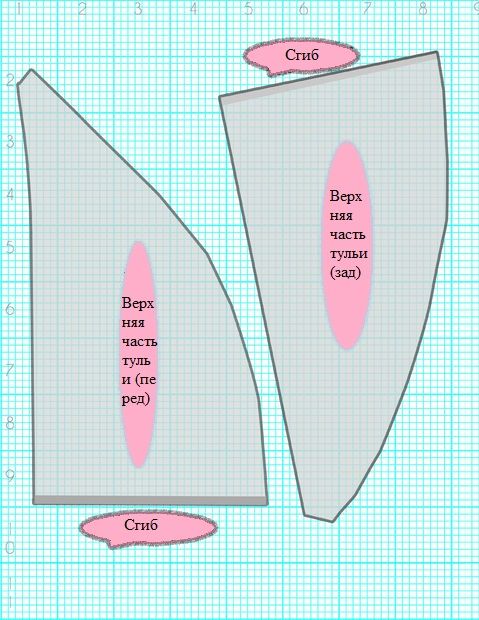
Reference! In order to use sample patterns, you just need to make adjustments according to your measurements.
The order of connecting the cut parts
The assembly order will depend on which model you decide to use.
One piece hat
For a single piece, it is enough to make a back seam.
Then process the open edges and thread the fastener parts into the designated holes.
As a result, you will get something like this.
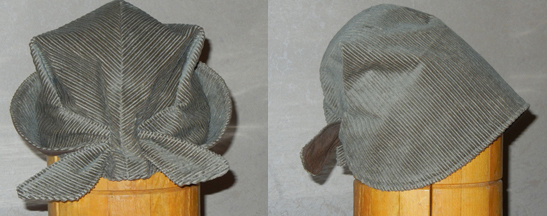
Three-piece cloche
When using three parts sewing begins by dividing the circle (B) into two equal parts. The result is two side parts of the top.
We connect them with the transverse part of the top (A). Then we sew element D to the resulting structure, folded as shown in the figure (E-F).
Four-piece cloche hat
Using a pattern of four wedges, it is enough to make four seams and duplicate the product with lining fabric.
Assembling six elements of a cloche hat
The last model is connected in the following order.
- The crown parts are sewn together.
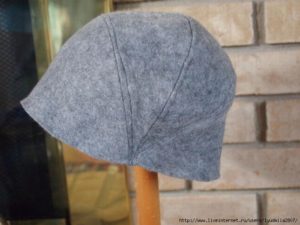
- Then the brim of the hat is sewn to the blank.
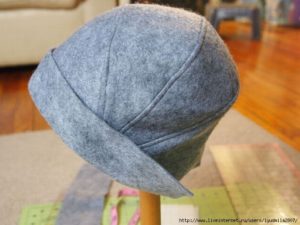
- Next, the finished product is decorated. In this version, a flower made of felt is used.
 Now you not only know how to sew yourself a fashionable hat, but you can also do it yourself.


 0
0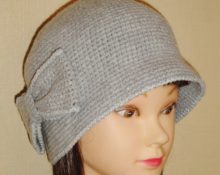




There is a pattern for a hat made of 6 parts, but there are no sizes... And who needs such a pattern? I really want to sew it, but the pattern pieces don't have measurements. They lie on crumpled paper...
What is the size of a cell of 8 squares? So that I can, based on the size of the numbered cell, transfer the pattern of parts to myself