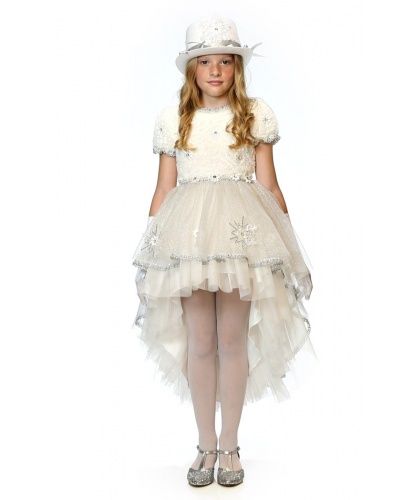
Soon the time of New Year holidays, garlands, carnivals and reincarnations will come. Again, children will ask their parents to help them transform into an animal, princess, dragon, etc.
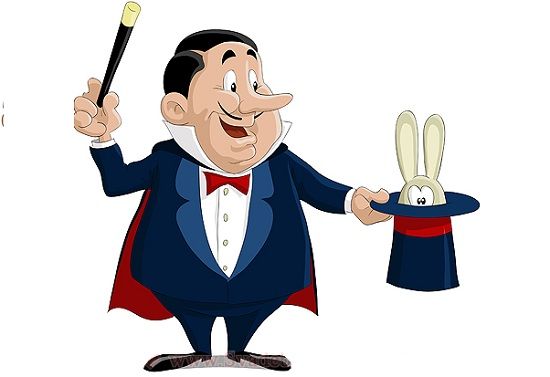
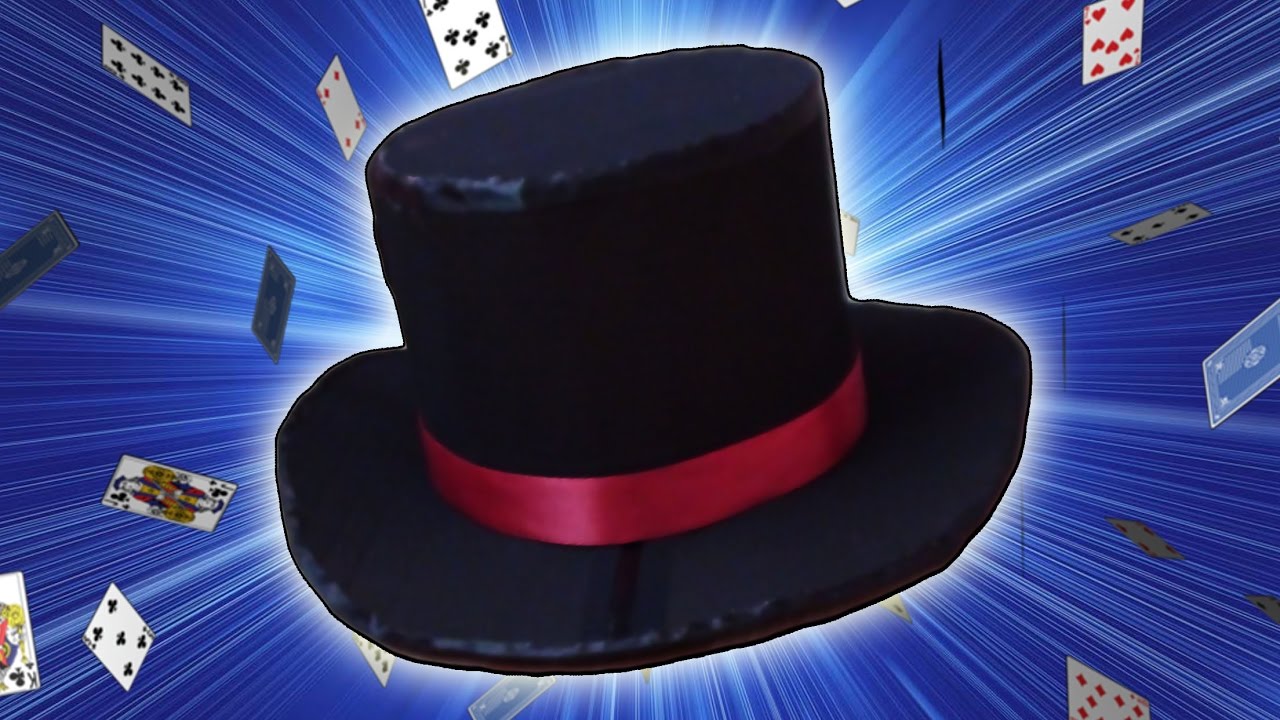
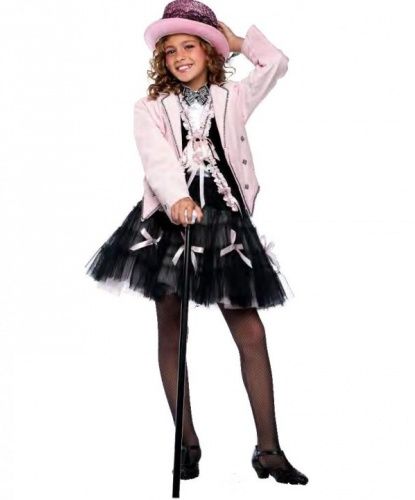
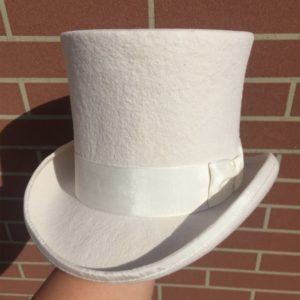
Many of them are attracted by the image of a sorcerer, wizard, magician - this is where we need cylinder. It will beautifully complement the sorcerer’s costume and add logical completeness to the image. Let's look at how to make a cylinder with your own hands.
Materials
To make a cylinder we need:
- dark cardboard;
- fleece with the same shade;
- scotch;
- glue that leaves no marks, you can take advantage of the moment;
- pencil;
- scissors;
- varnish;
- brush;
- beads, stones, lace and other accessories. It all depends on personal preference.
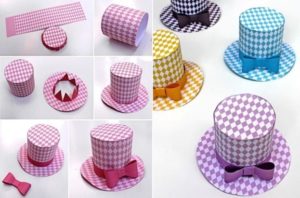
Step-by-step instructions and cylinder pattern

Let's figure out how to make a cardboard base step by step.
Stage 1
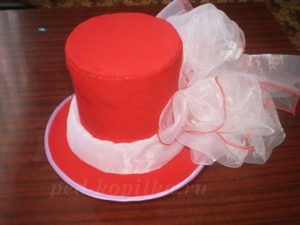
Cut out a rectangle from dark cardboard. Its length should be identical to the circumference of the head, and its width should be identical to the height of the headdress. Add 3 cm to the joints.
Using tape, we connect a rectangle, this will be our main part.
Stage 2
On the cardboard we draw a circle similar to the manufactured model. This is how we will make the bottom of the hat. By adding 2 cm from the finished circle on the outside, we draw another circle to attach the bottom to the cap.
Cut out the larger one and make cuts on it from the outside towards the smaller circle. Let's wrap the resulting broom back.
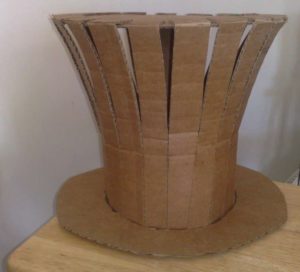
Stage 3
Apply moment glue to the edge of the hat from the inside. This will help secure the bottom. To strengthen the structure, let’s go over it once more with tape and secure the craft. Set it aside until the glue dries.
Stage 4
At this time, let's move on to the next part of creation. On cardboard we draw a circle as large as the fields of the intended craft are. Then in the middle we will draw a circle similar to the base of the craft. First, cut out the larger circle, and then the smaller one. The product must pass through the ring.
Stage 5
On the cardboard we again draw a circle the size of the bottom of the product. Draw a circle with the desired size inside the first one and another one outside, moving 2 cm away from the edge of the first one. First, cut out the largest circle, then the smallest one. Again we create notches from the inside, bend them, apply glue and connect them to the finished ring. This is how we got fields.
Stage 6
Apply glue to the inner edge of the hat and connect it to the brim, securing the result with tape just in case. We cover the inside of the craft with a strip of fleece. We coat the product with varnish.
Stage 7
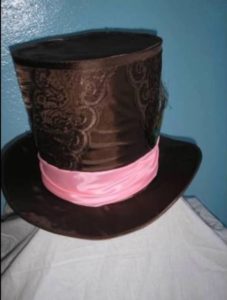
Next comes the most interesting part - you need to decorate the product according to your own ideas. You can use beads, lace, appliqués, etc. This is where your imagination can run wild!
Useful tips
In conclusion, I would like to give a couple of tips:
- Make the height of the tulle similar to the height of the face from the chin to the forehead, in this case the item will look good.
- Make the cylinder so that it expands slightly at the top.
- Create the circumference of the crown 10 cm wider than the circumference of the head, taking into account the forehead and the fact that the brim of the hat is hemmed inward!
 Let the image be convincing, mysterious and cute at the same time! After all, it was created with love!
 0
0