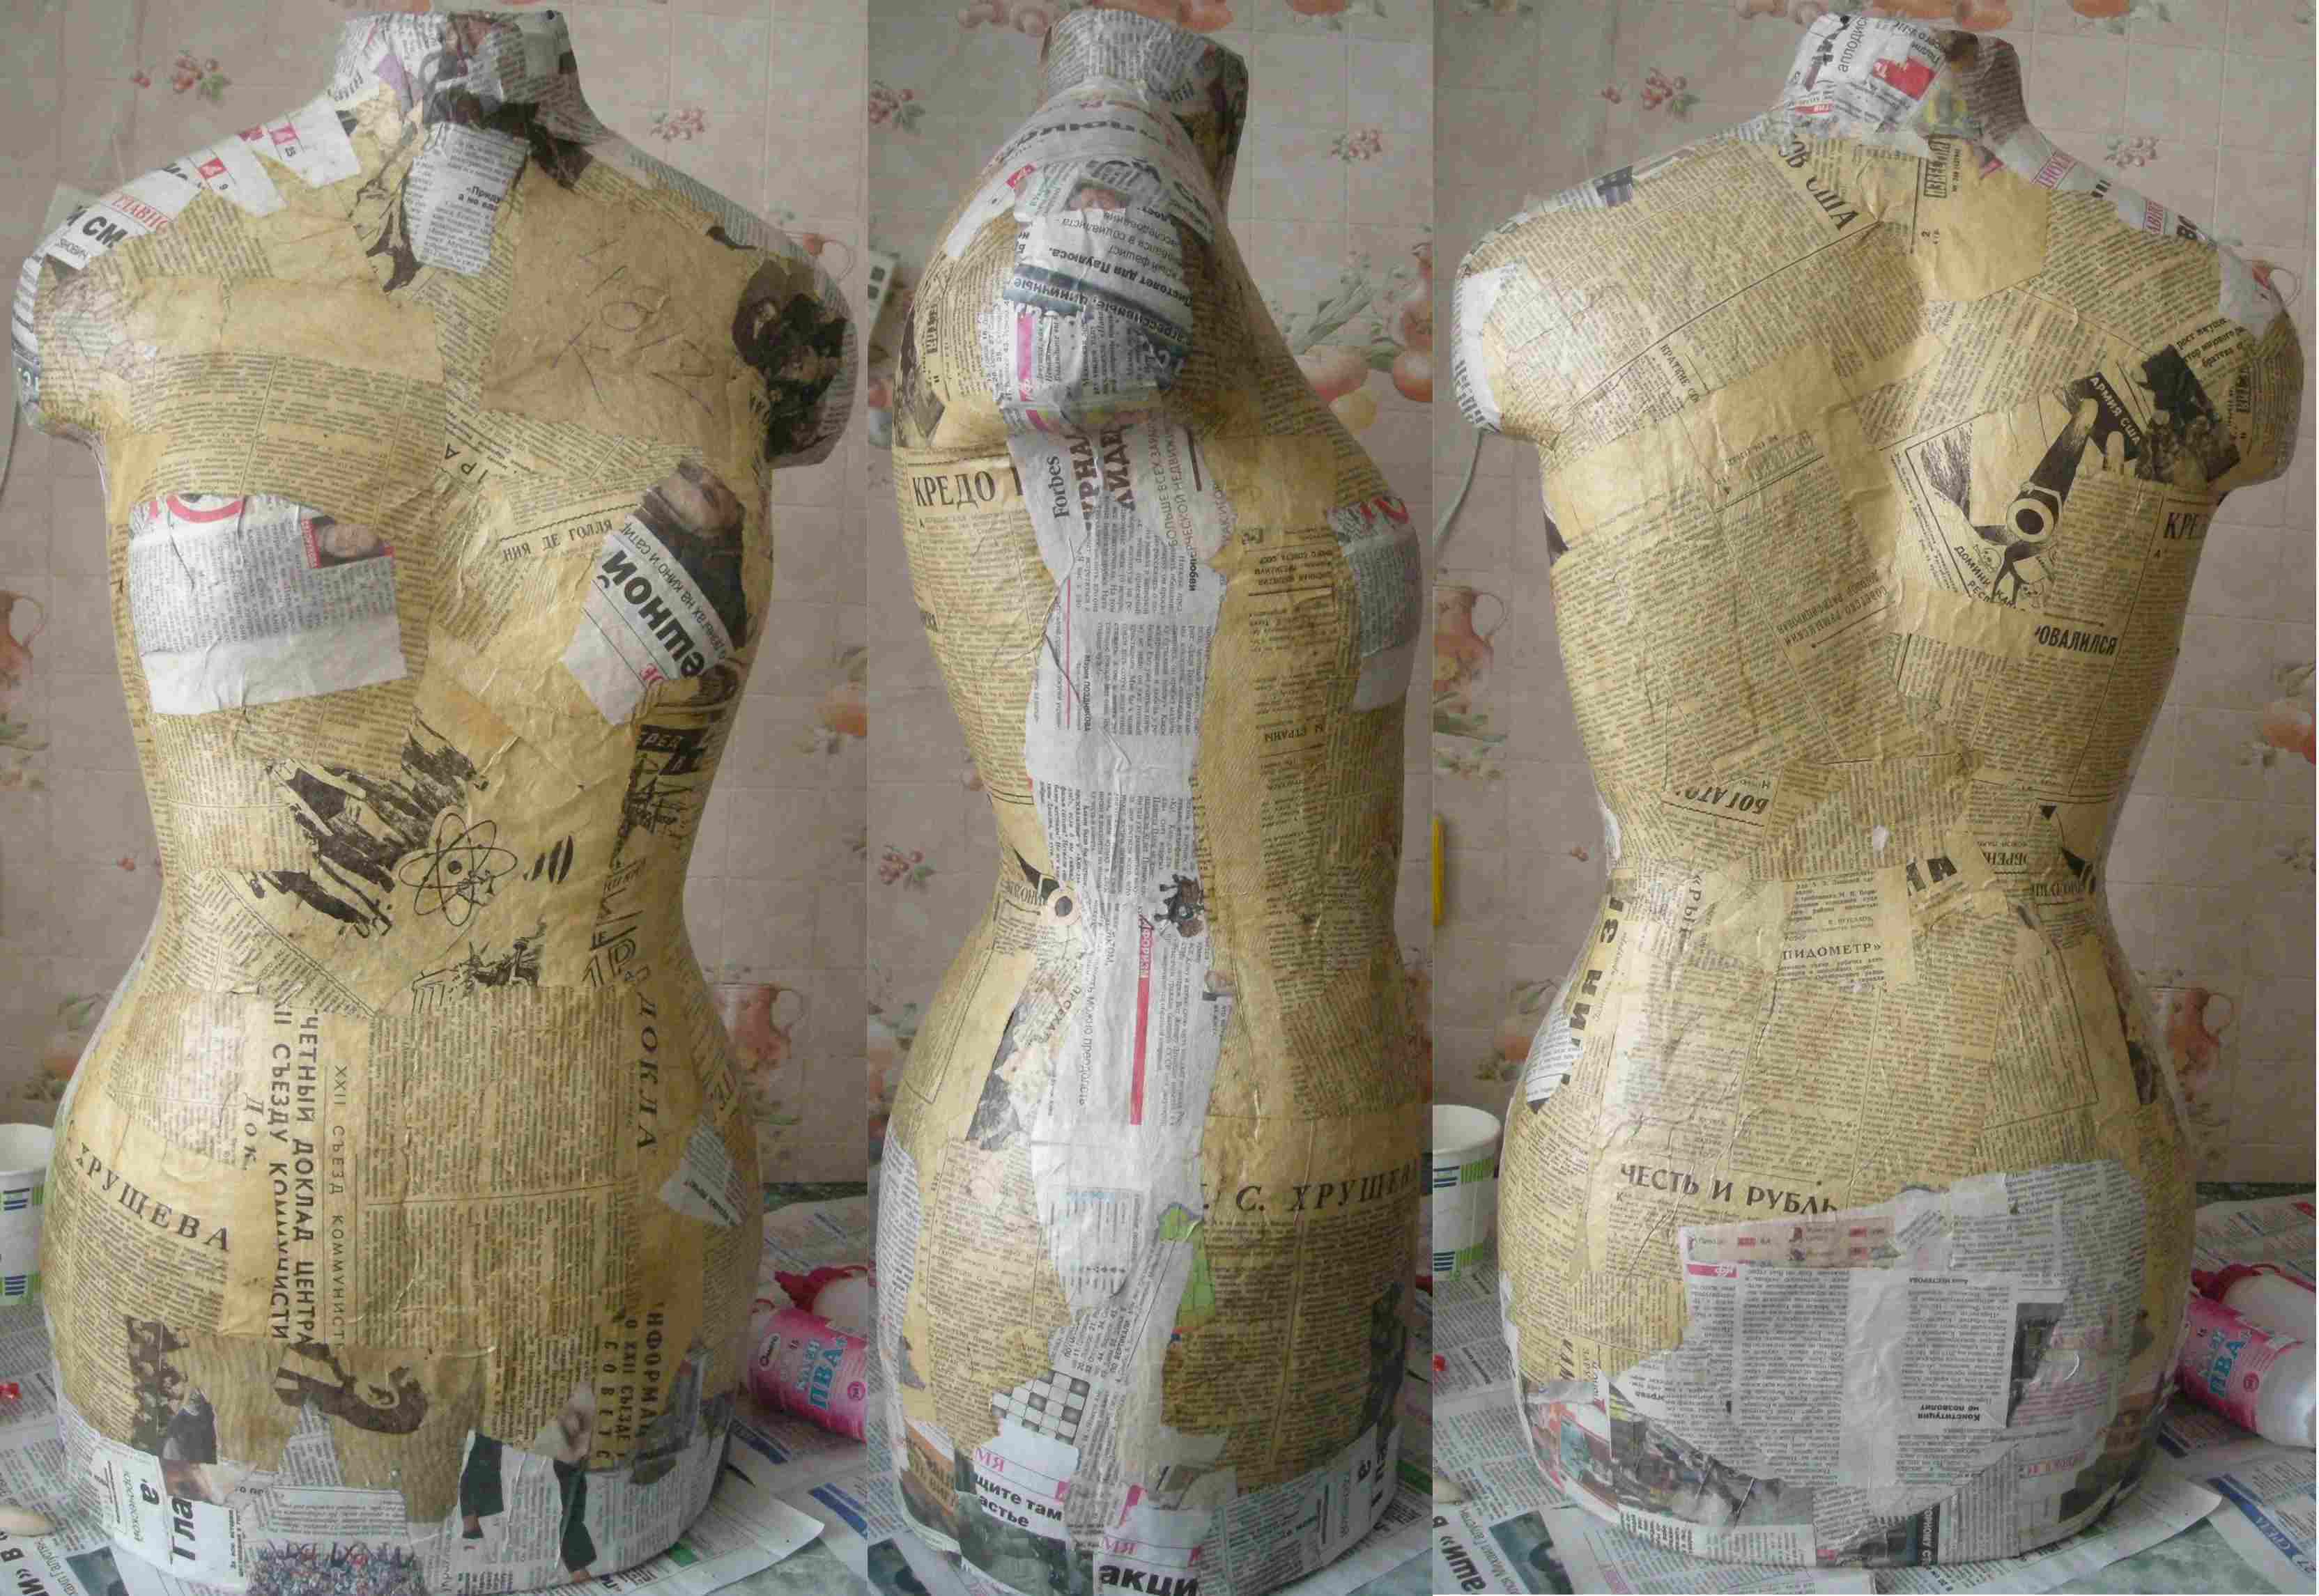
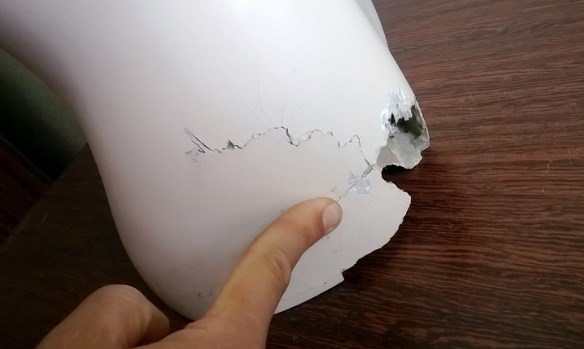
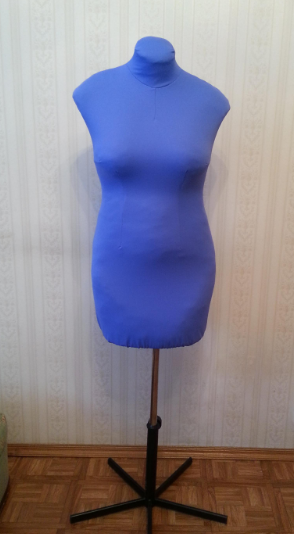
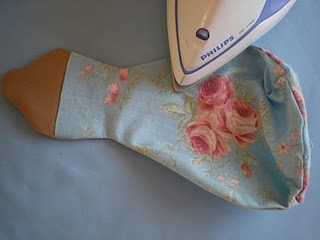
 The process of making your own mannequins for home use is simple and fun. The base is made from:
- tape stuffed with padding polyester, scraps of fabric, sawdust;
- gypsum filled with polyurethane foam;
- cut from foam plastic.
The pattern of tight padding polyester is carried out with tolerances of 10-15 cm on the shelves and back. The parts are machine-connected and placed on the base with the seam allowances facing upward for a complete fit to the shape of the mannequin. The excess is pinned and cut off after stitching along the required contour. Next, the material is turned inside out and carefully placed on the blank.
Sometimes instead of padding polyester they carry out pasting a mannequin with felt cloth. Work begins from the vertical marking of the back in one direction. It is necessary to carefully smooth the canvas, avoiding wrinkles and folds. Or display them in the form of recesses, cut off the excess, and carefully stitch the joints. Allowances are cut off after the glue has completely dried.
How to cover a mannequin with fabric
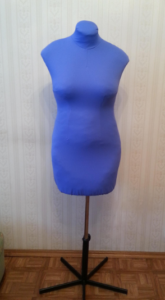
Supplex and knitwear, which stretch well, allow you to wrap the mannequin efficiently and quickly and make only the central back and shoulder seams. After stitching and stretching the fabric onto the base, the neck is tightened with a strong thread and closed with a pre-prepared circle. It can be covered with a similar material or in a contrasting design, sewn with hidden stitches. Using fabrics of various patterns and textures to cover the base will allow it to become an interesting detail of the decor and decorate the interior.
When prototyping ready-made mannequins according to the customer’s sizes, trimmings of padding polyester and various pads for the shoulders and chest are used. They allow you to create the shape of a real person from a standard base, taking into account all the features of his figure. Under the knitted cover, you can wear a bra of the required size, filled with printed material. Enlargement of the buttocks, adding fullness to the waist or abdomen is carried out using pads attached with pins.
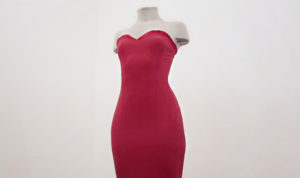 Almost every craftswoman knows how to tighten tights. A large selection of products of different colors and textures allows you to create unique designs - monochromatic black, bright multi-colored, with geometric patterns and colors. Due to their elasticity, they fit well on the base of any shape, and work with them is minimal. Processing the shoulder seams and neckline manually or using a cover stitch, cutting the tights to the required length or tucking them into the frame, attaching the stand - and it is ready for use.
Another of the fastest ways to tighten is to use knitted T-shirts and turtlenecks. Having put them on the base with the wrong side, they are secured with pins and trimmed of excess material with stitching on a sewing machine.In this case, no additional processing is required on the neck and bottom of the product; they are tucked inside the frame and do not interfere with work.
How to cover a mannequin with non-stretch fabrics
First of all, you need to make an accurate pattern from a material that you don’t mind using for these needs. They pre-cover the base with cutting off all excess fabric. After this, the finished samples are duplicated on fleece, velvet, jacquard and other materials, taking into account allowances for stitching. To give the breasts the correct shape, it is recommended that the cups be made of at least 2 halves. The cut out patterns are pinned onto the mannequin for final fitting and stitching with a cover stitch. It does not pull out fabrics and does not spoil the appearance of the product.
At the bottom of the finished case you can make a drawstring with a lace or elastic band. After a certain period of use, it will be quite easy to remove and carefully wash using delicate cleaning agents. It is advisable to put them on the base in a slightly damp state, so that after complete drying they exactly take the required shape, without creases or folds.
Some dressmakers work with mannequins, where the fabric base is not easily stretched over the frame, but is also secured to it with glue for strength. Once all seams have been completed, the cover is pulled over the prepared torso to check the fit. Only after this can you tighten it. According to numerous reviews, thick yellow shoe glue is most optimal. The cover, turned inside out, is placed on a chair, box or other mannequin and carefully coated along all the seams. The same stitch locations are coated on the blank.
It is necessary to let the glue dry a little for 10-15 minutes and only then put the cover on the base.Having smoothed out all the irregularities, connect the smeared areas and press down firmly. The fastening will be reliable and practical, preserving the structure of the fabric and not interfering with work. The only inconvenience is that it will be impossible to remove and wash.
Each master decides for himself whether to cover with fabric or tights. It all depends on the functional purpose, operating conditions and purposes of use. A beautiful mannequin will be the highlight of any interior, will help an experienced dressmaker in her work and is convenient for choosing an outfit and accessories for a party.


 0
0