A mini mannequin will help when sewing clothes on dolls, will serve as a pincushion and simply become a stylish decoration for your home.
The process of creating a mini mannequin
The work is not difficult, even beginners can do it. The product can be completed within one day.
Manufacturing consists of several stages:
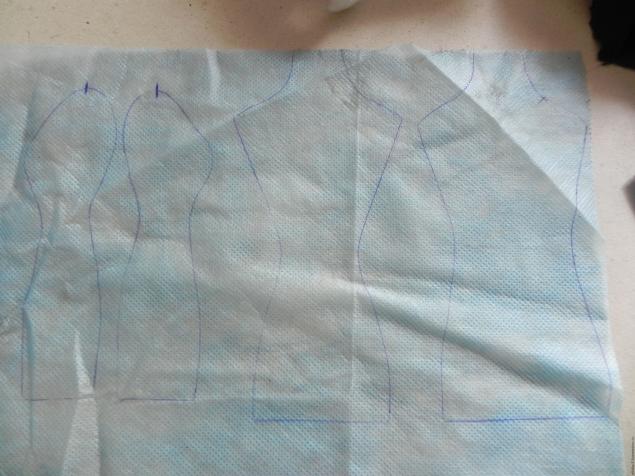
- Transferring the pattern onto the fabric. The pattern for the body can be taken from the Internet.

- transfer the pattern to the fabric, not forgetting about the allowances. If the fabric is not dense enough, make another “body” from non-woven fabric, which will duplicate the main one and be inserted inside. The pattern should be transferred to non-woven fabric without allowances.

- sewing the mannequin's body. First, the non-woven parts are sewn together. We start with the shoulder seams, make a small dart on the back;
- close the side seams. The top parts are sewn using the same principle. We insert the interlining inside the base;
- You can fill it with any soft material – holofiber and padding polyester are the most popular. Alternatively, you can insert a foam roller inside the body.You can cut the roller yourself or buy a ready-made foam roller at a hardware store. The latter option has advantages: when disassembling the roller, a stick is removed from the middle, which can later be used to make a stand. If you want the mannequin to have a flat stomach, you will need an additional piece of cardboard. It follows the silhouette of the front from the waist to the bottom;
- the part is inserted inside the body closer to the front;
- we shape the neck. The easiest way is to simply sew it up. To get a textured neck, cut out a strip, which we insert into the hole of the pole, forming a regular circle. After filling the void with soft material, close the top with a circle of cardboard of a suitable diameter. Cut a circle with the diameter of the neck from the main fabric. We attach the fabric circle with silicone glue to the top of the mini mannequin. You can sew the circle with a hidden seam or transparent monofilament;
- sew up the bottom. It is filled tightly, so the bottom of the fabric will stick out. To exclude this, we strengthen it. We cut out the bottom according to the pattern from thick cardboard. You can make the bottom from foam plastic. We close the top with an oval made of the main fabric. Don't forget to make a hole in the bottom pieces for the stand.
- stand. To make a stand you will need a stick about 15 cm long and a base. You can take a round ice cream stick, a knitting needle, thick wire, an iron rod, etc. For the base, use a regular or irregularly shaped block, a small iron box (from tea or Montpensier sweets), etc. The base should be heavy enough , the mannequin must not fall or bend. If the base is not stable enough, it needs to be strengthened. For example, put something heavy in an iron box.We make a hole in the center of the base, where we insert the stick, and secure the other end in the body.
A more detailed article on how to make a stand for a mannequin.

- Decor. You should decorate your mannequin to your liking. If you need to hide the seams, you can glue the lace onto silicone. Sew beads on top. You can “dress” it in a beautiful dress, draping it with descending folds. Decorate the mannequin to match the interior of your home or leave it “as is”. There are a lot of design ideas.


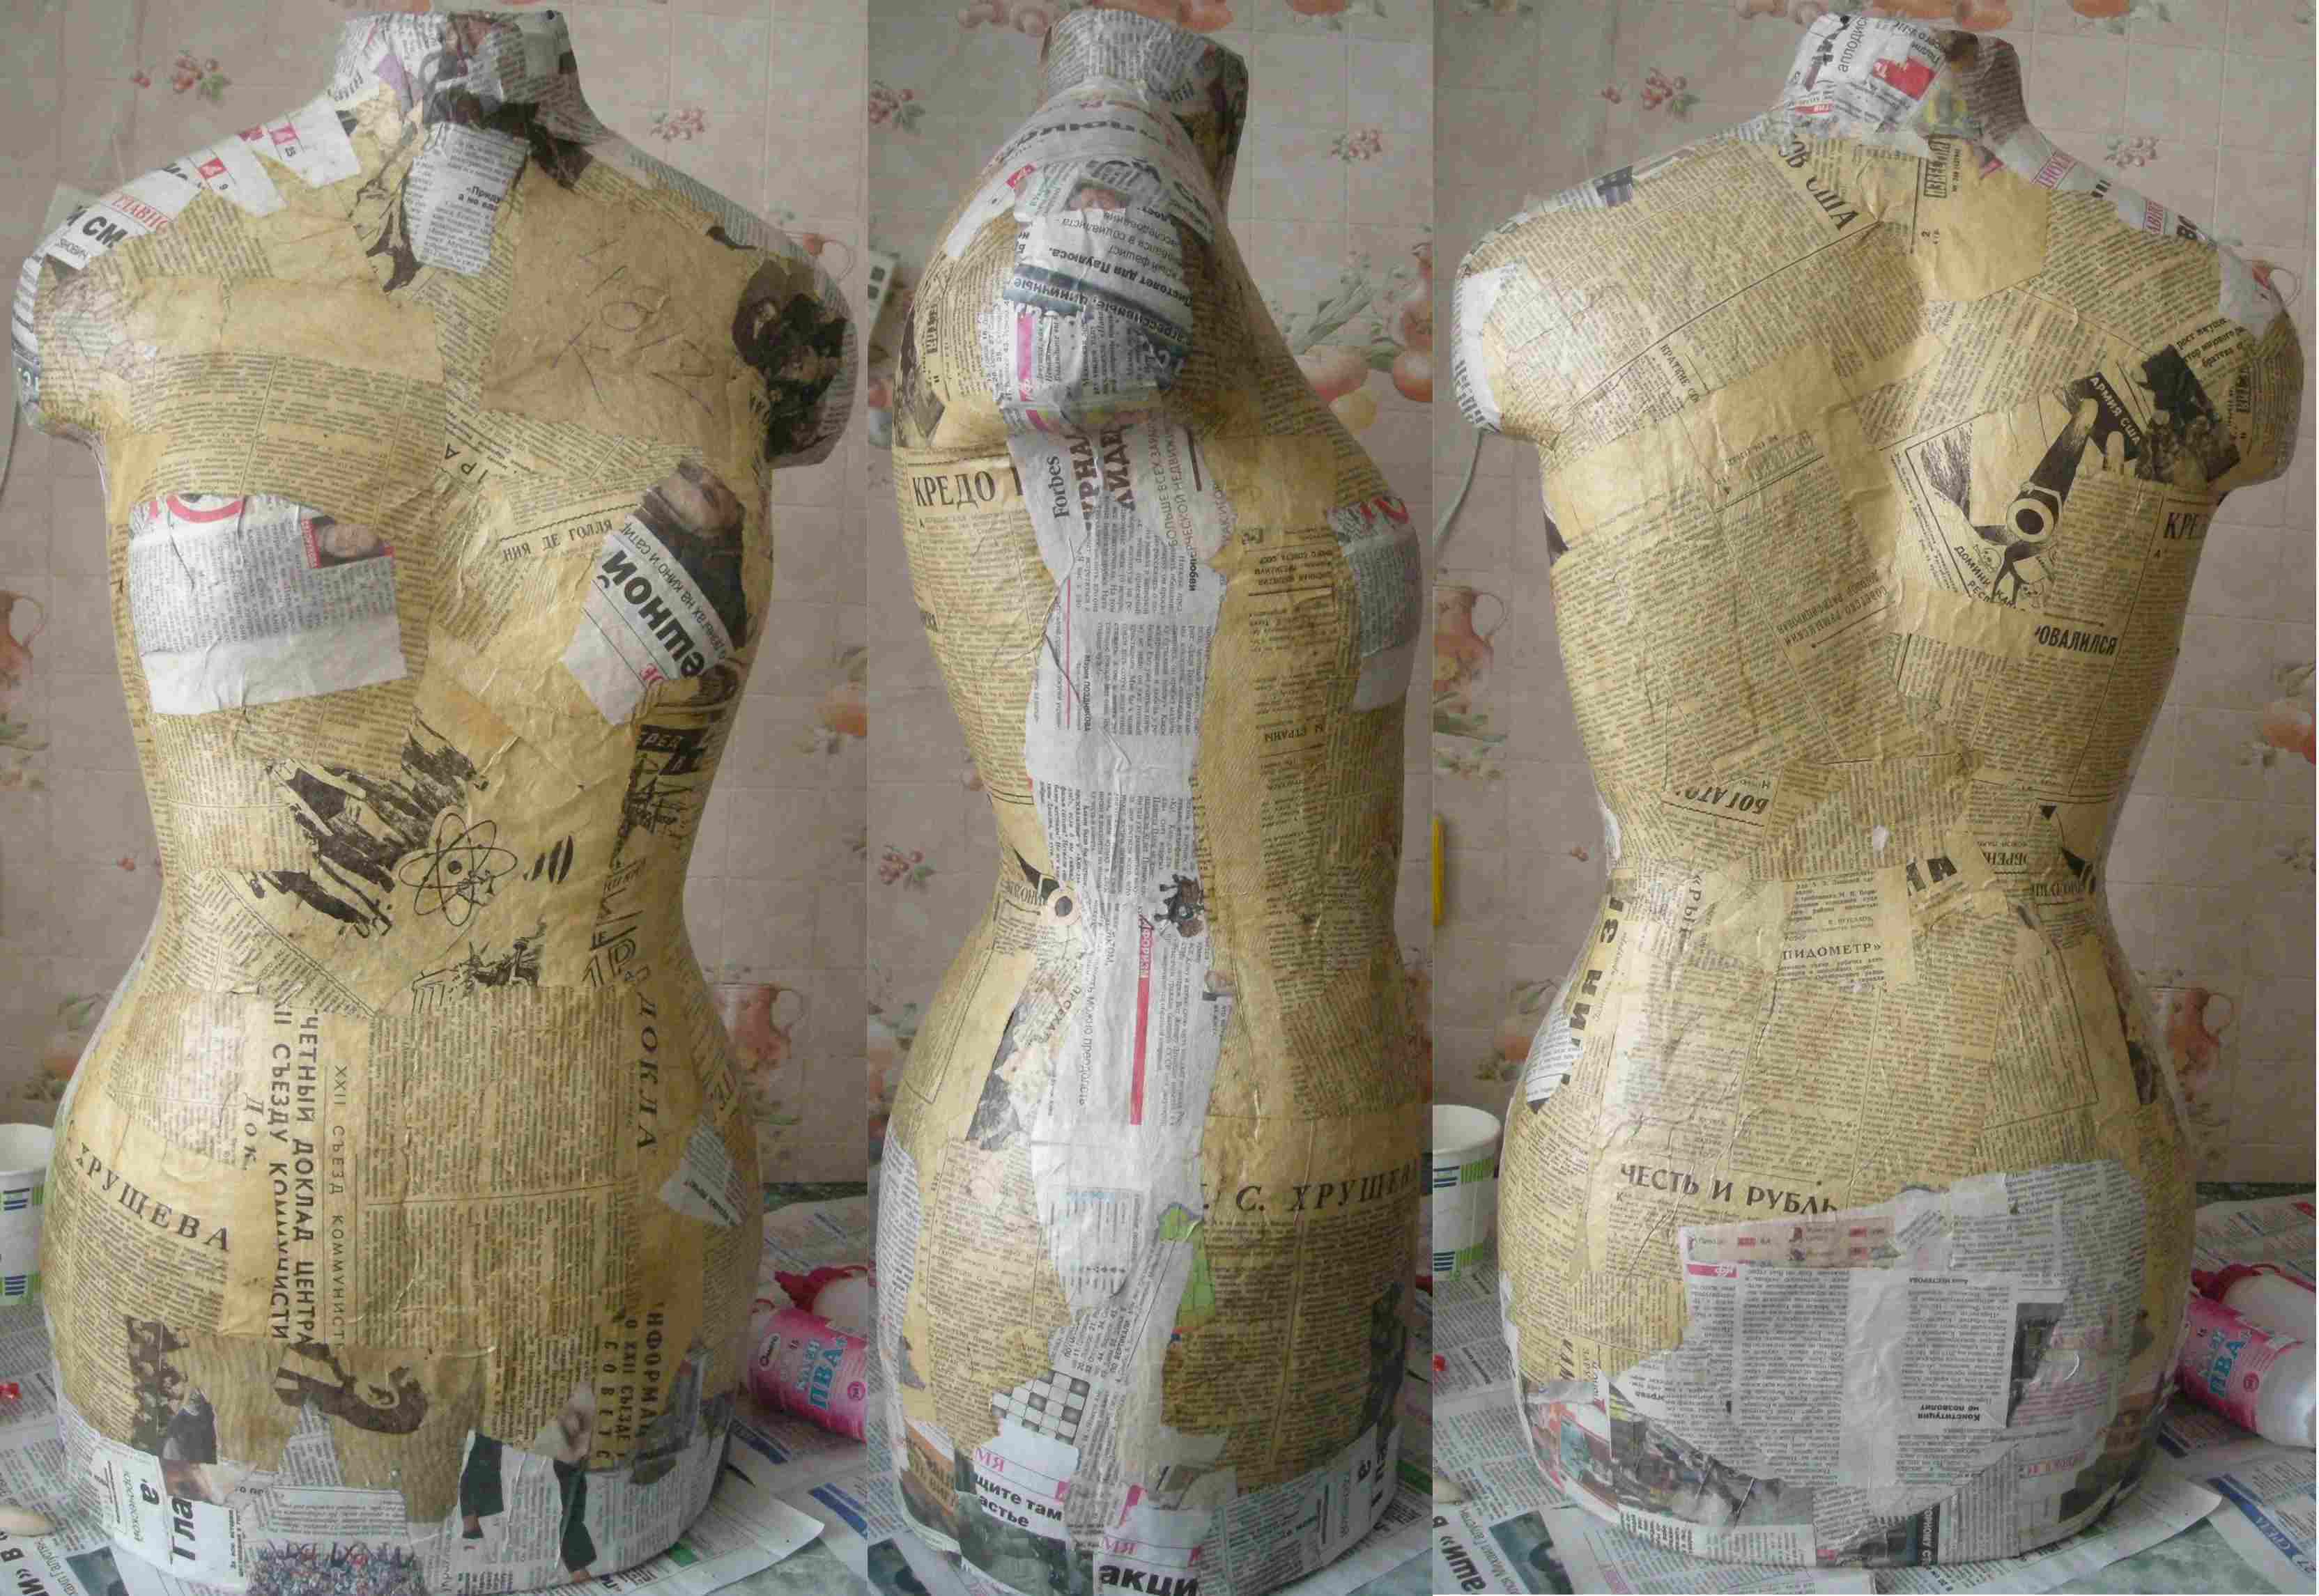
Mini papier-mâché mannequin
Another way to make a small mannequin is to make a copy of a doll. Take a doll (the famous Barbie with outstanding shapes is perfect). Detach the arms and head.

At the next stage, wrap the doll's body with cling film in 1 layer from neck to knees. Start applying pieces of newspaper with paste to the doll.
Papier-mâché glue is made from flour or starch. Here is one simple way to prepare a paste:
- Mix 1 glass of flour with 200 ml of water;
- add another 400 ml of water in a thin stream, stirring thoroughly;
- Bring the mixture to a boil, stirring constantly so as not to burn.
After cooling, the mass is ready for use. The paste does not last long, so prepare as much glue as required for the job.
Apply at least 3 layers of paper to the doll's body. Leave to harden for a day.
Cut the frozen cocoon into two halves along the side lines. Glue the halves together using papier-mâché. Trim the bottom edge of the mannequin and the top of the neck evenly. There is no need to fill it, it is quite hard.
Using cardboard ovals of suitable size, close the hole at the bottom and top of the body. Seal the edges with papier-mâché.
After hardening, the body can be painted over, covered with knitwear, or left “as is.” Be careful when working so that the cocoon of the miniature’s body does not become wrinkled.All that remains is to make a stand.
Make a mannequin from papier-mâché or sew it yourself - the choice is yours. Whatever method you choose, the miniature figurine will become a real decoration for your home.
A more detailed article about how to create a papier-mâché mannequin.
Small bottle mannequin
When faced with miniature models, you begin to think about how painstakingly the craftsman had to work to achieve such jewelry precision in size. So creating a small mannequin requires patience and time. When performing such complex work, it is worth paying close attention to the details that subsequently catch your eye.
Necessary details during the sewing process
The quality of work depends on proper time management and step-by-step instructions. So, to complete this miniature job you will need:
- fabric, preferably velvety, teak may be suitable;
- thick metal rod;
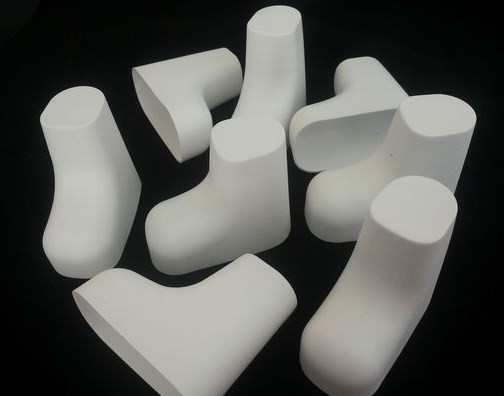
- foam roller attachments;
- plastic covers;
- protective caps from syringe needles;
- several small balls 2-2.5 cm;
- spray paint;
- alabaster;
- paper glue or PVA.
Creative process
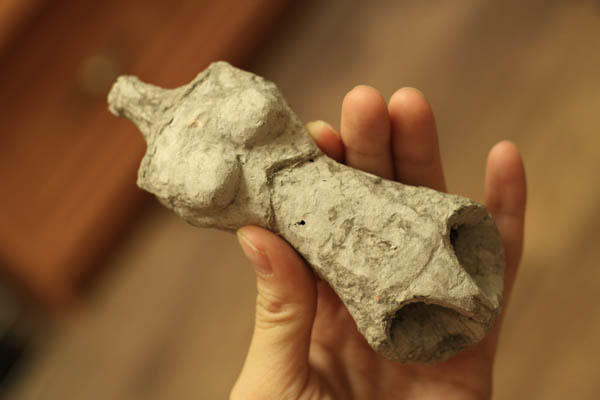
Now let's move on to how to make a small mannequin with your own hands. The first step is to make a stand. To do this, we make a hole in the cap of a plastic bottle into which a thick metal rod of two millimeters thickness will be inserted. You must first shorten it to 15 cm in length. Now you can connect the two parts using the hole you made.
To make our structure heavier, pebbles or coins should be poured inside the plastic cork. Smoothing out all the unevenness, we fill the insides with alabaster.To give an aesthetic appearance, it is necessary to hide all the work done with a button selected in diameter, pre-lubricated with glue. The tripod for the small mannequin is ready. We will use a can of the desired paint and coat the resulting product, then you need to leave it in a well-ventilated area until it dries completely. If after this the color does not seem too saturated, you should apply another layer of paint.
The next stage involves cutting out the mannequin parts from fabric. First, draw out the required shape on tracing paper according to the template. Now you can start cutting out six separate parts on the fabric, which are then sewn along the contour.
You can use foam rubber as filling for the mannequin; for convenience, we take rollers, as they allow you to create a comfortable lining for our pattern. It is advisable to choose a soft roller so that the inner sleeve can be easily pulled out without unnecessary damage.
Next, carefully place the fabric blank onto the roller. Naturally, the shoulders sagged a little; to tighten the curved shapes, we use a little padding in the area of the shoulders and hips. Now our outfit fits perfectly.
The removed bushing is inserted back into the hole of the roller to strengthen the product. To get a neck, you should push it out a little from the top side. Insert the needle cap into the sleeve until it stops.
The originality of our composition will be added by a knob in the form of a ball, secured with glue, which was prepared for this from the very beginning. As you can see, making such a design is not particularly difficult. All it takes is a little diligence.

The lower part of the mannequin must be draped using a circle, which should be cut out of cardboard. Using a thread, we tighten the lower part cut from the fabric.Now we tighten the bottom so that all the raw ends remain inside. Sew the bottom to the base.
Now we place the resulting structure on a tripod; if the metal rod is slightly thinner than the hole, you should secure it by wrapping several layers of adhesive tape. To decorate a thin rod, you can use beads of different diameters to create a textured leg for a mannequin. The color of the beads does not really matter, it all depends on personal preference. For originality, use the option of rainbow tints or gradations of one color. Or, as a leg, you can use a restored candlestick that is suitable in size.
The material in this article outlined the procedure for how to make a small mannequin, spending little time. Imagination and numerous available materials can add originality, or use it for practical purposes, like a pillow for pins.
 0
0