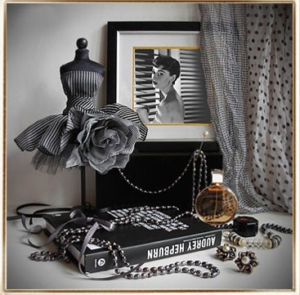
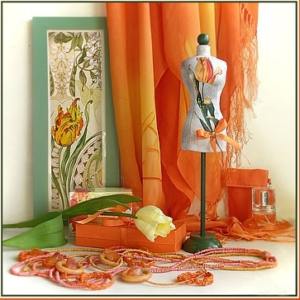
A mannequin-pincushion is a stylish thing that will become your assistant and interior decoration. Sewing a needle bed with your own hands is easy if you follow the instructions exactly.
Step-by-step master class
To work you will need (master class):
- Pieces of natural fabric with minimal stretch;
- Scissors;
- Needle and thread to match the fabric (the parts can be sewn using a sewing machine or by hand);
- Monofilament is a transparent thread similar to fishing line;
- Sintepon, holofiber or other soft material for filling. Cotton wool is not suitable because it clumps up a lot.
- Stand;
- Decorations for decorating a mannequin pincushion.
Making a mannequin requires patience and precision in work. So, step-by-step instructions for the master class:
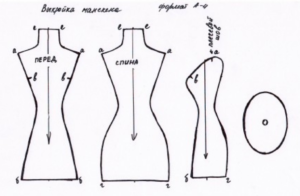
 Draw a pattern of the mannequin’s “body” on a piece of paper. The pattern of the front part, back, side part and bottom should fit on A4 format.
- We cut out the fabric. We transfer the front part, bottom, back and two side parts in a mirror image (left and right) onto the material. Remember to leave 0.5 cm for seam allowance.
- We sew the details.Sew the completed parts of your mannequin from the wrong side along the side and shoulder seams using a sewing machine or by hand. We do not touch the base and neck yet. Turn the resulting shape inside out.
- Bottom of the mannequin. Before sewing the bottom piece (oval), strengthen the base. For example, insert a piece of cardboard or cut out the same oval from plastic. Place a thick piece at the bottom and then sew the fabric together with discreet monofilament thread. A stand (stick) will be inserted into the base of the hand-made needle case. Make a hole in the middle for it in the rigid base, as in the pattern.
- Padding. Soft material is stuffed inside through the neck. The neck is sutured.
- Stand. There are several methods that craftsmen who make needle bed mannequins with their own hands actively use:
- Take a small juice tube, a nail a little longer than the tube (about 10 cm), or a block of any shape. We cut the tube, leaving only a flat area. We insert a nail inside the tube. We drive a nail into the block, thanks to which the mannequin-pincushion will stand. It can be of any shape - rectangular, square, triangular, fancy. It can be hewn, left “as is” or painted to match the mannequin along with the straw. We hide the head of the nail at the base of the mannequin. We sew up the hole, piercing the tube several times. Check the stability of the finished needle bed mannequin and strengthen it as necessary.
- We take a round stick (you can use an ice cream one) and a plate from under a small flower pot. Turn the plate over and cut it to the desired size. If the plate is light, weigh it down. To make the finished mannequin-pincushion heavier and more stable, glue a flat pebble, metal plate or part (large bolt) inside with silicone glue.In the middle of the plate we cut a hole into which the stick is inserted, and fasten the other end to the base. Drape the base (plate) with fabric or paint it to match the mannequin along with the stick.
The master class is completed. The finished product can be decorated with beads and pieces of fabric.
Features of creating a pincushion in the tilde style
Tilda is made according to the same instructions as a regular one. The differences are due to the tilde style, in which not only pincushions are made, but also toys and interior items.
Peculiarities:
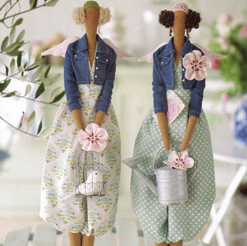
 For the tilde, natural fabrics in pastel colors are used. The nude top and dress are separated. The dress for the tilde pincushion is made of fabric with stripes, polka dots, and checkered patterns.
 You can make a mannequin's head or not. Instead of the head, you can sew one or more beads. In any case, the face of a tilde doll is conditional. Hair is made from yarn.
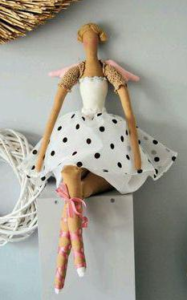
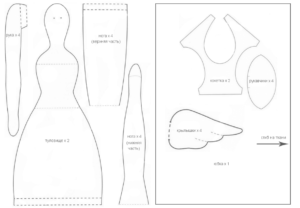
- Tilda has different shapes. Her body is pear-shaped, expanding downward. As a basis, you can take a pattern for dolls. Without using a leg pattern, we make a stance instead. Hands are made upon request. Often tilde style dolls are made with wings.

- Pincushion in style tildes you need lace, beads, buttons.
Pincushion mannequins have gained popularity due to their spectacular appearance. Today they have become a stylish and useful accessory in the interior. Thanks to the variety of ideas and styles, they will fit into any design.


 0
0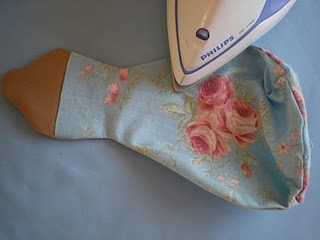

Great article!