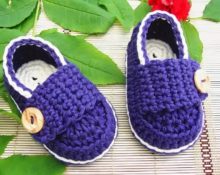
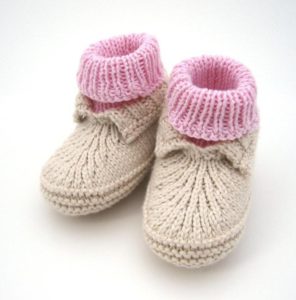
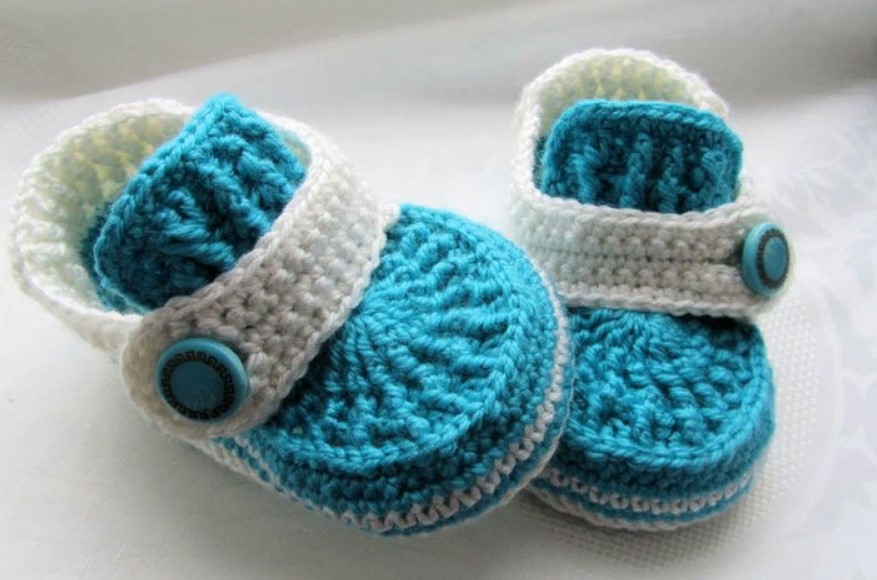
 Knitted booties in the shape of moccasins simply captivated us with their shapes and variations. Children also like them, since the baby’s foot loves special comfort, which is achieved due to the voluminous toe. The article presents two beautiful works that are suitable for both boys and girls. All you have to do is replace the thread with a suitable color, and the model is practically unrecognizable. Two wonderful models with detailed descriptions and suitable tools for yarn.
Selection of yarn and knitting needles
For children's products, the master is always selects a soft thread, preferably warm. Since moccasin booties should not only be for beauty, but also warm the child’s little feet.
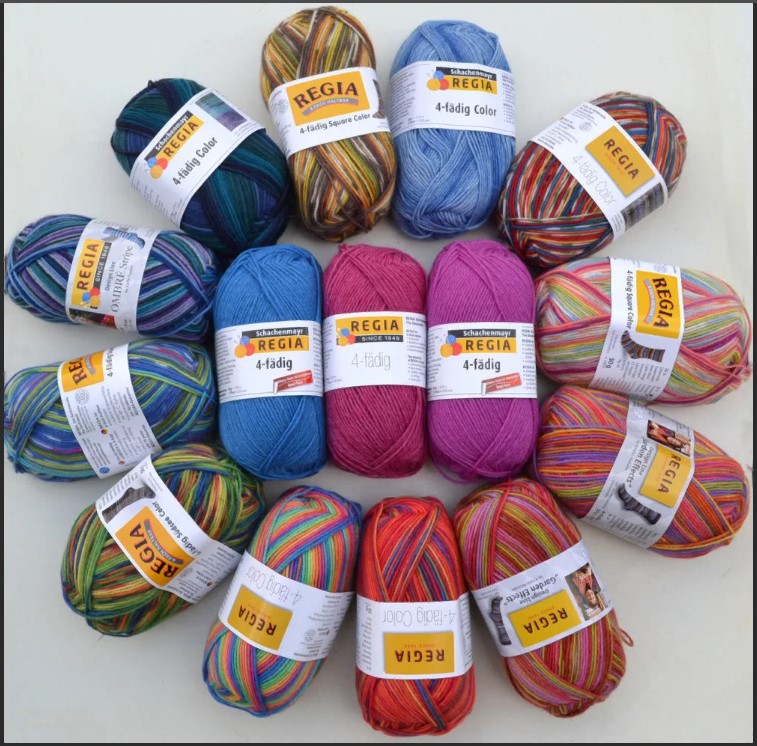
The yarn should not cause allergies and therefore the master pays attention only to hypoallergenic fiber compositions. Another important point that not everyone takes into account in their work is strength.
Advice! Simple soft and beautiful yarn, e.g. Pekhorka is not ready to take responsibility for strength. It will always require an additional thread of iris or other cotton.
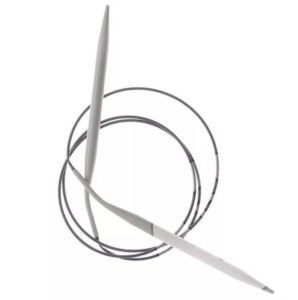 There is a special line of sock yarn that holds its shape well and performs well in work in terms of strength.
The tool for booties is stocking needles. There are some patterns that can be done on needles No. 3 and even on needles No. 2, but these are most likely the exception. The thickness of each knitting needle also matters. On the ball there is usually a mark from the manufacturer regarding the number of knitting needles and hook that are better suited for this thickness.
Sample
For the sample, make a small square. It is knitted with the same tool that will be used in the work. You need to knit according to the fabric pattern that is closest to the measurements. Some particularly complex patterns require knitting several samples. This is only for a more accurate calculation of loops by size.
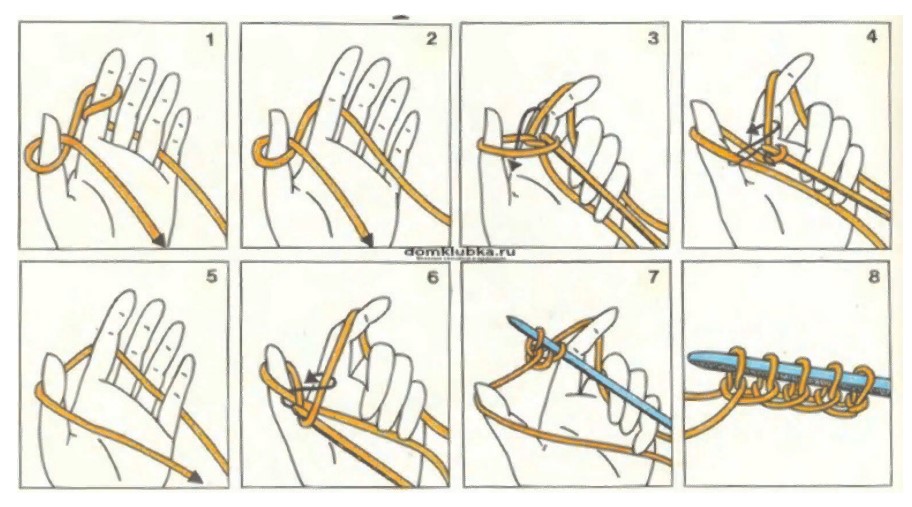
Set of loops for 2 knitting needles
Knitted and then the knitting density is calculated. It has only two numbers - this is the vertical indicator and it is in rows (how many rows are in 10 cm). This is a horizontal indicator, and it is in loops (rarely craftsmen use rapports instead of loops). The result is the number of repeats or loops 10 cm horizontally. Further, by density it will be possible to find out both the number of rows according to the measurements and the number of loops.
But you can knit a pattern not only for counting stitches. Some craftsmen are accustomed to using it to determine yarn consumption. This is especially important when making a large product.
How to knit moccasin booties with knitting needles?
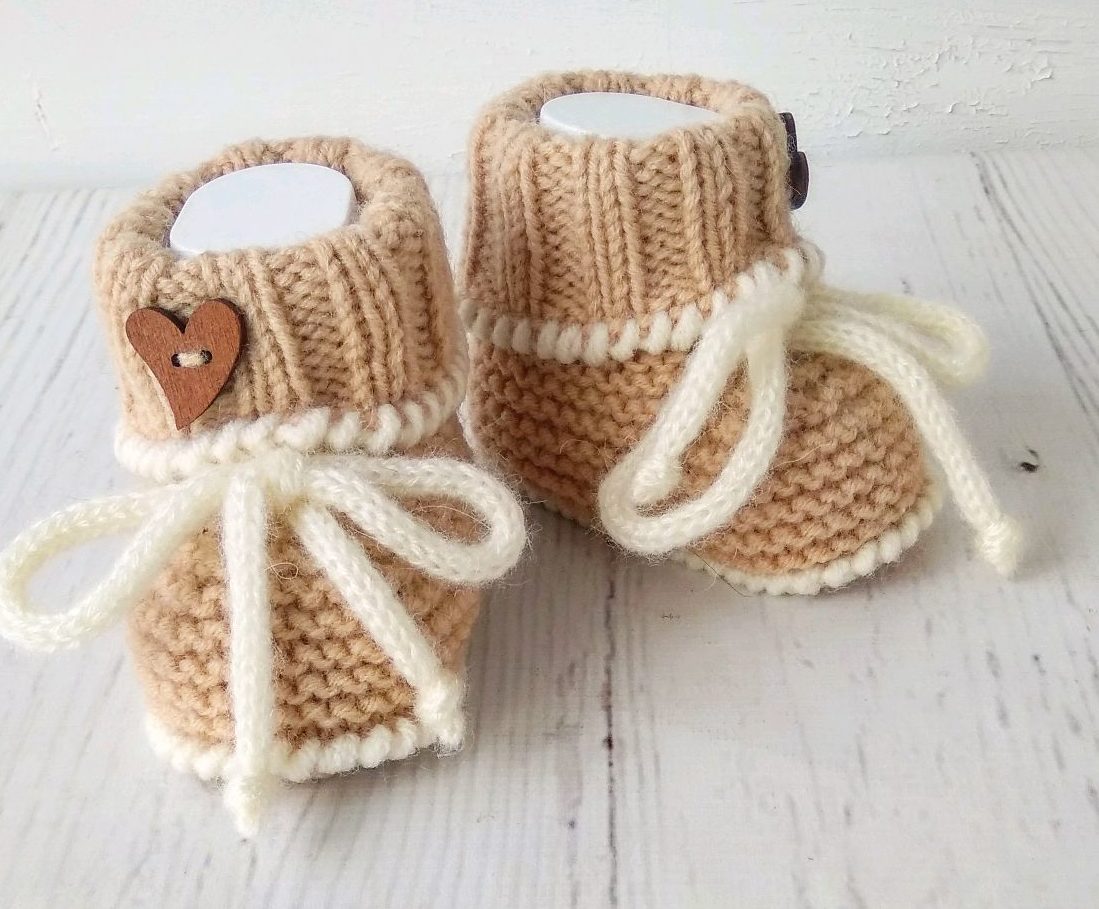
Moccasin booties are practically indistinguishable from ordinary knitted booties when created. But outwardly there will be obvious differences. The point is in the toe itself and its highlighting with all sorts of lines and volumetric elements. It turns out to be a simply amazing product.
Measurements
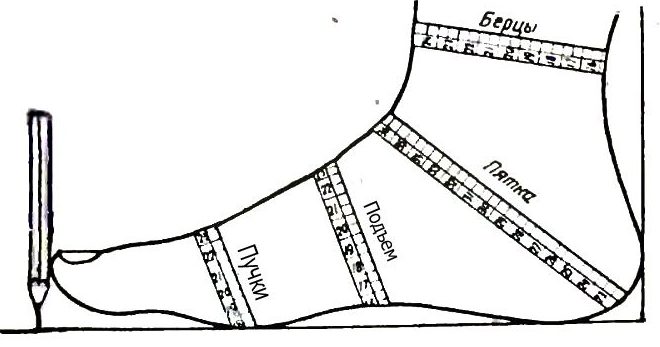
All work according to the standard begins with measurements. Foot length and foot width are used for measurement.You also need to measure the circumference of the instep and the length of the elastic from the ankle. Next, a sample is knitted according to the fabric pattern used. Density calculations are made more accurately and then series are performed according to the model.
 More often, such unusual moccasin booties start from the foot. Moreover, the foot itself also has a small pattern, despite the fact that everyone’s legs will be different. Later the toe and side surfaces are completed. The very last element is knitted with an elastic band.
And here an even more interesting activity begins. Decorating the work, here the master’s imagination will be difficult to contain. In fact, most of the designs are eye-catching with their lush ruffles and beautiful sparkly details. That's why you shouldn't skimp on jewelry for your model.
Knitted pink moccasin booties
The very delicate tones and pattern of the booties simply do not allow you to take your eyes off them. A master can create such beauty in just a few hours. And what beautiful bow decorates an impeccable composition? The girl will have something to brag about to her little friends.
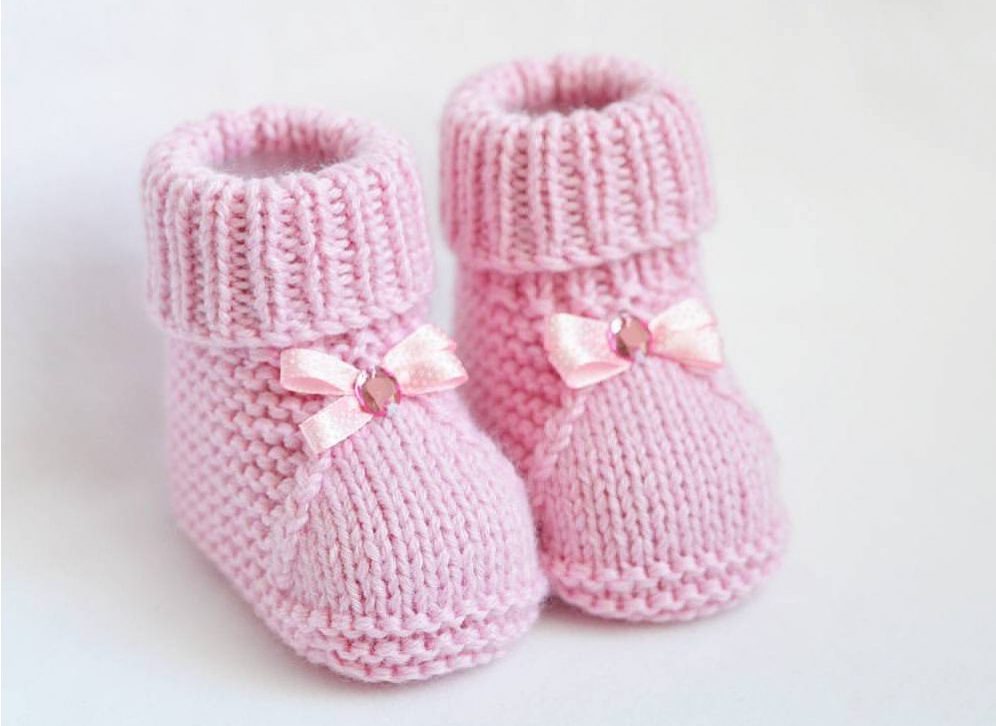
For work use:
- yarn for children's socks;
- stocking needles according to the thickness of the thread;
- pink ribbon for bow;
- transparent pink button for decoration.
Measurements
Measure the length of the foot and its width along the girl’s leg. Next, measure the length of the proposed elastic band and the instep circumference.
 Sample
Using the garter stitch pattern, make a small square stitch to calculate the density of the knitting. Knit density represents two numbers. This is the number of loops and the number of rows in 10 cm. It is this hint that allows the master to accurately select not only the first set of loops, but also further make notes regarding the number of rows and the number of loops in any place of the model.
Foot
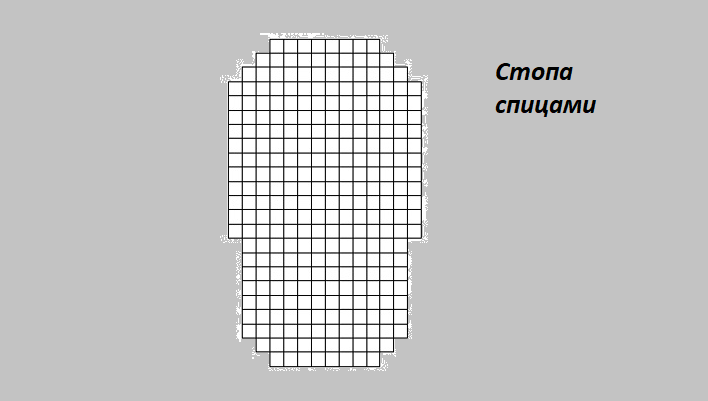
For the foot, use a special stitch selection pattern, but you will need to make some minor changes. Add and decrease stitches along the midline. Leave the edges smooth like this.
Always knit the foot in garter stitch. So it will harmonize well with the whole work and will also be almost 2 times denser than simple satin stitch with knitting needles.
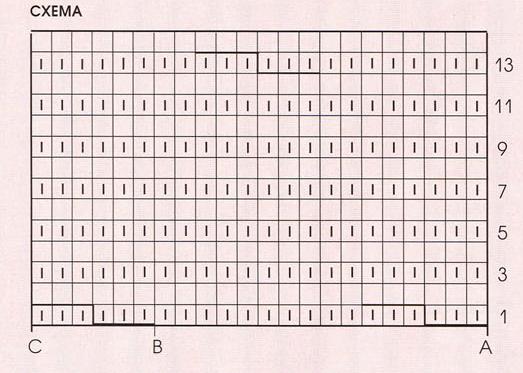
Facial surface
Toe and sides
Cast on loops along the edge of the foot and immediately distribute which ones are for the toe and which ones are for the sides. Knit the toe in plain stockinette stitch, and the sides in garter stitch.
For a neat bevel of the toe, carefully cut the knit stitches on each side. Decrease by 1 stitch on each row. Then knit until the end of the front fabric, then continue working in circular rows for the elastic band.
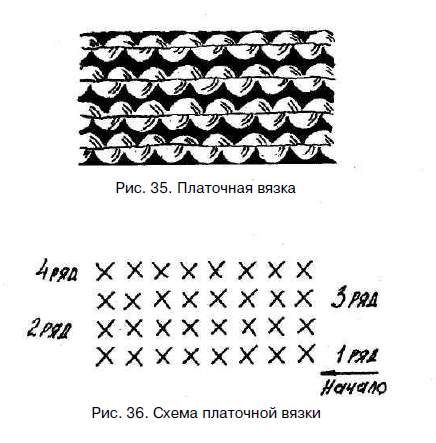 Rubber
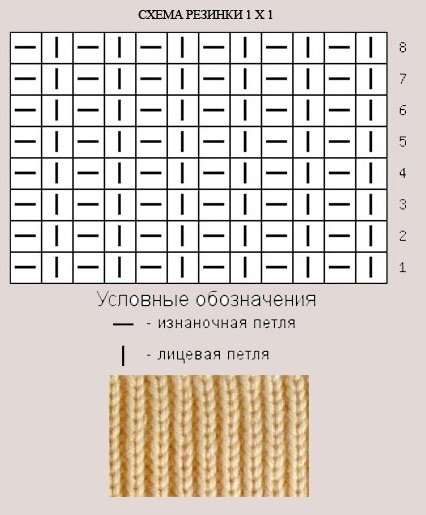
Change pattern on an elastic band with knitting needles 1 to 1. Knit the required number of rows. It is important to take into account that the model provides a slight hem of the product.
Decoration
To decorate, make a neat bow and sew it along with a translucent button to the corner of the toe.
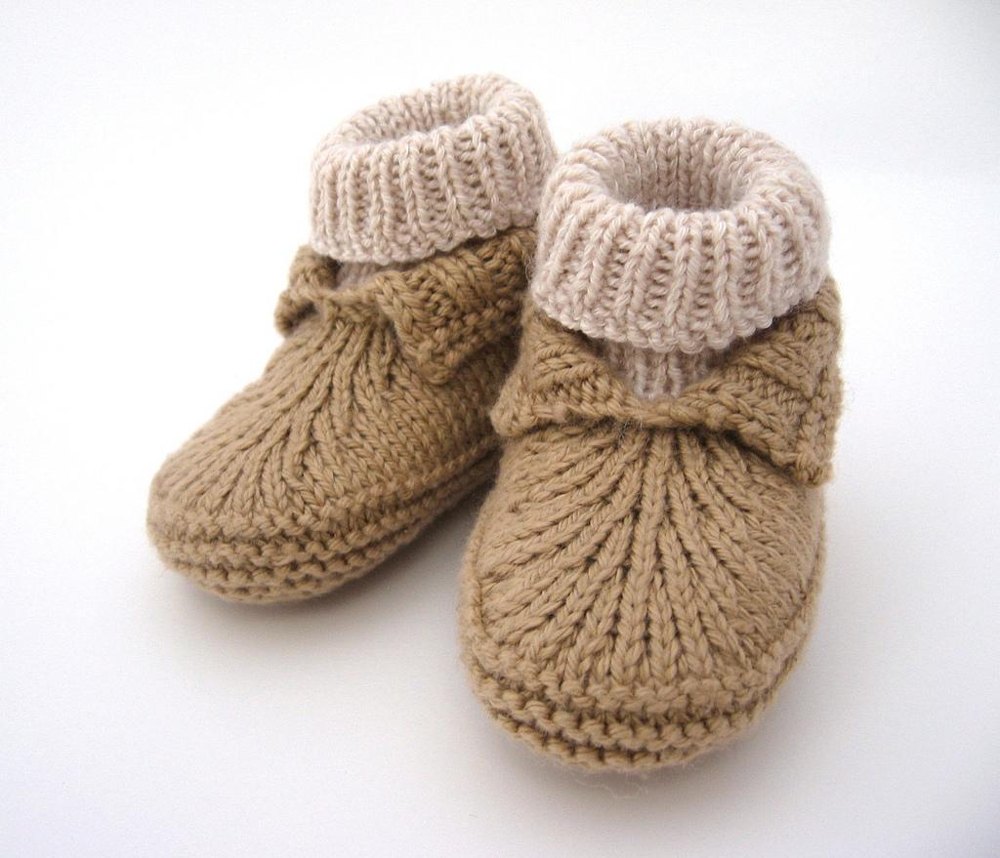
Moccasin booties with pigtails
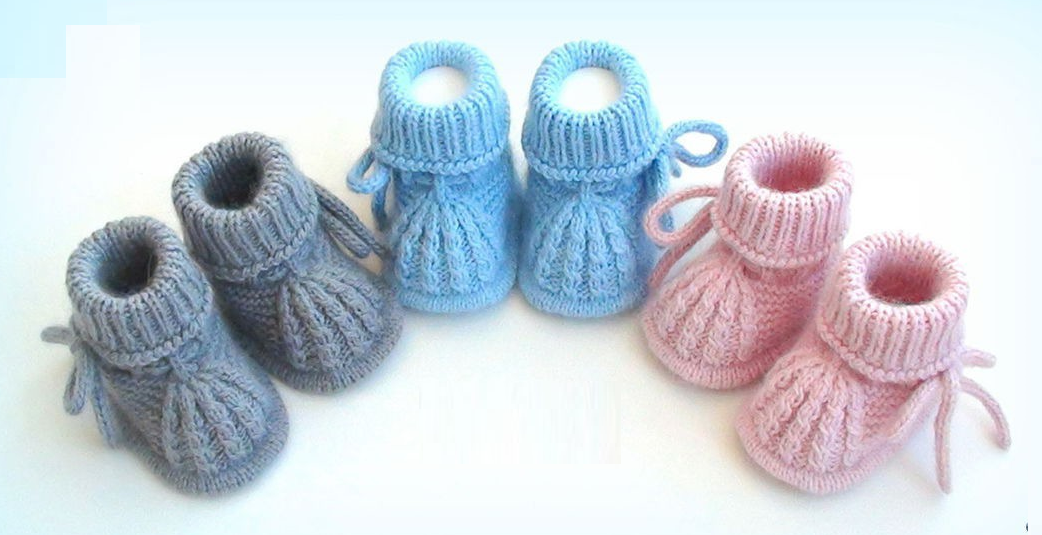
This original model surprises and small braids. Also, an unusual cord acts as a tie in it and can also be part of the decoration. A special border will add piquancy and a small side along the edge of the foot.
To work you will need:
- yarn for children's socks;
- stocking needles for work;
- small knitting needle for making braids;
- hook for elastic border.
Measurements
Measure the length of the baby's foot, its width and instep circumference. The height of the elastic in this model is easy to adjust while knitting the model.
Sample
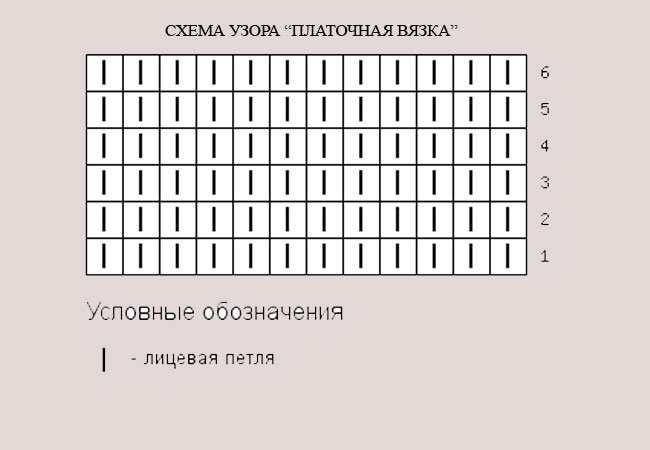
Make a small sample using knitting needles according to the fabric pattern with small braids. Knit a square and count how many rows and how many stitches you get in 10 cm of work.
Foot
Knit the foot according to the given pattern; you can decrease and increase rows, but only the middle ones. Work in garter stitch.
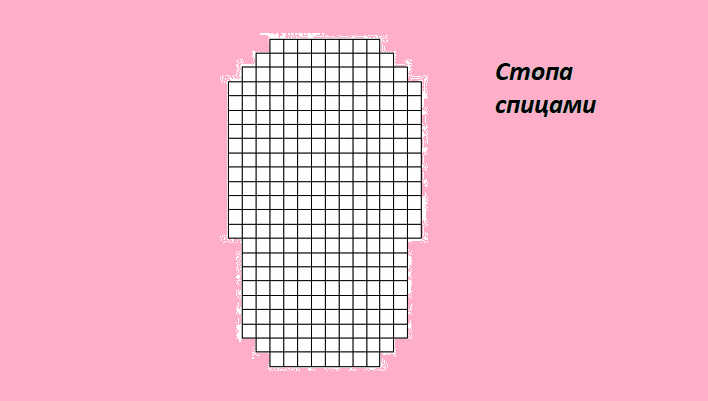
Sides and toe
In order not to get confused in the pattern of the fabric, it is suggested to knit the toe first. It only has five braids from the pattern. Knit in small decreases once the desired length is reached. Next in the work use all the remaining loops of the circle. Knit the fabric in garter stitch and in each row connect the work with the outer loops of the toe.
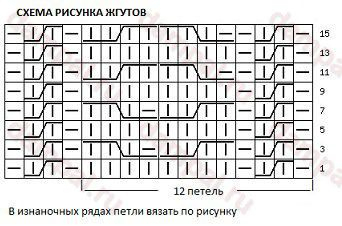
Pigtail pattern
Rubber
Knit the side to the required height, and then make a neat elastic band with a border. This elastic band 1*1 knitting needles in circular rows.
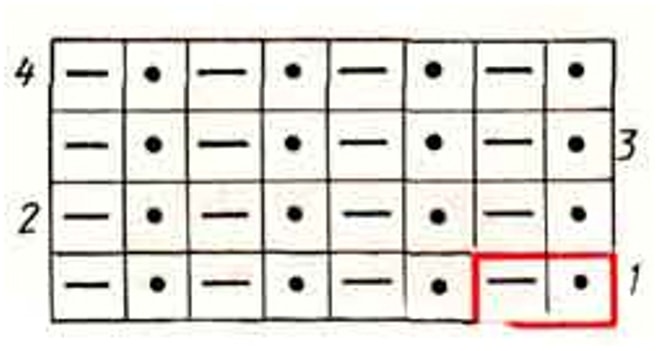
Rubber
Decoration
To decorate, make an elastic band along the top “crawfish step” pattern. For the border around the circumference of the foot, use a simple stockinette stitch.

The lace can also be knitted using 4 stitches in a row. Use for it also facial surface. Next, insert the cord and the product is ready.
These are some cute new things you can make for your baby.


 0
0