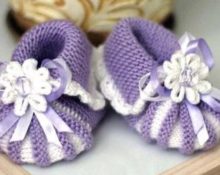
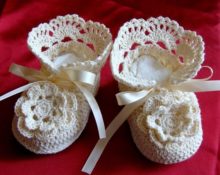
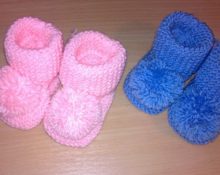
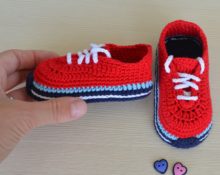
Booties are one of the popular elements of a newborn's wardrobe; they have been knitted for many years. However, they can be very different: fantasy encourages needlewomen to create more and more new and interesting models. Marshmallows especially suit little princesses - light, very beautiful, but also warm. They were called that because they really resemble this sweet, airy delicacy. They can be crocheted or knitted, plain or in an interesting color scheme. There are several techniques to do this. Let's consider a simple option.
How to crochet marshmallow booties
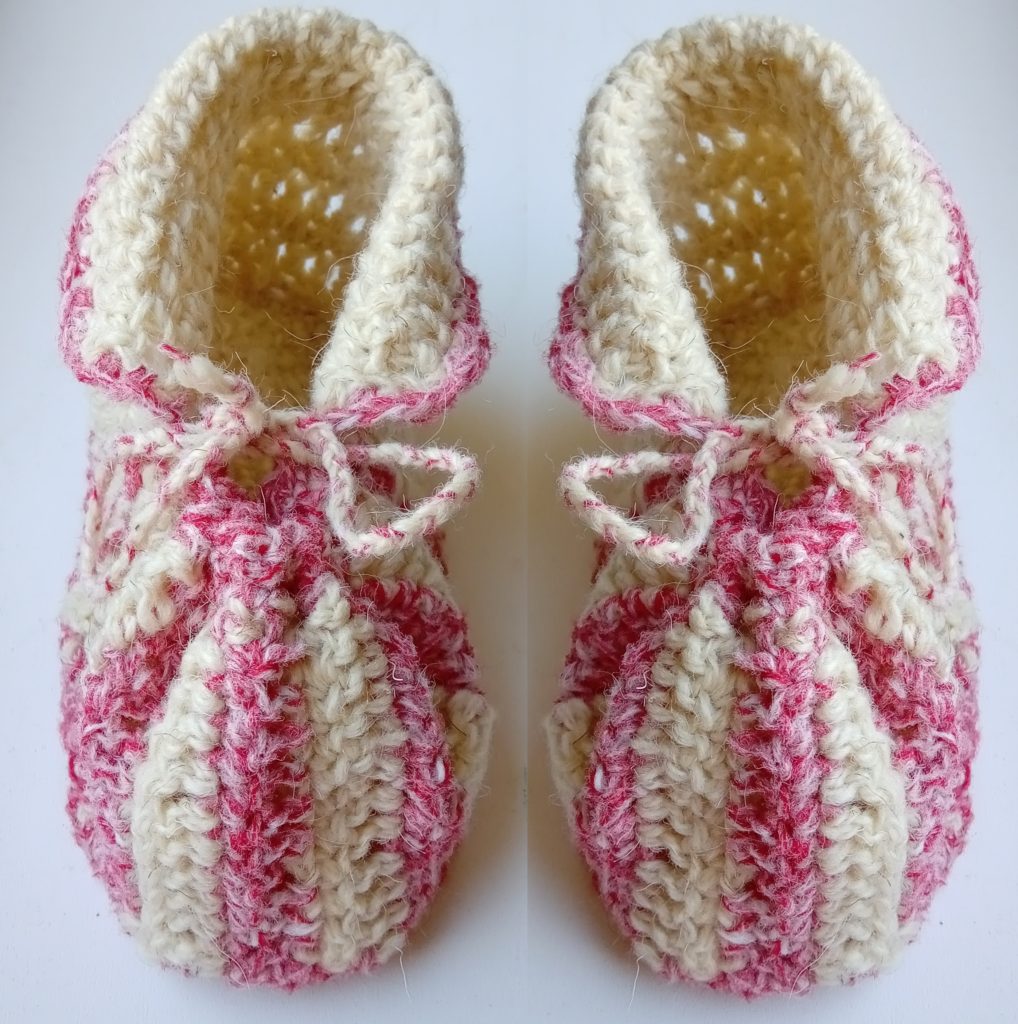
@textile-en.techinfus.com
They will consist of three parts:
- soles;
- backdrop;
- bow part.
In this case, the basic needlework “equipment” will require a hook and a couple of balls of soft wool. In my case, one is cream color, the other is white and pink melange, left over from previous creative experiences. Scissors and a tape measure will also come in handy.
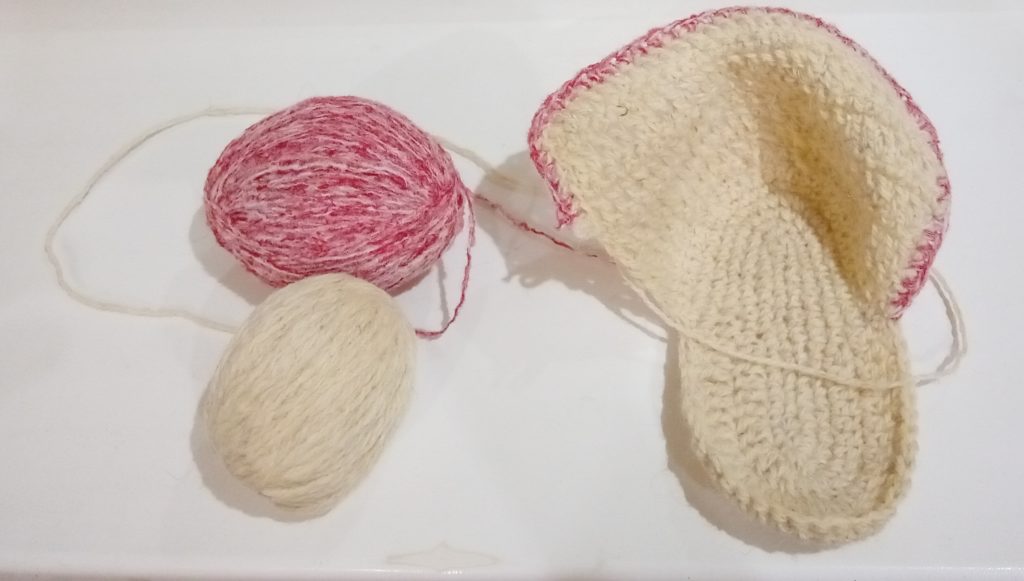
Sole
This is the first element that we begin to knit. First, we measure the girl’s foot and calculate 2/3 of its length in centimeters.Then we cast on the number of loops that will fit in the resulting segment.
We knit two and a half circles with single crochets, and the second half of the third with double crochets. At the same time, we add loops at the extreme points. In the first row there are three out of one, in the second row there are six out of three, in the third row there are twelve out of six. The fourth and subsequent ones are like the first, but with an addition, as in the third row. You need so many circles so that the canvas not only covers the foot, but is also 0.5–1 cm wider than it.
Heel
This is the second element and it will cover the ankle joint. When the last circle of the sole is knitted to the middle of the foot, we turn around, make a lifting loop and continue single crochets to a symmetrical point on the other side. Having reached the opposite side, we change direction. We knit two lifting loops and move back with double crochets. Thus, all odd rows will be single crochet, and the 2nd, 4th, 6th, 8th and 10th will be double crochet. There will be 11 of them in total. Then we go down 5 loops, pull out the hook, leaving this ball for a while.
Take the second skein and begin tying the edge of the backdrop from the bottom of the opposite side. Having reached the first (light) thread, we go around it and complete the edging, turn around and return to the plain one.
@textile-en.techinfus.com
Front end
The canvas here will also be rectangular. Threads of different colors alternate through two rows. Towards the sole, all the stitches will be double crochet, and when moving back - without it. The length of the rectangle should be equal to the length of the front part of the sole. After the back binding line, I ended up with six cream and five dark pink stripes. Having finished the last row, you need to:
- knit a melange thread back and forth along the long upper part of the striped element;
- then go down, fastening the toe piece to the heel piece along the way.

@textile-en.techinfus.com
Tying and lacing
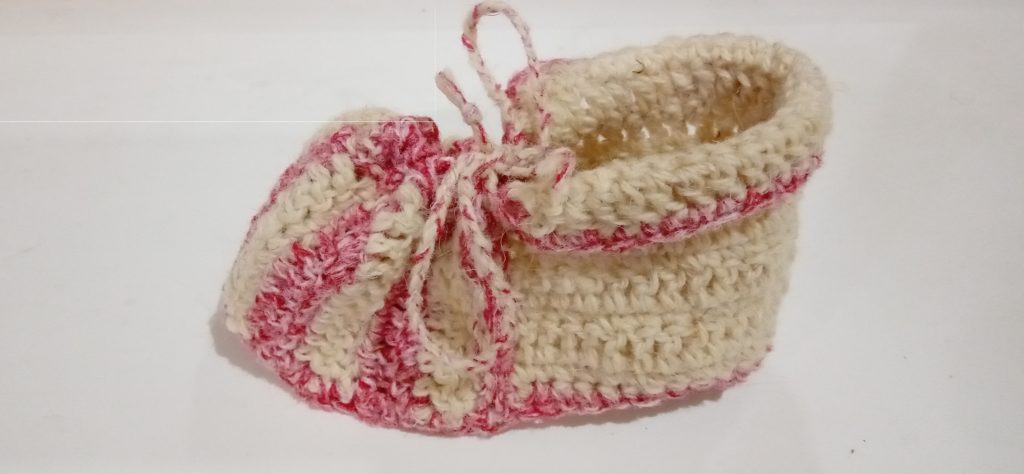
To connect the sole to the front, we turn around and fasten these two elements along the edge, and continue to go around the entire circumference. The binding gives the booties stability and aesthetic appeal.
We braid the lace using two light and one pink threads. Their length should be three times the length of the front panel. At the end of weaving, we make knots 1 cm from the edges. We thread the resulting lace in and out several times, then gather it together and tie it in a bow. Ready!
@textile-en.techinfus.com
I like this model for three reasons:
- I like the crochet hook more than knitting needles: the work goes faster and it’s not scary to “lose” a loop.
- Alternating single crochet and double crochet gives a combination of density and breathability.
- Each next detail is a continuation of the previous one. The thread does not break and all the elements do not need to be sewn together.
One bootie is tied. You can start the second one, and then figure out who to give them to, because my princess is already 12.


 0
0