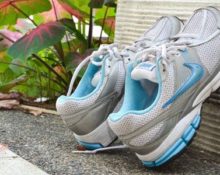
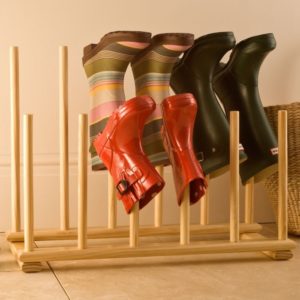
 After a long walk in the rain or sleet, shoes need to be thoroughly dried. Many people simply place their boots on the radiator and leave them to dry. But such drying will not bring anything good. The fact is that extreme heat causes shoes to warp, and often the soles begin to peel off. This is why wet boots need to be dried properly.
In this article we will tell you some interesting options on how to make a shoe dryer with your own hands.
Radiator grille
To make this version of the dryer we will need slats. You can use them to make a grille that will be installed on the battery. In this case, the shoes will not come into contact with the radiator, so they will dry evenly.
We will need the following materials.
- The slats are 0.5 cm thick.
- Carnations.
- Soft synthetic material.
The tools you will need to prepare are:
- hammer;
- sandpaper (with a special lock for ease of use);
- electric jigsaw;
- construction stapler.
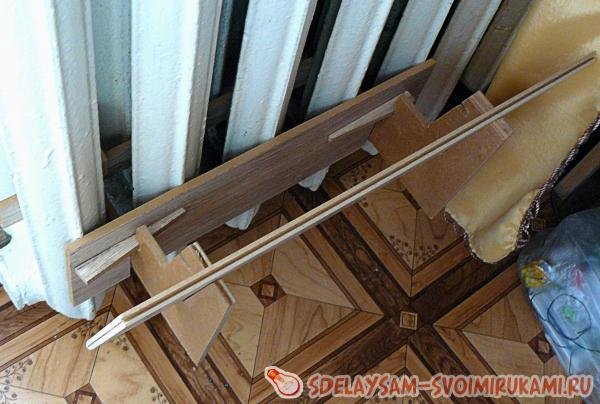
Completing of the work
- First of all, make a small diagram of a homemade dryer.
- After this, cut the main bottom rail to the required length.
- Next, nail the side walls of the grille onto nails, only then install and nail the internal dividers.
- When the overall frame of the dryer has already been made, you need to work on the back wall. You don’t need to nail the slats too tightly; you need to leave about 1 cm between them..
- At this stage, you need to staple synthetic soft material to the back wall of the dryer. This is necessary so that the radiator is not damaged when installing the structure.
- At the end of the work, small wooden hooks are created from slats for fastening to the radiator.
Important! Before installing a homemade dryer, make sure the radiator is securely fastened. If the fastening is weak, then the radiator may sag under the weight of the grille and shoes. This may damage the pipeline.
How to make a heating dryer
This method is considered the most effective. But it requires a little more time to manufacture compared to the previous version.
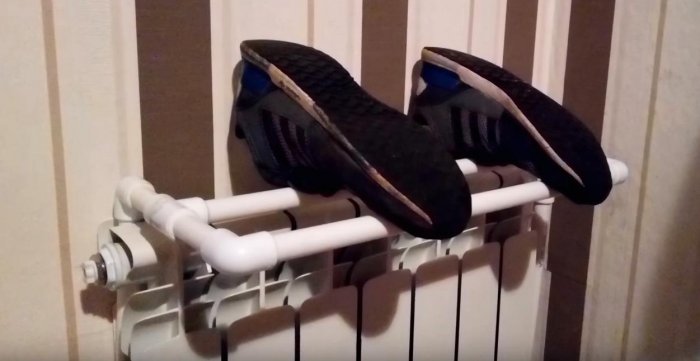
For production we will need the following.
- Polypropylene pipes.
- Polypropylene fittings.
- 2 ball valves.
- 7 steel pipes 1 m long.
We also need the following tools.
- Pipe cutter
- Soldering iron for pipes.
Manufacturing process
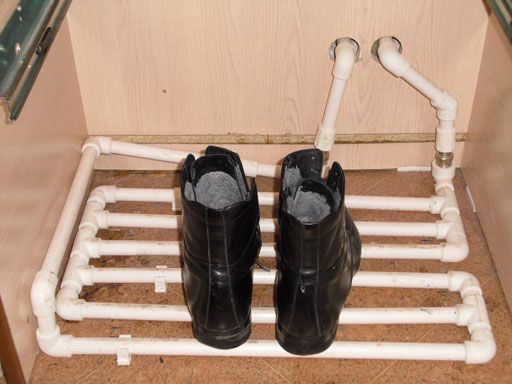
- Solder a small piece of polypropylene pipe into the heating system, then install the tap and turn it off.
- Then run the pipe to the location of the future dryer.
- In the same way, you need to do it in the heating area after 2 m. Solder a piece of pipe through the fitting, and then install a closed tap. After that a pipeline is created to the intended location of the dryer.
- Now we need to create the outline itself, which will dry the shoes. To do this you need to use polypropylene fittings. It is necessary to solder steel pipes into them. You need to create a closed loop. The elements must be parallel to each other. The distance between them should be approximately 5 cm.
- When the heated circuit is created, it will be possible to solder it with the pipes that we connected to the heating system.
The huge advantage of this dryer is that it can be turned off and on as needed. To do this, we installed taps.
Attention! It is not recommended to place shoes directly on the pipes, as they may be damaged by the high temperature.
Therefore, you need to install a wooden grate or dense synthetic material on the pipes. In this case, there will be no close contact and no damage will be caused to the boots.
How to make electric dryers
To create an electric dryer we will need the following.
- 2 computer coolers.
- 12 volt power supply.
- On/off button
- Cardboard box.
- Wires.
- Pencils for glue gun.
- Corrugated pipe 2 m.
- Scotch.
- Sewer plastic couplings.
We also need such tools.
- Jigsaw.
- Glue gun.
- Scissors.
Manufacturing
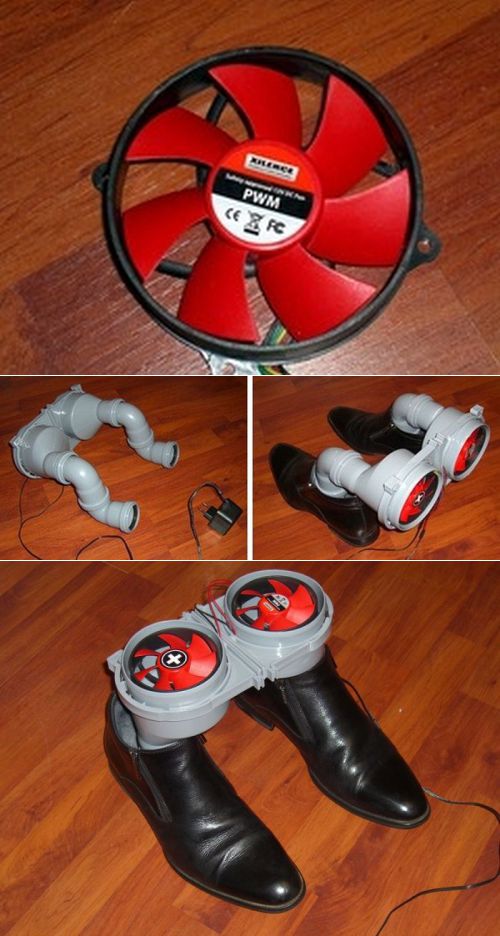
 Remove the lid from the box and make two holes in it the same size as the coolers.
- Use hot glue to securely secure the coolers to the lid.
- Connect the cooler wires in parallel. That is, plus to plus and minus to minus, in this case we will not lose the power of the coolers.
- Also make a small hole in the lid and install a button.
- Make a hole in the bottom of the box and insert the wire from the power supply. Be sure to seal the hole.
- Now you need to connect the electrical circuit.One lead of the cooler is routed through the button. In this case, it will be possible to turn the dryer on and off.
- At this point, test the circuit and plug the power supply into an outlet. If air is expelled from the box, then you need to change the polarity of the power supply connection.
- Make 2 holes in the side wall and use hot glue to fix the sewer couplings in them.
- Cut the corrugated pipe in half and then use tape to attach the pipe sections to the couplings.
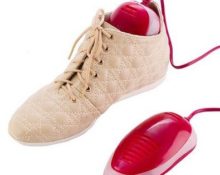
Now our dryer is ready for use! The power supply needs to be plugged into the outlet, then install the pipes in the shoes and turn on the power button. Air will be forced into the box and blown out of the pipes, thereby quickly drying wet shoes.
From our article you learned different ways to make dryers with your own hands. We wish you success in production!


 Remove the lid from the box and make two holes in it the same size as the coolers.
 0
0