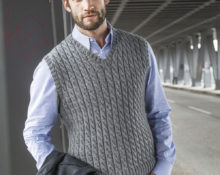
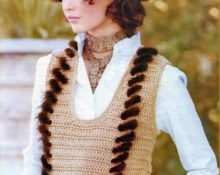
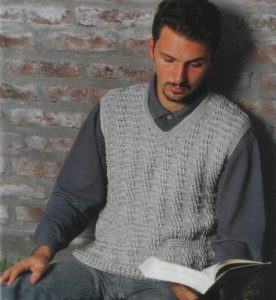
 A vest is a form of clothing that does not have sleeves. It is very comfortable and warm. With such a thing you can come up with a million different images. A very funny story about the appearance of this fashionable product. According to fashion experts, people began to wear it after viewing one picture with the participation of the bungler Gilles. This slovenly ragamuffin wears his outerwear like this. Soon everyone realized that it was very convenient and began to try such a product on their shoulders.
Now one model is more beautiful than another and each is essentially a work of art. So let’s try with our skillful hands to make a similar work in a few evenings.
A man's vest will suit his taste if the craftsman follows some tips. Let's look at what needs to be done, read all the details in creating a model and get started.
Yarn and hook
There are a lot of yarn options for creating a vest for a man. You need to pay attention to whether the yarn is prickly or not, since not everyone can stand the prickliness of the fiber. Fans of fluffy products can pay attention to mohair.And if you want to make a very plump product and at the same time weightless, this leads to “grass” yarn. It is better to consult with the future owner of the item regarding the desired fiber, and maybe the pattern.
 In fact, a simple hook that fits the size of the yarn will come in handy. The seller can tell you this when choosing yarn.
Important! The hook will ideally be twice as thin. than the yarn itself, the measurement of the hook occurs at its narrowest point.
Vest pattern
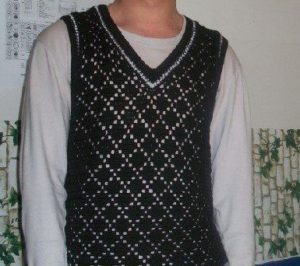
All models of vests for men have almost the same pattern. They may differ in neckline and armhole depth - these are details. Let's look at the shooting with a description for beginners.
Let's look at the most important measurements that need to be taken from a man when creating a vest.
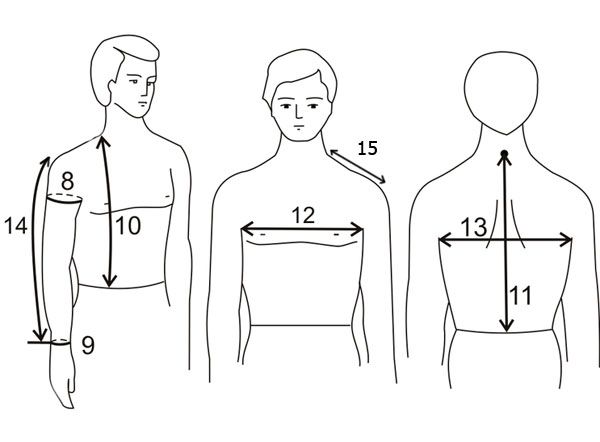 The product only requires a couple of measurements:
- back length;
- hip circumference;
- shoulder width;
- neck circumference;
- height to sleeve armhole.
After measuring the indicators, you need to transfer them to a small plan. You will get a drawing like this.
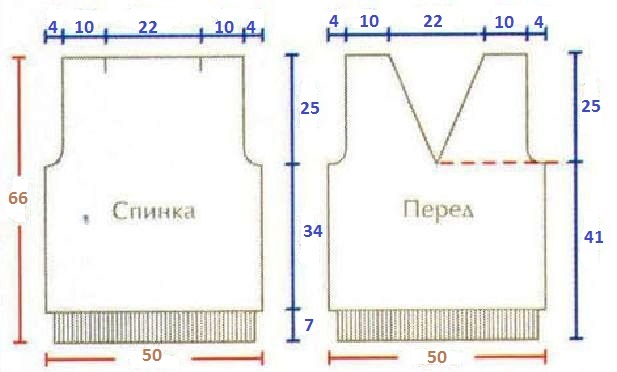 In this case, the circumference of the hips turned out to be 100. Without any additions to the seams, they transferred it to the drawing. For half of the vest it will be 50 cm. So with each size. But for the height of the back, you need to add another cm to the elastic band and, if desired, lengthen the vest a little.
Sample
The pattern is ready, but it shows cm, not stitches. It is necessary to convert all indicators into loops.
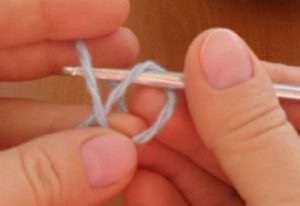
Set of 1st crochet loop
You need to knit a sample and calculate how many elements are needed for each measurement.
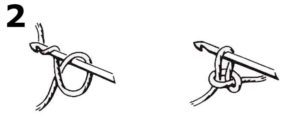
Set of 1st and 2nd loops on hook
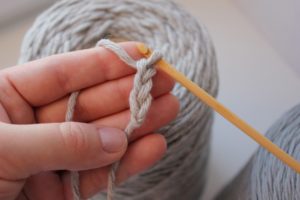
1st crochet chain
For example. The resulting density was 10 cm 20 columns. As a result, the back and front will require a width of not 50 cm, but 100 columns.
Crochet men's sleeveless vest with "relief columns" pattern
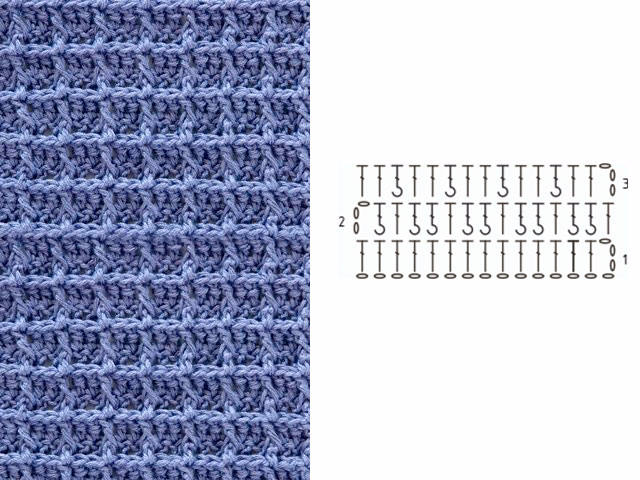
Very dense model and therefore very warm.You can knit it in two threads, but it will not be too thin if you knit it in one of the medium-thick yarns. A beginner can easily handle this model. You just have to master a small pattern. In principle, ordinary columns and add relief according to the pattern.
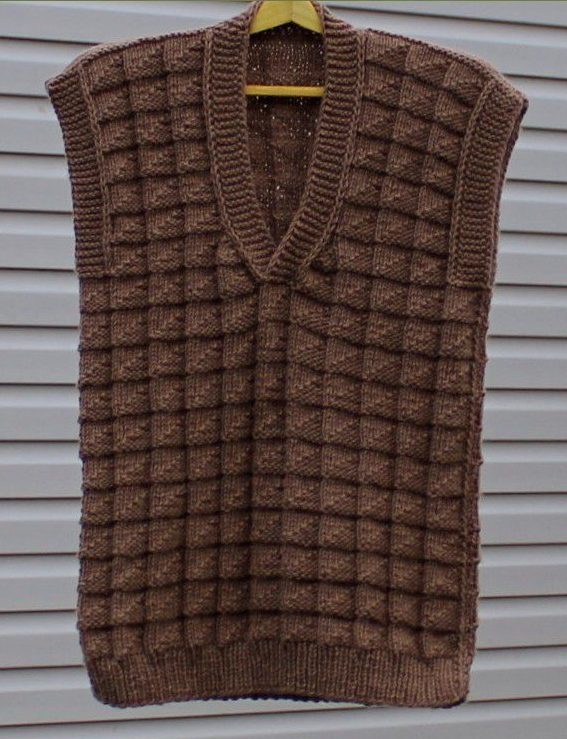 To work you will need:
- pekhorka yarn from 700 g;
- hook.
Before
We created our own chain and first calculated how many columns your particular model would need. This model has 12 repeats in width. We start knitting immediately with the fabric pattern, and then knit the elastic with knitting needles. Knit to the armhole as necessary, see. The model has 11 rapports up. Now you need to close one repeat on the right and left.
For the neckline, we closed one repeat a little earlier and then cut one element in each row. from the neck side. Knitting continues separately. The right and left sides became separate. When the neckline decreases by exactly 1 repeat according to the decrease pattern, stop and continue knitting to a height of 7 repeats from the armhole neckline. The front part is ready.
 Back
Back
Knit the back similarly to the front front, but for the back it is not necessary to cut the loops for the collar. It is knitted without a bevel. You need to make armholes under the collar.
Assembly
Sew the front and back pieces along the shoulder seams and then along the side seams. Now let's turn to the knitting needles and knit the bottom of the sleeveless vest with an elastic band of 1*1, 4 cm is enough. Tie the neckline and armholes with garter stitch from 7 cast-on stitches. When knitting, cling to one end of the neckline, the other will not be attached.
The vest for a man is ready and waiting to be tried on.
Similarly, you can create other models, while only changing the pattern. If this pattern seems complicated to someone, then you can safely replace it with simple double crochets or just single crochets. Good luck!


 0
0