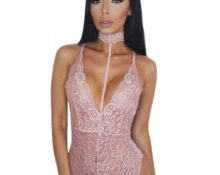
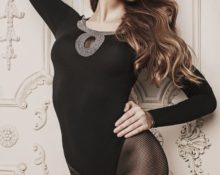
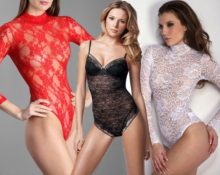
 A bodysuit is a special garment. A transitional link from the world of cozy underwear to the Universe of outerwear. This item combines maximum comfort, excellent fit and a chic look. But everyone’s body types and heights are so different that only a hand-sewn bodysuit will fit perfectly. Therefore, you first need to know what types of products there are in order to choose the most suitable model: revealing luxurious lingerie or a turtleneck bodysuit, a shirt for the office, with frills, etc.
What types of bodysuits are there?
Depending on the cut of the body we can highlight:
- one-piece;
- Stitched with cut cups;
- stacked with reliefs.
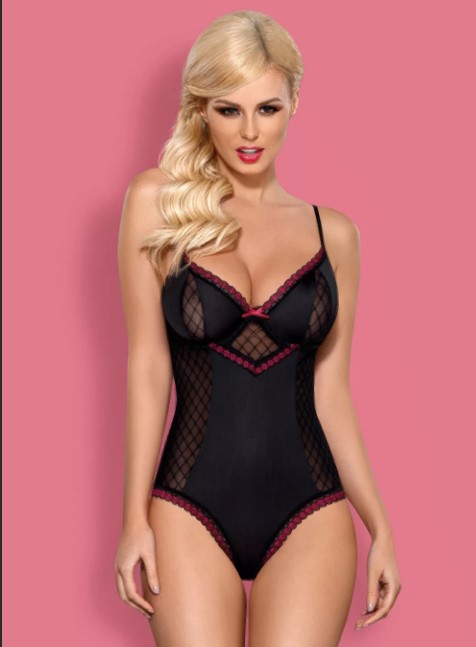 By silhouette:
- adjacent ones are sewn from highly elastic fabrics;
- semi-adjacent ones are cut from knitted fabrics with low elongation;
- loose fit - fabrics without elastic fibers are used - chiffon, sewing.
In addition, depending on the purpose, we can talk about a bodysuit as a full-fledged underwear or a bodysuit used as the top part of an ensemble - a T-shirt, an office blouse, a turtleneck.
Reference! How does a bodysuit differ from a combodress? The latter is used only as underwear, it is not intended to be worn as an independent item of clothing.
Suitable fabrics for bodysuits
Suitable for making bodysuits:
- Bielastic (two-way stretch) fabrics of any type.
- Guipure.
- Elastic lace. Wide is better, or in the form of ribbons 25-50 cm wide.
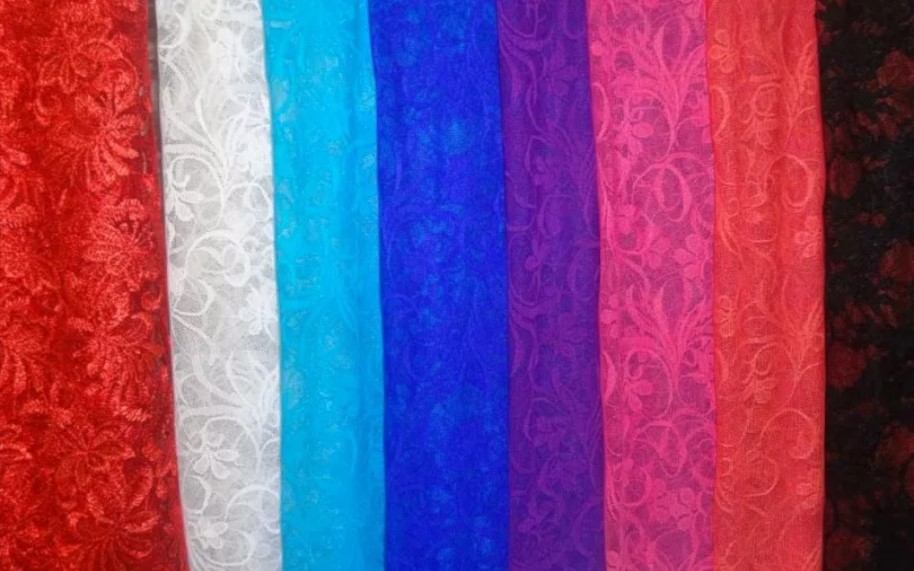
Stretch guipure for bodysuits and dancing
Important! Try to choose mixed materials that contain natural fibers. Remember that in terms of their properties, viscose and bamboo fiber are in no way inferior to 100% natural fabrics.
Since the bodysuit includes panties, a gusset made of natural knitwear, such as cotton, is required.
How to cut a women's bodysuit?
You can make patterns in several ways:
1. The simplest – outline a comfortable tank top/T-shirt/turtleneck, as well as underpants. Sew the product based on the resulting pattern. Suitable for simple models.
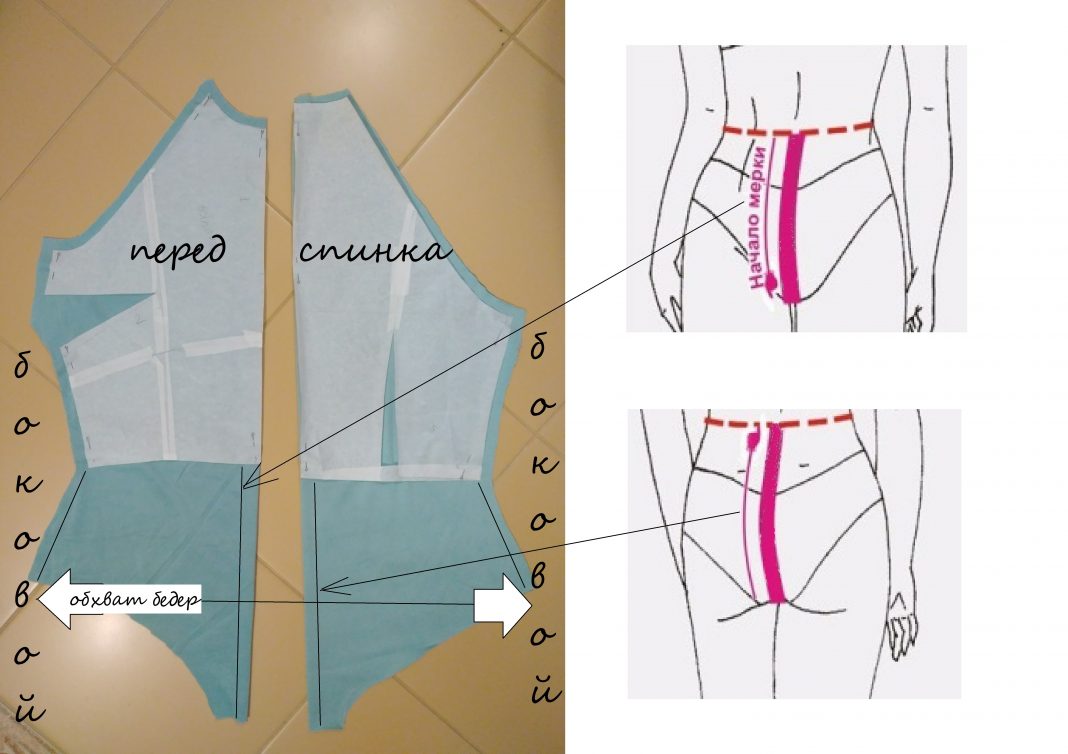
Advice! If you have an old comfortable thing that you don’t mind ripping apart, it will become an excellent basis for your bodysuit.
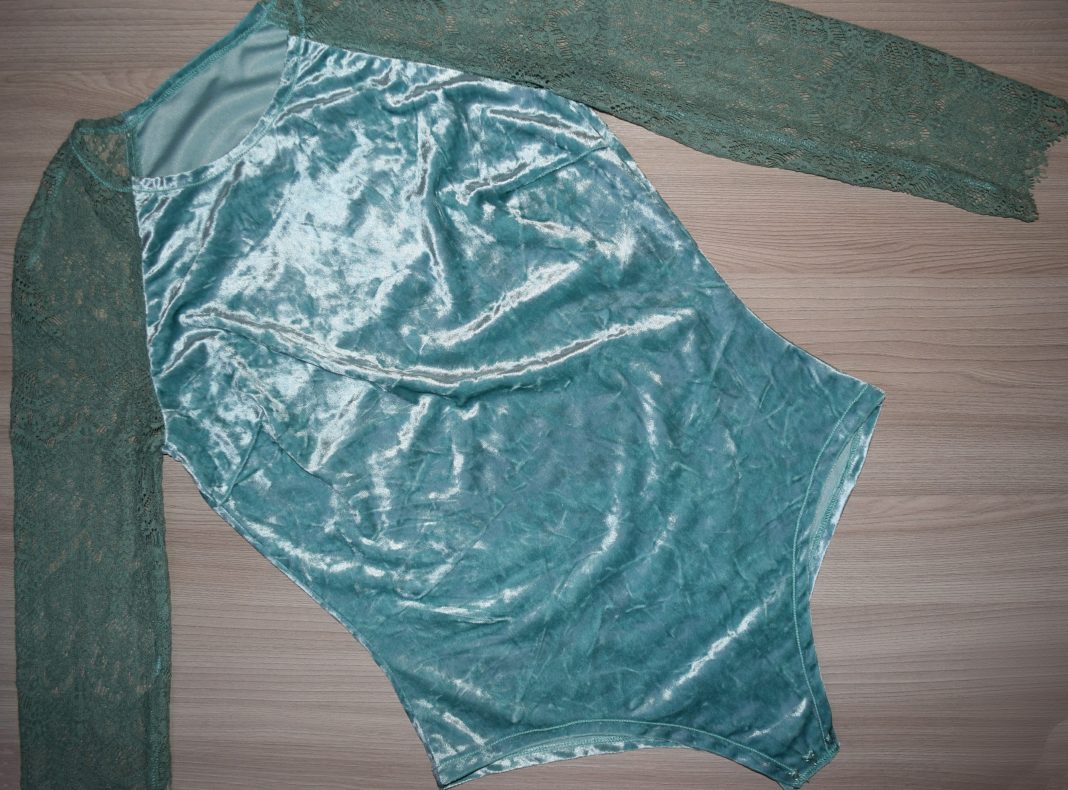
This model is based on a tight-fitting T-shirt:
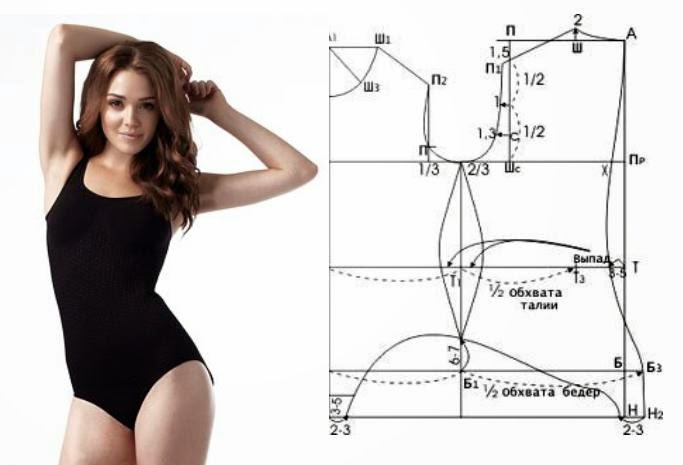
2. Based on the base pattern, or a blouse that fits you perfectly. Perfect if you plan to wear the boli as an office outerwear.
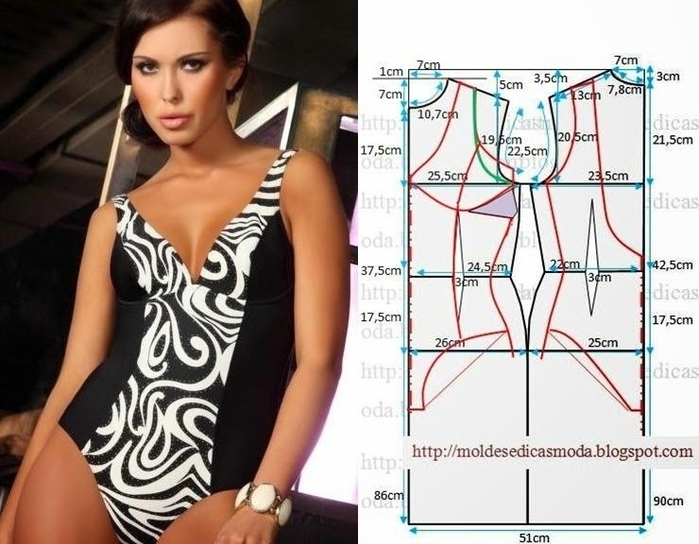
3. We are making a pattern for ourselves, using your own measurements. Painstaking work, but perfect for girls with any body type.
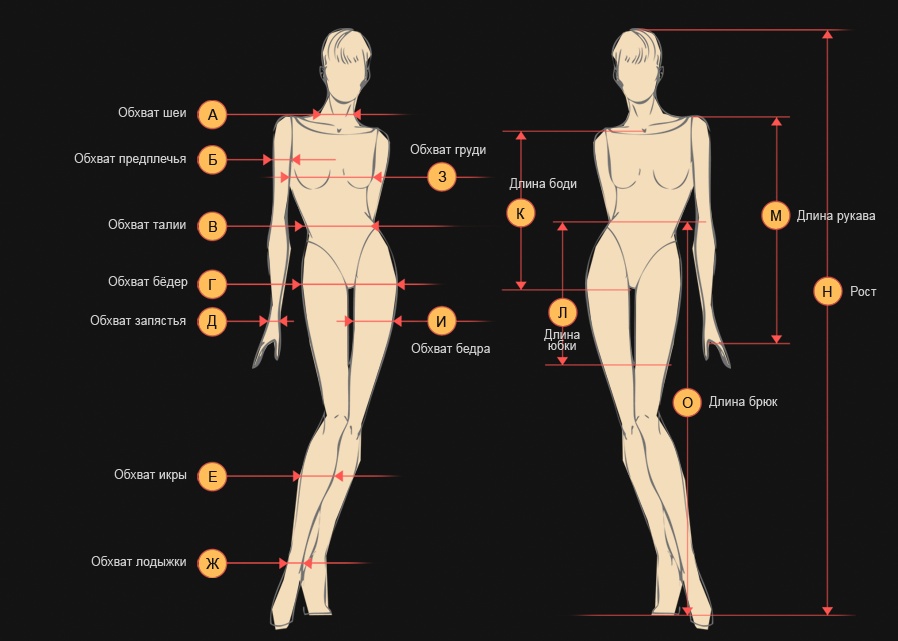
Taking body measurements
Measurements:
- Underbust girth (Opg).
- Chest circumference (Og).
- Waist circumference (From).
- Hip circumference (About).
- Armhole depth (Gpr).
- Back length to waist (Lts).
- Hip height (Wb).
- Half the neck circumference (Posh).
- Shoulder length (Dpl).
- Front waist length.
- Front waist length with distance under the chest (Dtpg).
- Chest height (Вг).
We will need the following calculations:
- ShS (back width) =From/8+5.5;
- ШП (armhole width) = From/8-1.5;
- SH (chest width) = From/4-4cm.
Since we need a tight fit, we should reduce the last three indicators by 5 mm.
- Back width (W) -5 mm.
- Armhole width (Shpr) –5 mm.
- Chest width (W) – 5 mm.
For example, we used a OG of 92 cm, this is size 46, so there will be digital values. You will need to do the calculation yourself.
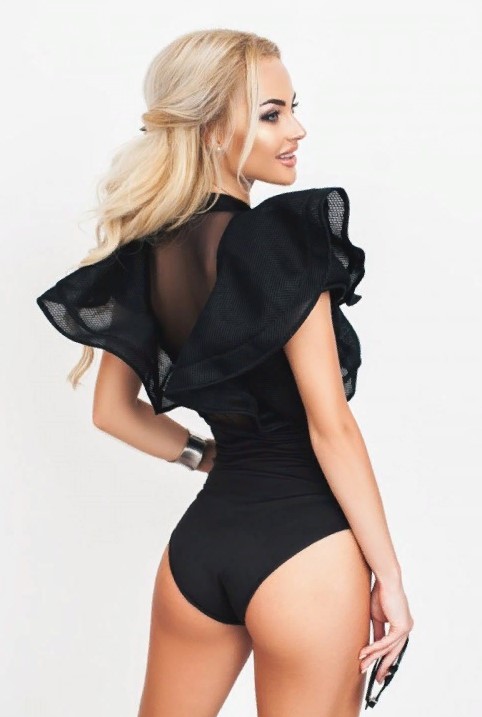
Classic bodysuit pattern for women
We build a drawing:
- We start building from the left corner of the sheet, determine point A, it is located at the base of the neck along the back.
- From this mark we put AG, AT, AB strictly down. Thus, we mark the chest, waist and femoral lines.
- We lead them perpendicular to segment A.
- From mark B we set aside one tenth of the OB. From mark L to the left we draw a straight line.
- Mark the width of the back, armhole, chest. ГГ1 – back width.
- G1G2 is equal to half of Shpr.
- G2G3 is the same for any size and is equal to 40 mm.
- G3G4 =4.75cm– ½ Shpr.
- The distance Г4Г5 is equal to Шг.
- We draw vertical lines along the last marks.
- In order to draw a line of darts, we set aside 1/10 of the chest circumference from the G5 mark, plus 5 mm. This is how we got point B.
- We draw a vertical line along it.
- Back half shoulder. In order to get a neckline on the back, we return to point A, set aside 1/6 of the neck circumference, plus 5mm.
- The value from A1 to A2 is the same for all sizes and is 20 mm.
- We set aside 20 mm from mark A3. We draw a straight shoulder line.
- Outline the armhole as a neat rounded curve.
- On the front part of the pattern we draw a shoulder; for this we set aside a segment G4P equal to G1-20 mm. This is our radius.
- We draw an arc (part of a circle) from mark G4.
- Before. PP1 is equal to half of Og divided by 10 plus 20 mm.
- We lay this out using an arc with a radius equal to the distance from G4 to P.
- To get the top mark P2 from point T4, it is located in the middle of the waist, we put up our waist length, which we measured taking into account the relief of the body. To do this, the measuring tape must be placed under the chest.
- Through this mark we draw a straight line horizontally to the middle of the front P3.
- On the line of darts we plot the height of the chest, we get mark B1, from it we measure the height to the shoulder, use this measurement as the radius of the circle and draw an arc.
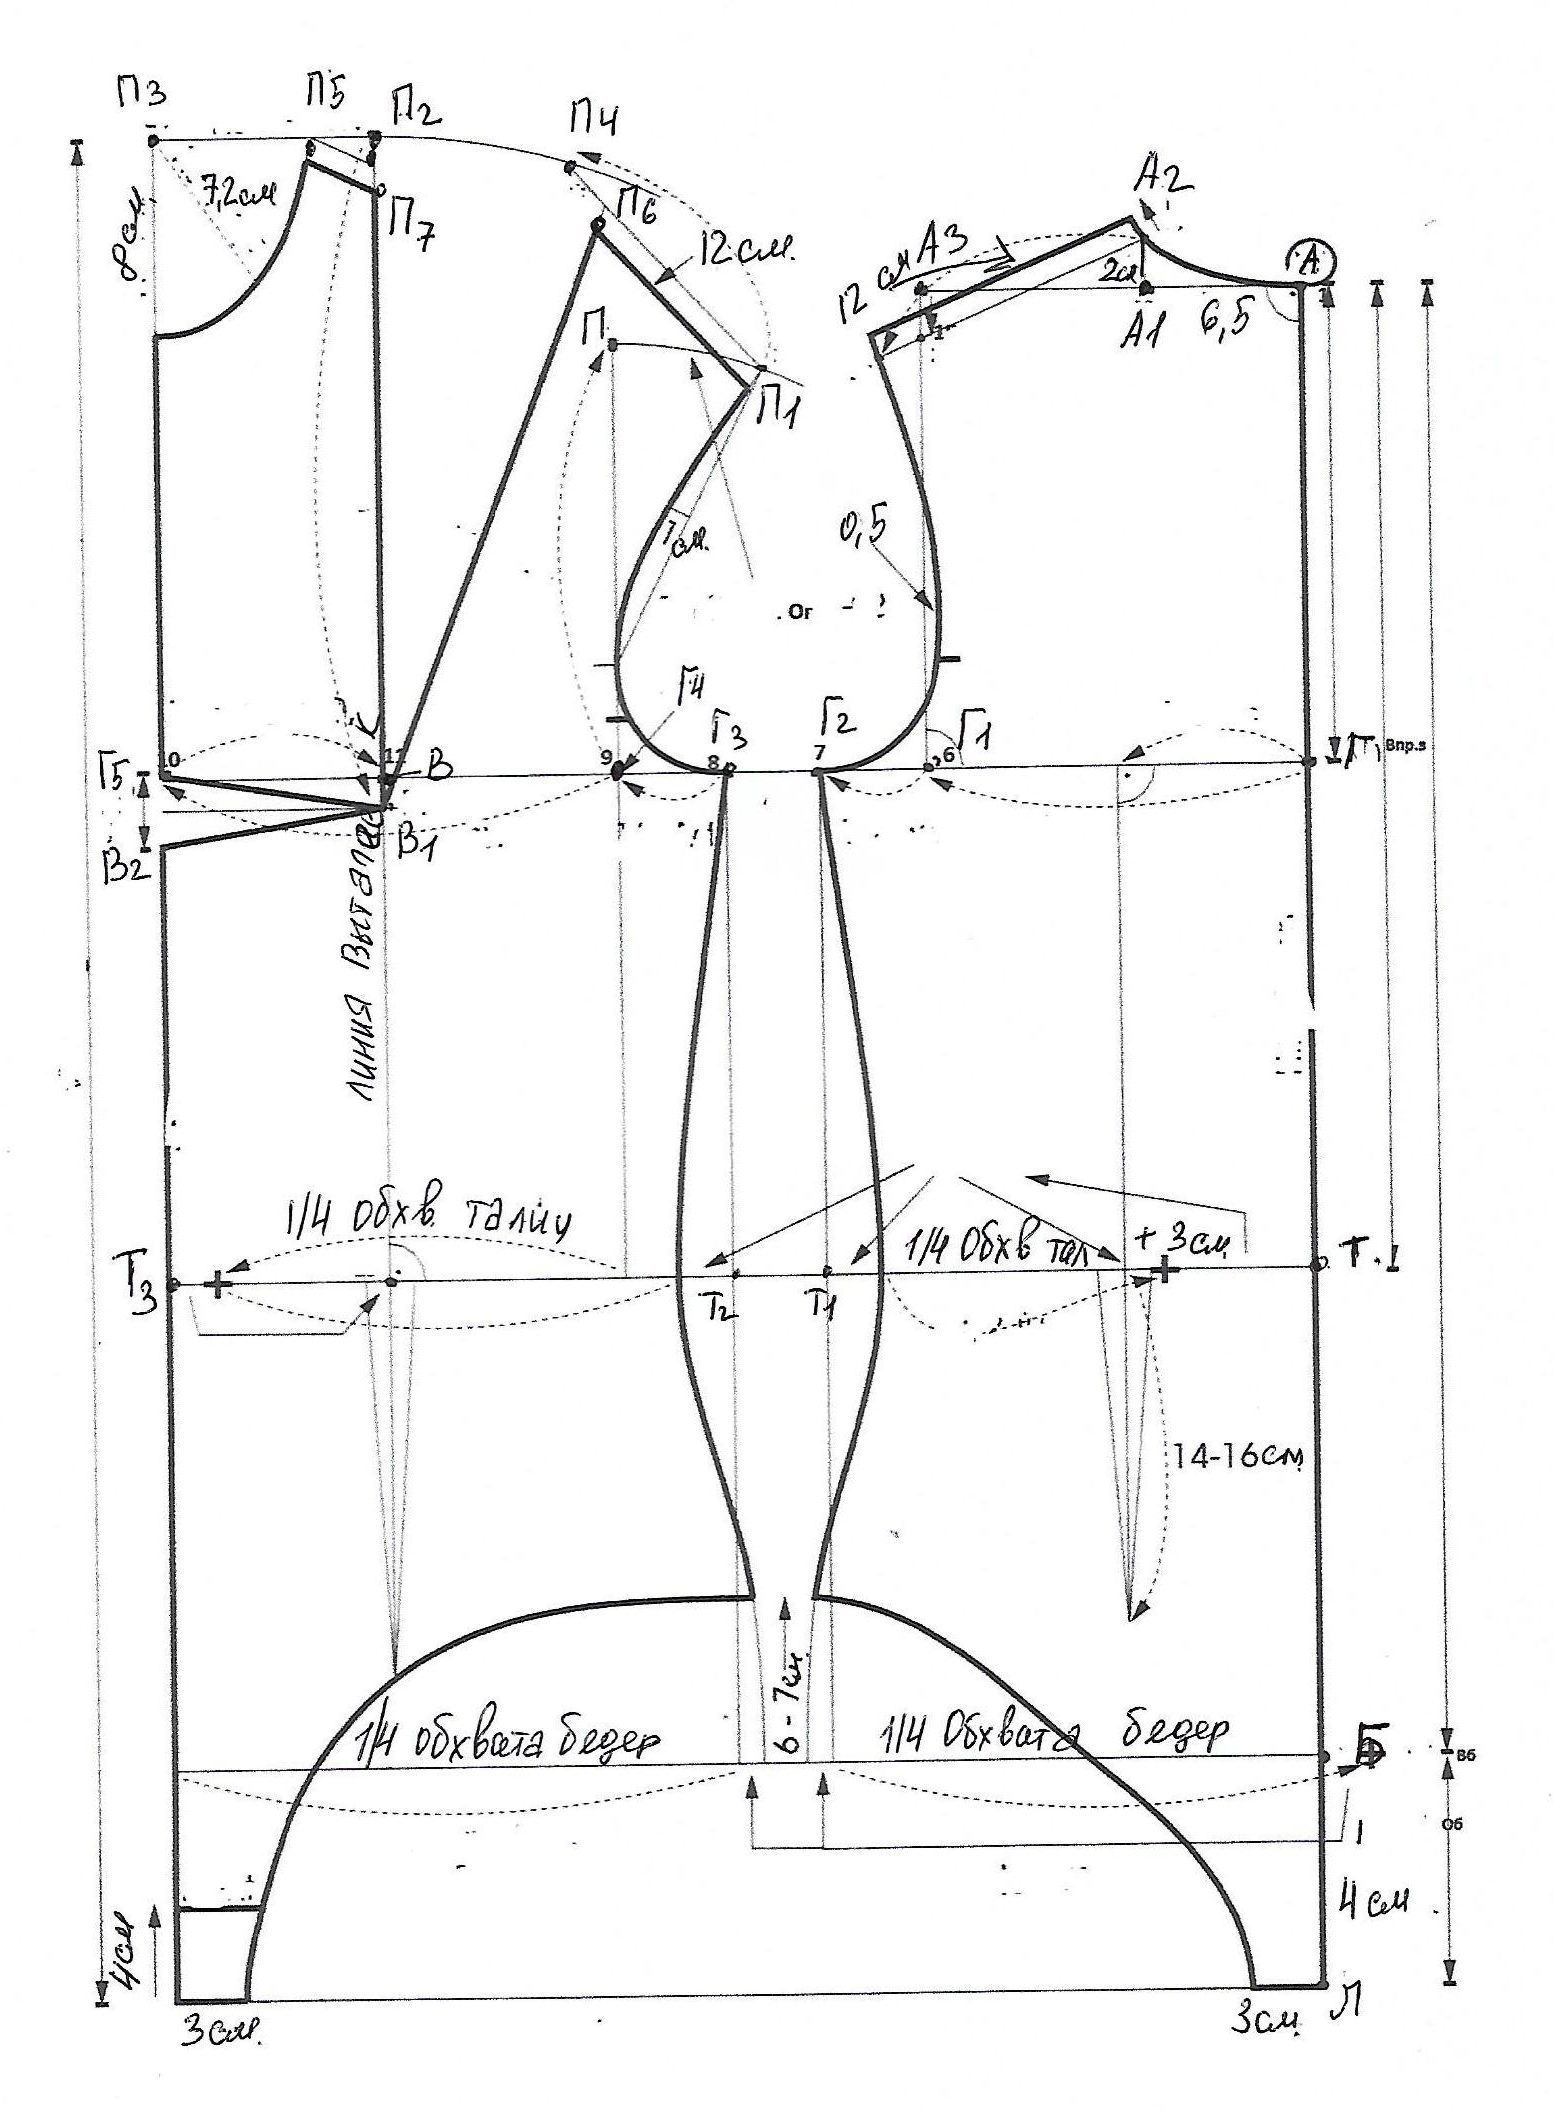
- From the previously obtained mark P1 we set aside Dpl. This will be mark P6.
- Neck. From P3 to the right we put aside the third part Posh +5 mm, so we got P5.
- P4P6=P2P5.
- В1П7=В1П6.
- Shoulder – P5P7.
- From mark P3 we draw an arc.
- We draw the neck smoothly from P5.
- For the armhole of the front part, we set aside the fourth part of the shp from G4.
- Smoothly draw out the armhole.
- From point B1 we draw a line perpendicular to the middle of the front.
- They will intersect at point B2. From it we set aside half the length of the front.
- We draw out the dart.
- We fit the front and rear parts. To do this, from the marks T and T3 we set aside the fourth part O, plus 15 and 30 mm. respectively. See the picture.
- Carefully draw the lines of the sides.
- For the front gusset, we set aside another 4 cm down and 3 cm to the right from the bottom.
- The gusset is necessary for fastening; for this item of clothing it is usually located at the bottom.
- We carefully draw the contours of the cutout for the legs.
Important! If you want your bodysuit to fasten at the top, be sure to mark the fastening lines.
Bodysuit with straps and cups
If you want to sew a bodysuit with straps and cups, then you should modify the pattern. For example, like this:
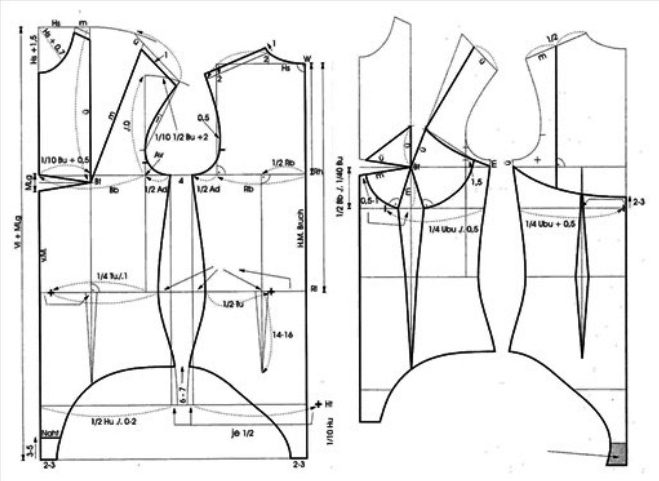
The picture shows the previous pattern, as well as how to make a bodysuit with tailored cups from it.
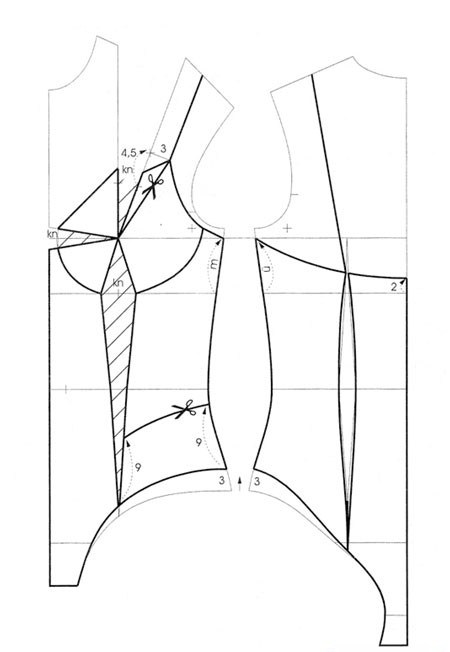
- Remove the excess from above.
- We draw out a new top edge, do not forget to immediately mark the places where the straps are attached.
- We now have vertical darts.
- The dart in the middle of the chest remains in the same place, the top one is closed and cut through the waist.
- The calyx consists of several elements.
- Along the back we greatly cut out the upper part.
- Extend the gusset at the back.
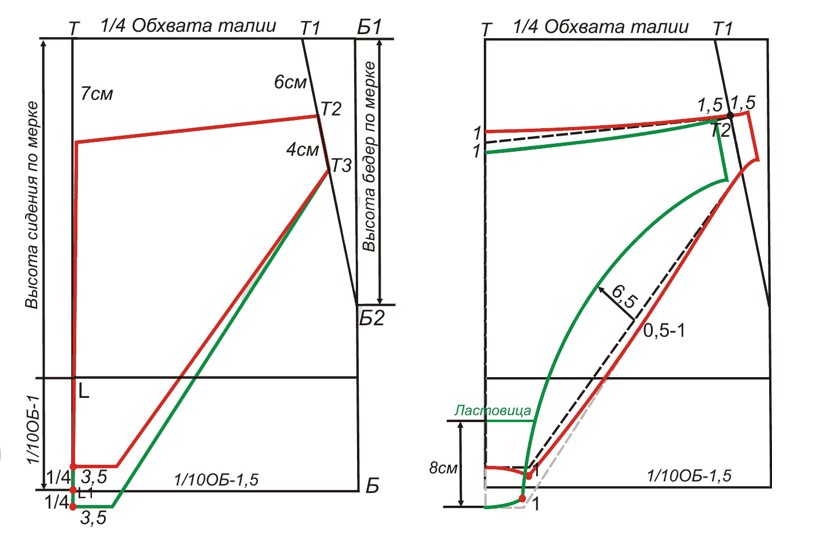 The shape of the panties can be changed to your liking, as well as taking into account the purpose of your bodysuit.
Wrap bodysuit for plus size ladies
You can make a bodysuit with a wrap, then we will have left and right shelves of different shapes along the upper part.
For plus-size women, this is a real find.
The operating principle is shown in the figure (size 54).
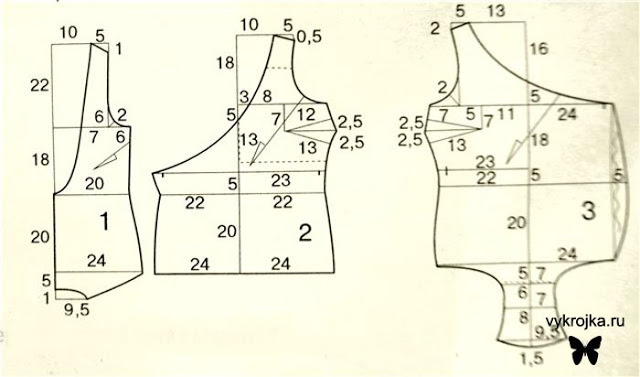
Important! Please note that the shorter shelf remains in the background.
Other types of bodysuits
Several ready-made models for different sizes:
Model 1. Sleeveless bodysuit made of low-elastic material (size 46 height III).
 Model 2. Bodysuit, cut across the chest, with reliefs. We use medium elastic fabric (size 52).
This model has a bodysuit The operating procedure is slightly different from the others:
- We sew the darts on the back.
- We sew the sides of the shelf with the middle.
- We sew the front darts.
- We fix the upper and lower parts of the front with pins.
- Let's grind.
- Sew the halves and shoulder seams.
- We process the cuts.
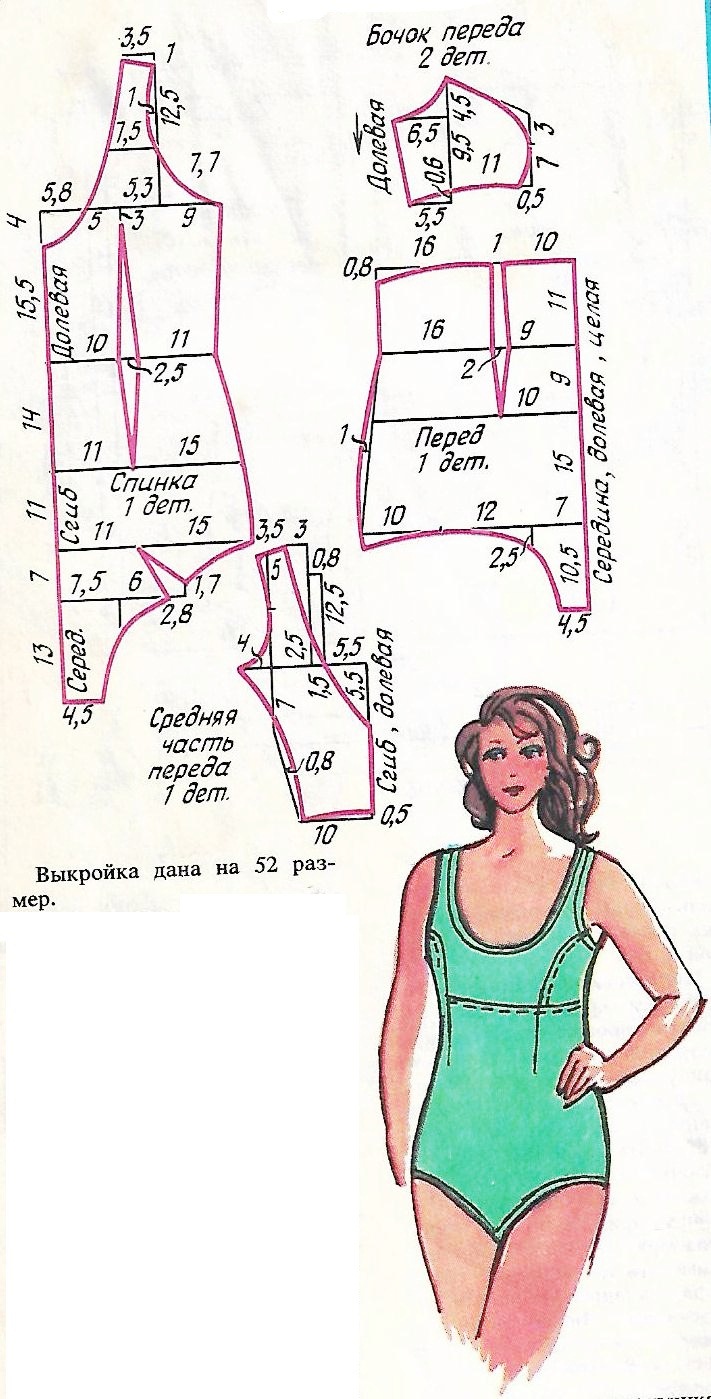
Bodysuit for plus size ladies size 52
Sewing a bodysuit
Required:
- Fabric – 1.2-1.5 m, depending on size, with a width of 150 cm.
- Elastic braid or trim for edging sections, necklines, armholes, leg openings.
- Cotton scrap for gusset details.
- Threads.
- Sewing machine.
 Progress:
- Cut out the pattern pieces.
- We lay it out on a pre-treated fabric, outline it with chalk or soap, do not forget about the allowances of 0.5 cm. If the fabric is very elastic, then the allowances are minimal - 2-3 mm.
- We sew the darts, make small knots at the beginning and at the end - tacks.
- Sew the side seams.
- If your bodysuit has sleeves, then cut out the sleeves and sew their side seam.
- We sew sleeves into the open armhole.
- We turn them over at the bottom and hem them.
- We make the gusset two-layer, the inner part is cotton.
- We sew the fastener so that its sections are between two layers of gusset and do not rub the skin.
- We edge the leg openings, armholes, and neckline with elastic tape.
Let's try on the finished product.
Tips for making a bodysuit
Each product has its own secrets:
- As a basis for the body cups, you can take ready-made bras.
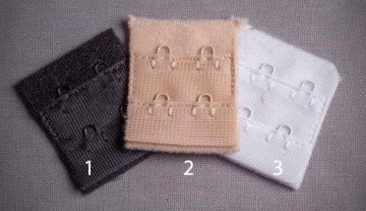
- It is also better to buy fasteners, straps, and fasteners for straps at a hardware store.
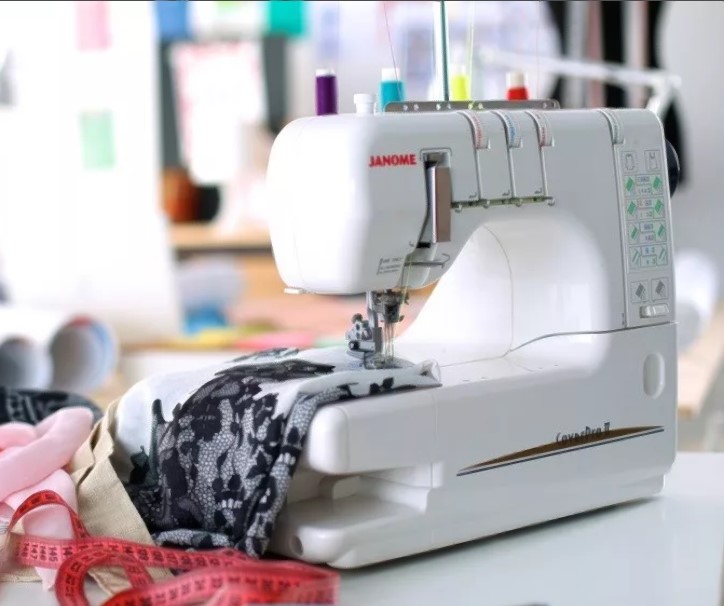
- An overlocker or a sewing machine with a cover stitch is ideal for sewing. If this is not the case, then all seams on elastic fabrics are made with a zigzag stitch. A double needle will also come in handy. Even Soviet sewing machines have a special knitted zigzag stitch.
- Don't forget to make a pattern for the gusset; it will additionally be sewn into the bottom of the bodysuit.
- Ideally, after constructing a pattern, it is tried on, pinned, and adjusted. Then a model is sewn from cheap fabric, all changes are made to it, only after that expensive lace is used.
- The back and front parts are cut with a fold, without a seam in the middle, only if this is not provided for in advance.
How to correctly determine your bra size?
The bra does not imply a loose fit, it should fit like a second skin, at the same time be comfortable, not rub or squeeze the breasts, and at the same time support it well.
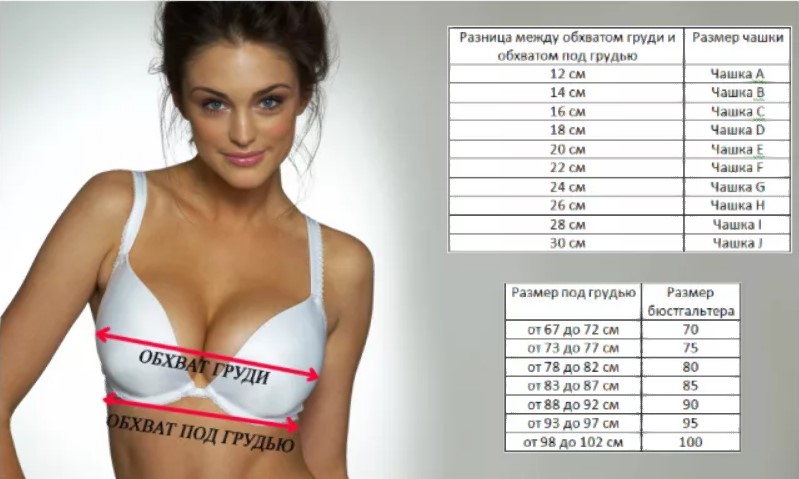
Important! Bra size is determined by the difference between bust volume and underbust volume.
Bra Cup Size Chart:
A bodysuit is, above all, about comfort. You definitely won’t regret the time spent on making it.


 0
0