 Although children grow very quickly, this does not mean that you need to buy a new school uniform every new school year. For example, you can buy trousers for school for a first-grader to grow out of and pad them for the first time. In a year it will be possible to lengthen them and, if there is a supply, repeat the procedure again.
Hemming a student's trousers at home
It won’t be difficult to shorten a boy’s school trousers at home, even if you don’t have a sewing machine. You can even use glue for this. Or hem it by hand. The main thing is to take correct measurements and follow the recommendations of specialists.
Options for hemming trousers
There are several shortening options:
- cutting;
- non-cutting.
The obvious difference between the two is that in the first step the excess fabric is cut off, while in the second step it is hemmed inside. Since if you shorten children's trousers, you want to be able to lengthen them back in the future, we will consider the option without cutting.
How to hem a child's trousers without cutting them
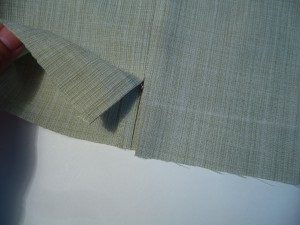
As a rule, trousers are sold with unhemmed hems so that the buyer has the opportunity to adjust them to his height. If the purchased product has a finished look and requires shortening, then you will first have to rip open the bottom and iron out the factory fold. This will result in a single-layer trouser leg with an overlocked edge. This is exactly what you need to work from home.
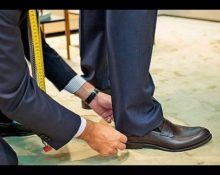
There are several ways to hem a hem, but they all start with trying it on and marking the required length. Most often, the length is made to the middle of the heel, but if the style is narrowed, then it is better to make it a little shorter.
ATTENTION! If you can’t try it on, you can mark the length using other trousers of the right size. Measurements are taken along the inner crotch seam.
Next you need to decide whether to sew by hand or on a sewing machine.
Hemming trousers by hand
Processing the bottom of trousers by hand is accessible to everyone. To do this, you only need the trousers themselves, threads to match the product and for basting, a thin needle and chalk.
It is hemmed as follows:
- The bottom of the product is marked with chalk and duplicated on both trouser legs.

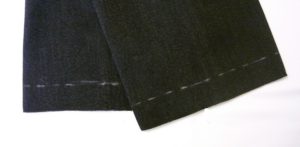
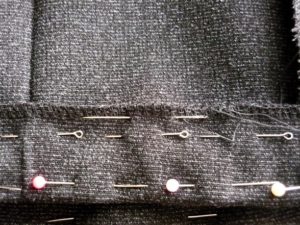
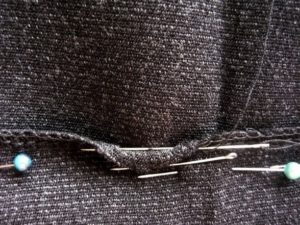
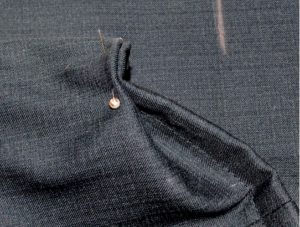
- The excess is folded inward to the marked line. It is basted with a double stitch so that the side seams on the main length and on the hem coincide. Instead of thread, you can use tailor's pins.

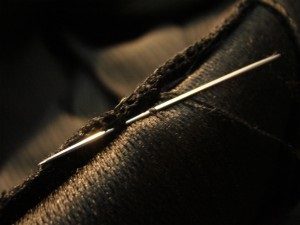
- The edge is sewn with a hidden seam: the thread can pass both inside two layers of fabric and outside on the wrong side, but only a couple of threads are caught with a needle on the front side of the trousers.

- The basting is removed, the trouser leg is straightened and smoothed.
Hemming on a sewing machine
To prevent the bottom of the trousers from wearing out longer, trouser tape is used. It can also be sewn by hand, but a machine stitch will be more reliable.
To work you will need:
- trousers with loose hems, overlocked around the hem;
- trouser tape to match the product;
- threads to match the color of the product;
- basting thread or tailor's pins;
- chalk or piece of soap.
The hemming process is as follows:
- The required length of the product is marked with chalk on both legs.
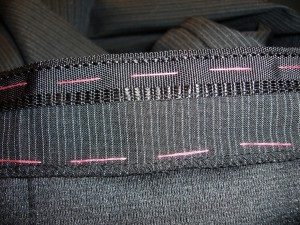
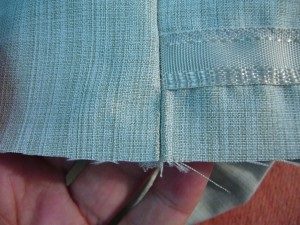
- The trouser tape is laid out along the mark on the front side so that its thickened edge is on top and overlaps the inflection line by 2 mm. Secure with basting or pins.

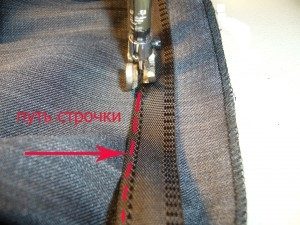
- The ribbon is sewn on by machine. First, the edge is sewn along the fold line along the textured strip in a circular manner, that is, overlapping. Then the second side.
- The basting is removed and the braid is ironed.
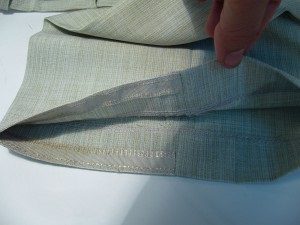
- Excess fabric is folded inward along with the trouser tape along the fold line. In this case, the tape should protrude evenly by 2 mm. The hem is fixed with threads or pins, especially carefully straightened along the side seams.

- The edge of the hem is sewn with a hidden seam on a machine; if there is no special foot, it is sewn by hand.

- The bottom is ironed, the basting is removed, and ironed again to consolidate the result.
Sometimes it happens that you need to shorten your trousers, but there is not enough trouser tape in the desired color. In this case, you can make a hem with tape only along the back edge, since it wears out more during wear.
Progress:
- First, after marking the length, you need to unravel the side seams from the bottom to a mark 2 cm above the fold line.

- Next, you need to sew the trouser tape, as usual, but only on the back.
- The side seams are then sewn together. The ends of the braid are on the wrong side.

- After this, the edge is folded, sewn and smoothed, as in a regular machine shortening.

These methods are good, but if you actively wear trousers, the fold line will still be wiped out, even with a trouser tape.In the future, when you need to lengthen them, a trace of the bend will be visible. To prevent this from happening, it is better to use a different shortening option.
Hem so that the fold does not wear out
When shortening school trousers, it is important to be able to lengthen them back in the future. The most suitable way for this is the following:
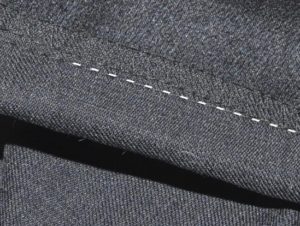
- Fold the bottom edge by 1 cm, sew with a stitch in 4 mm increments.

- On one trouser leg, mark the required length of the product.
- On the second trouser leg, make a fold inward so that the bottom edge protrudes 2 mm from under it and is level with the length mark.

- Secure the fold with pins and sew on a machine with a seam in increments of 4 mm.
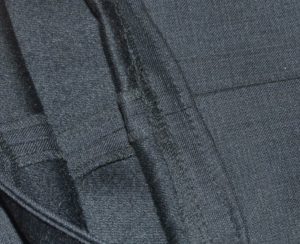
- If the length to be placed is large and the fold is wide, you need to hem it from the wrong side with a hidden seam. If the fold does not sag, you can leave it like that or fasten it along the side seams.

- Shorten the second leg in the same way.
Next, you can hem the trouser tape along the bottom edge on the inside. However, even if the bottom edge wears out, when lengthened, the hem seam will rip open and the bottom can be trimmed and re-lined.
Some tips
Recommendations to help avoid serious mistakes when shortening:
- The length of the product is measured when trying on shoes. If you plan to wear trousers with a belt, then you should also wear it when measuring.
- For a better visual picture, the rear edge can be slightly lowered in relation to the front. To do this, the measured length after the side seam along the back half is gradually lowered by 10–15 mm.
- Additionally, to fix the hem, you can use adhesive web, but it does not exclude threads. After several washes, the web may lose its adhesive properties, so to be on the safe side, the hem is stitched.
- For hemmed trousers, the bottom is ironed from the inside to prevent the hem from being imprinted on the front side.


 0
0
