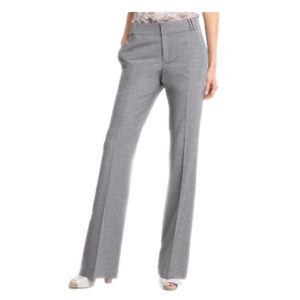
 Cutting and sewing women's trousers is a complex process and requires serious attention and precision. The key to success is strict adherence to instructions. Each action must be performed sequentially, not forgetting about small details. Below is a step-by-step guide to successfully creating perfect-fitting women's pants at home.
How to sew women's trousers with your own hands
To increase the speed of sewing clothes, you need to prepare for this process in advance. Tools you may need:
- sewing machine with spare replacement needles;
- threads;
- scissors;
- chalk or washable felt-tip pen for cutting fabric;
- sheets of paper (preferably graph paper) for creating patterns; pencil;
- meter wooden ruler;
- flexible measuring tape;
- pattern;
- iron.
 It is also necessary to prepare material for potential trousers. It is advisable to use only one type of fabric for one item, because different types may react differently to washing, ironing, etc.
Before sewing, the material must be washed and dried. This is done in order to get rid of natural shedding and possible shrinkage.
IMPORTANT! In order for the fabric to be obedient, it should be “compacted”. To do this, generously rub the fabric with simple hard soap and squeeze out the remaining liquid a little without rinsing. Next, dry it and start cutting. After finishing work, wash again with double rinsing. If you follow these rules, the resulting item will not shrink much and will have a perfect seam.
The process of creating any new thing is divided into several stages:
- Development and construction of patterns.
- Carrying out cutting of material and joining of components.
- Fit.
- Final tailoring.
Let's get started!
How to sew women's trousers with the perfect fit
For an ideal fit of sewn trousers, it is necessary to take measurements accurately and according to all the rules, and also strictly follow the instructions for constructing the pattern.
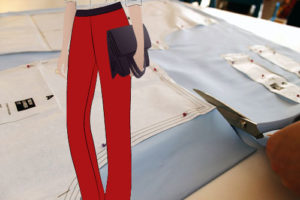 It is necessary to take into account the characteristics of a person’s figure, because a special style of clothes is suitable for overweight women. The quality of raw materials for making new clothes plays a very important role, because the properties of the item depend on the type of fabric. The greater the advantages of the material, the more functional and high-quality the clothing will be.
Pattern construction takes up most of the entire process. The success of the final result depends on it. The pattern drawing is applied to plain paper. First, the basics of the pattern are drawn, and then the classic style of women's trousers.
ON A NOTE! The pattern design is conveniently applied to a cellophane sheet, which can be purchased at a hardware store. This is very convenient and practical, because the service life of this material is long!
Taking measurements for the cut of women's trousers
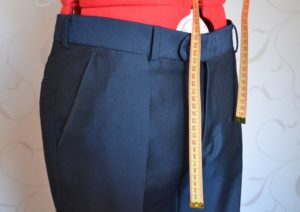 It is advisable to take correct measurements in underwear using a flexible centimeter tape. This will eliminate measurement errors as much as possible, which is necessary for the best result. Hold the tape with the numbers facing out.
During this process, you need to stand straight, trying not to hunch your back.
ON A NOTE! Before taking measurements, you can tie a small rope around your waist for greater accuracy. Using this technique, the measurement lines will be clearly visible.
How to take measurements correctly
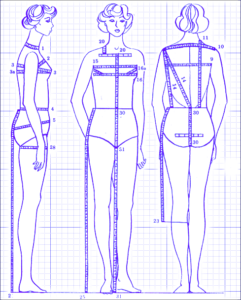 When taking measurements, you should not grasp the desired circumference too tightly, but not too wide. A tight fit of the tape to the body with the possibility of its sliding is required.
To sew women's trousers, you need to measure the following values:
- Semicircles of the waist and hips. The waist is measured at its narrowest point (located above the navel). Hips - at the widest point in the buttocks. The result obtained for both measures is divided by two.
ON A NOTE! To take into account all the features of the figure, you can define a segment in the “breeches” area. This is the maximum length of the bulge at the hips. If it is larger than calculated on the buttocks, this result should be taken to calculate the pattern.
- Knee length. This is the distance from the model's waist to knee. The measurement is taken from the front.
- Side length. Distance from the waist to the bottom of the leg. Measured from the side, the measuring tape fits snugly around the waist and hip.
- Bottom width. The desired width of the trousers is taken into account based on the style of the product.
- Half knee circumference. Measured parallel to the floor; the measure is divided in half.
- Hip circumference. This is the largest part of the upper leg, which is located below the groin area.
- Calf circumference. The maximum width of the calf muscle, which is located below the knee, is measured horizontally.
- Ankle circumference.Horizontal dimension.
- Seat height. This measurement is taken while sitting. The distance from the waist to the seat surface is taken into account. A vertical measurement taken perpendicular to the floor.
Basic designations of measurements on a pattern
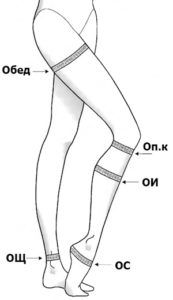 A pattern drawing is a diagram that can be followed to make any fashion item from a piece of ordinary fabric. This figure clearly and concisely shows the basic designations of measurements and their sizes.
The following abbreviations are used for sewing trousers:
- St - Semi-circle of the waist.
- Sat - Semicircle of the hips.
- Dbk - Length of trousers to the knee.
- DB - Side length.
- Shn - Bottom width of trousers.
- Sk - Half knee circumference.
- Sun - Seat height.
- Fri - Increase in waist (for free relief).
- Pb - The increase in hips Pt and Pb depends on the individual characteristics of the person’s body and on the style of the trousers. For an average figure it is allowed: Pb=1 cm; Pb=0.
How to build the basis of a pattern for women's trousers step by step
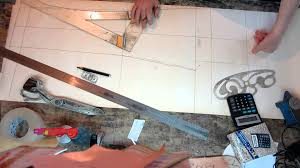 The basis of a women's trouser pattern is two correctly drawn figures. For their accurate calculation, all taken measurements are transferred to a sheet of paper. Stages of drawing construction:
- We measure the length on paper based on the scale of the drawing.
- We make markings along the width for greater convenience.
- We indicate additional symbols that are needed to correctly create trousers.
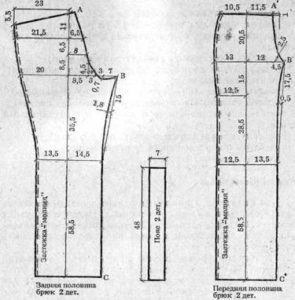
For example, we use the calculations indicated in centimeters:
St=41
Sat=54
Dbk=59
db=103
Shn=24
Sun=27.6
Fri=0
Pb=1
Hip circumference=108
Waist=82
Development of the front half of the base for women's trousers
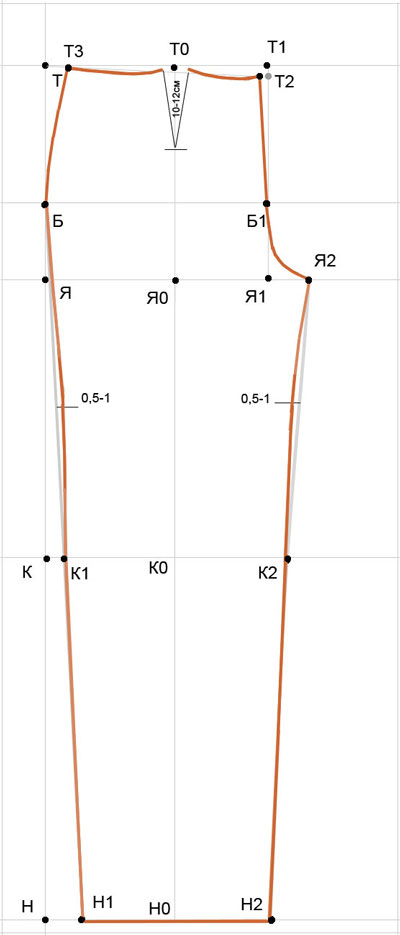
Let's calculate the width of the front half of the trousers using the formula:
Shppb=1/4*hip circumference-1 centimeter=1/4*108-1=26
Width of the back half of the trousers:
Шзпб= 1/4*hip circumference+Пб+Пт=27
¼ Шзпб=6.75
- To correctly construct a pattern, you need to draw two perpendicular lines, where O is the point of their intersection. From it you need to set aside the segment OA=Shppb=26.
- From the same point we draw a vertical segment OB=Vs=27.6; perpendicular Shppb. There we measure OK = Dbk = 59 and OH1 = Db = 103.
- From point B up we measure BB1=1/10*Sb+3=8.4
- We draw horizontal perpendicular lines from points B, B1, K, H1.
- From point A, lower the line down to the line coming from B. The resulting intersection points are B2, C.
- Section B2B3= 1/10*Sb+1=6.4
- B1B3 needs to be divided into two equal parts, from which point B4 is obtained.
- The dividing line of the trouser arrow is drawn through this point. A2, B1 are formed.
- From point B1 in both directions along the line you need to measure the segments: Н1Н3=Н1Н2=1/4Шн-1=5.
- Draw the segments B1H2, B3H3. From this we obtain points B0, C1, K2, K3.
- From B2 measure 0.5.
- Measure point C1=C2 up vertically in a straight line. Draw the segment C1C2.
- A1A3 is approximately equal to 1. Draw a rounded line from A1 to C1C2. Connect A3 and C1 using a pattern.
The front base is ready.
Development of the back half of the base of women's trousers
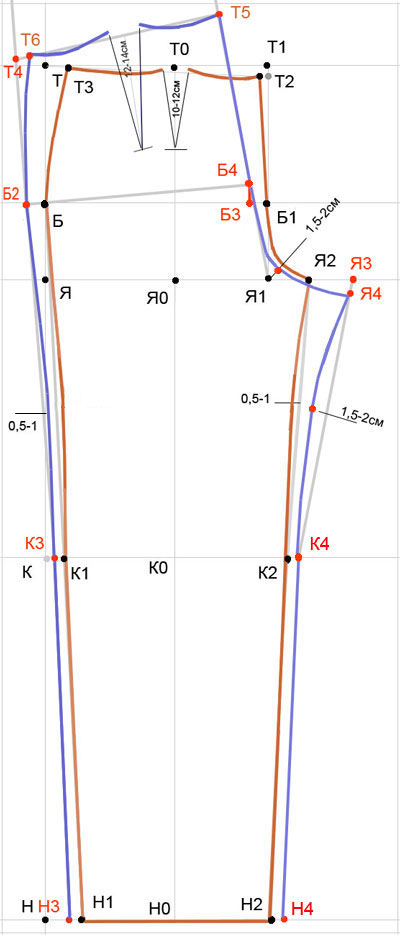
After drawing the front of the trousers, the back is drawn.
- From B4 you need to measure 1 cm. The result is a segment B4B5 = 1 (this is necessary to remove the arrow of the back half of the trousers). Draw B5K1 with a thin line.
- From B5, draw B6 to the right, where B5B6 = 1/4 * Шзпб = 6.75.
- From B0, put 4 cm up the drawing.
ON A NOTE! On trousers for figures with full buttocks, this coefficient will be 3; with a body structure with flat buttocks - 5.
- Cross G and B6. From B6, draw a perpendicular to GV6 up and down.
- Make a segment Г1Г2 = Шзпб=27.
- Draw segment G1G2 parallel to B6G so that G2 is on segments H.
ON A NOTE! When developing and drawing patterns, it is convenient to use a measuring triangle.
- Create point G3, where V5G2 = V5G3.
- Draw a point K4 and K5, setting aside 2 cm from the line of the side and step seams. Form a segment K5G3.
- Draw a line from K4 through G2 to the waist - point T appears.
- Draw T1, where K1T1 = K1T, while T1 should lie on the straight line of point B6.
- Connect segment TT1. From T1 measure 0.5 and get the segment T2B6.
This part is also ready. All that remains is to transfer them to the fabric and cut them out.
Pattern of classic women's trousers
To create a pattern for classic women's trousers, you need to calculate the darts of the back and front halves and correctly draw the lines of the middle seam for further work with the material.
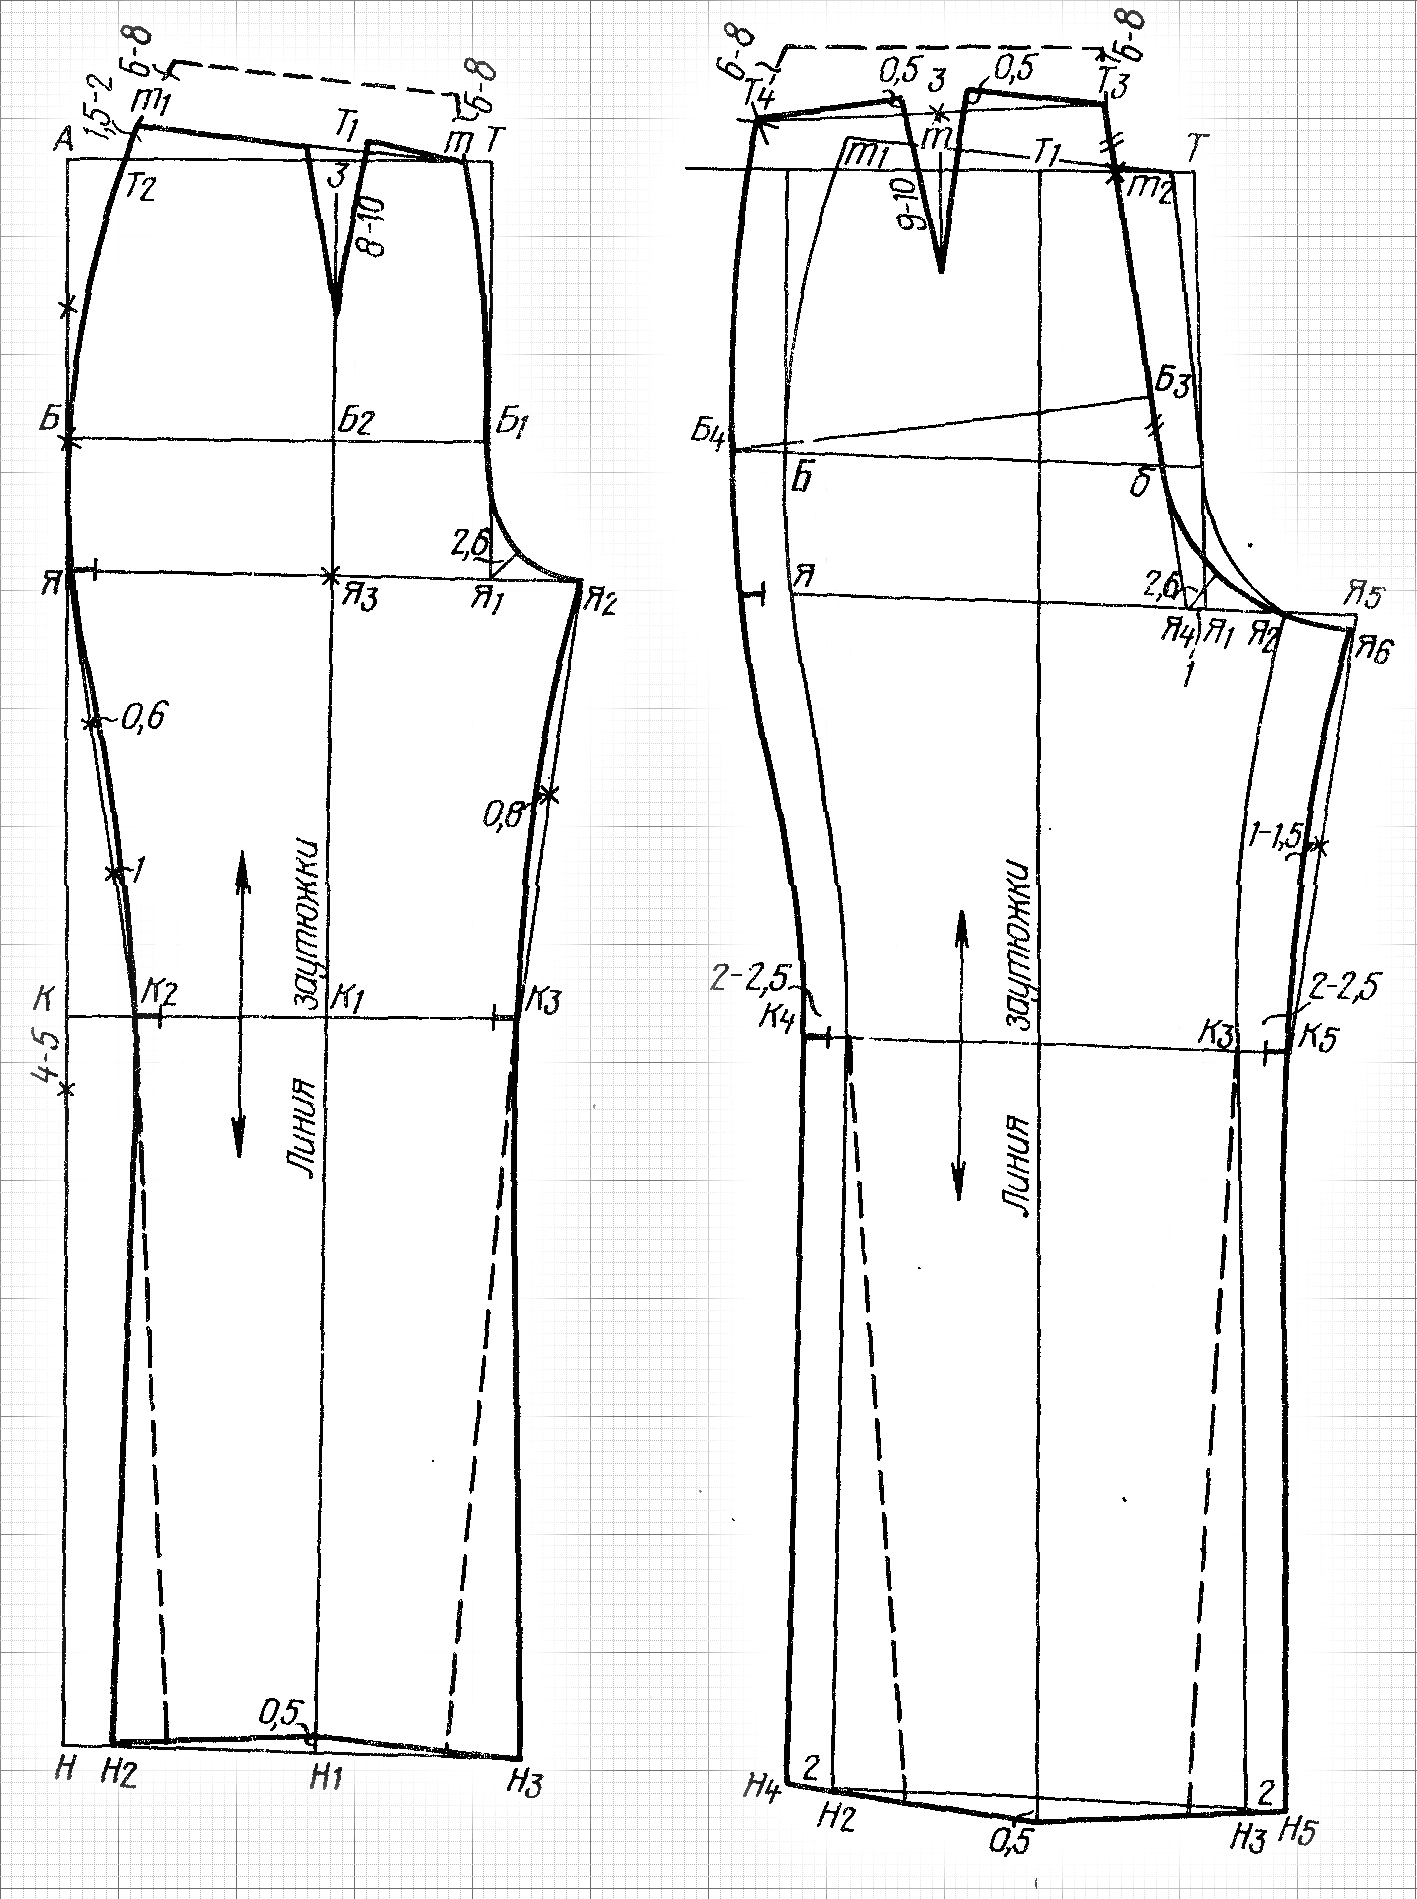
Front half dart.
- Measure A3A4 = 1/4 * Waist + 2 (for dart) + 0.5 (for fit) = 23.
- Raise A4 by 0.5 and use a template to connect the resulting curved segment.
- Divide the length between A2 and 0.5 equally, draw a perpendicular to the line of points B.
- Make a dart line with a depth of 10 and a width of 0.5.
Back half dart.
- Т2Т3=1/4*Waist circumference+3 (back half dart)+0.5 (for a good fit)=24.
- dB=103, as on the front.
- T2T3 is divided equally. The tuck will be 13 cm long and 2 - 3 cm wide. It is drawn perpendicular to the waist.
- K5G4=S1S3-0.5
- Using a pattern, connect V6G4. This will be the middle seam line.
How to sew women's trousers with your own hands: step-by-step instructions for beginners
To sew trousers with minimal material costs you need:
- Using the calculated patterns, cut the fabric.
- Grind down all the details of the drawing.
- Adjust the material.
- Carry out final assembly of components.
Let's look at all the steps outlined in more detail.
Making fabric cutting
 For ease of work, the formed patterns need to be cut out of sheets of paper with scissors, using chalk or a washable felt-tip pen. All parts are distributed onto the fabric from the largest to the smallest.
Sew down the details
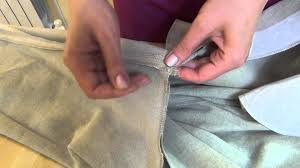 After distributing the components, you need to mark all the lateral control points of the drawing for the correct drawing of the drawing lines. The width of the lines should be one or two millimeters.
It is necessary to take into account seam allowances, which depend on the quality of the material.
IMPORTANT! If the threads fall out abundantly from the cut edge, it means that there is more to retreat (about 3-4 cm).
After double-checking each size separately, you need to cut out all the components.
We make adjustments
To ensure the pants are the correct size, the front and back pieces are secured with sewing pins and compared to the proportions of the model. At this stage, errors are corrected, if any error was made, the convenience of landing is taken into account.
Only after making sure that the measurements are correct, the parts are assembled and the product is sewn.
Final assembly of parts
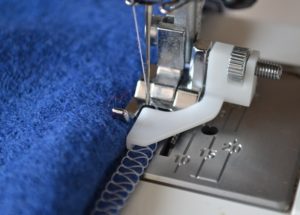 Instructions for properly sewing trousers:
- Sew the darts.
- If there are pockets, they need to be stitched (connected on one side).
- Sew and overcast the side sections.
- Sew the internal sections.
- Sew the seam of the seat.
- Overcast the existing fastener.
- Sew on the belt and braid.
- Tuck and trim the pant leg allowances on the trousers.
- If there are buttons, sew them on.
Now you can wear trousers that you sew yourself.
Important tips for quality tailoring of women's trousers
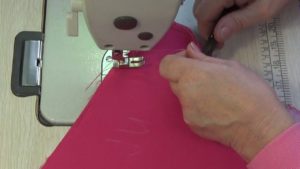 To ensure the job goes smoothly, consider the following tips:
- to sew classic women's trousers, you need to choose dense, high-quality fabric that can withstand systematic ironing (for example, cashmere or cloth);
- always use decatering (washing and drying the material) before work;
- when connecting component parts, it is advisable to use an iron to smooth out the seams;
- After finishing work with the sewing machine, you need to iron the trousers again, not forgetting about the front arrow.
If you follow all the instructions completely, you will get excellent classic women's trousers with a perfect fit! Good luck with your work!


 0
0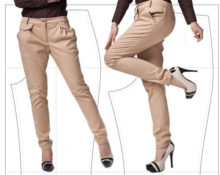


it is impossible to construct - the letters in the calculations and in the drawings are different, for example, the segment b2b3 - where?
According to the methodology, it is impossible to create a pattern. The description does not match the picture.
What is what? The instructions have some letters, the drawings have different ones. Why then write all this at all?