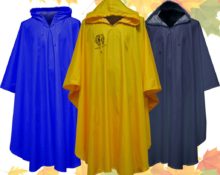
 Rain nowadays is an all-season phenomenon! Even in winter it ceased to be a rarity. Protecting yourself from heavenly moisture and preserving your clothes is a task that every person faces.
It is not always convenient to take an umbrella with you, since not every model has miniature sizes. But you can put the raincoat in your purse and forget about it until the heavenly drops remind you.
Ideally, there should be a lot of raincoats. Each family member needs a few to put into their bags and backpacks. And he will help out more than once at the dacha.
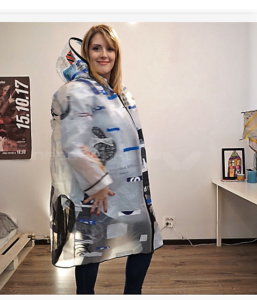
Of course, you can go to the store and make a bulk purchase there. But we offer another option - to sew raincoats with your own hands. Moreover, approach the matter creatively and use not the base, not banal polyethylene, but plastic bags. This way you can create unusual, original and at the same time practical raincoats.
IMPORTANT! Making raincoats from bags is not only profitable, but also very useful from an environmental point of view.
We will tell you how to use different bags for such unusual recycling: milk and garbage.
Technique for creating polyethylene fabric
Let's start with preparing the material. There are different ways to connect bags into a whole fabric: sew them together or 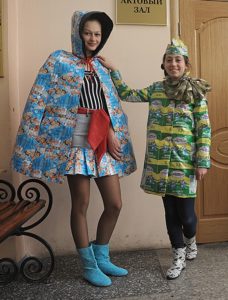 straighten with an iron.
Sewing milk bags
- Packages carefully cut into rectangles same size.
- Rinse thoroughlyto remove excess product, dry.
- We process the reverse side using a sewing machine. In order to securely secure the flaps of material, it is recommended to use a zigzag stitch.
- When the canvas is ready, you can start cutting and sewing.
Reference: A wide range of products can be sewn in this way.
Making fabric using an iron
Heat treatment, proposed by designer Galina Larina, helps create elastic and durable fabric, which is useful when sewing raincoats. Any unnecessary packages can be used here.
Advice: Make sure that the surface of the bag is undamaged.
- Polyethylene products carefully straighten, cut off the bottom seam, handles.
- Place on parchment paper. In order for the sewing material to be durable and resistant to damage, it is necessary to lay out several layers. The best option would be at least 6-8 layers of bags.
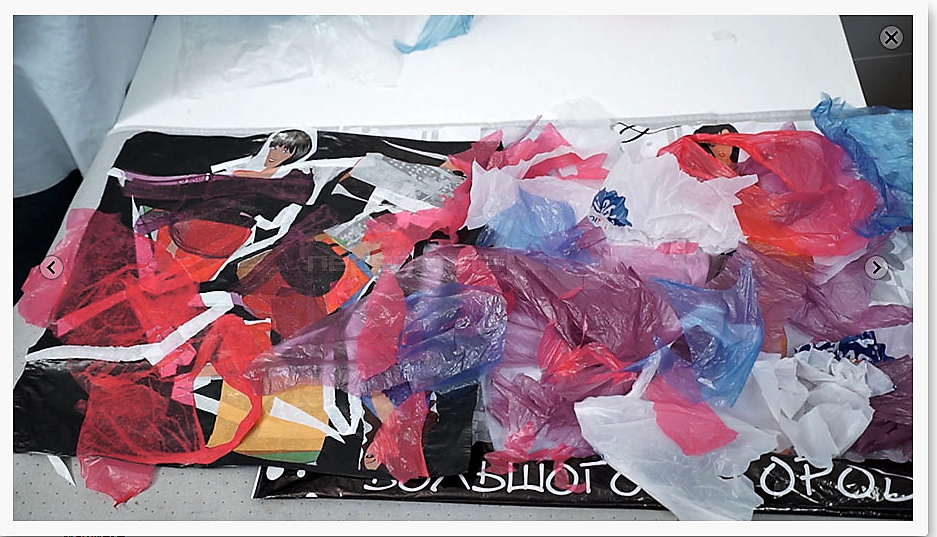
- Above cover the foot with a sheet of parchment paper. Within a few minutes, the layer is processed with an iron.
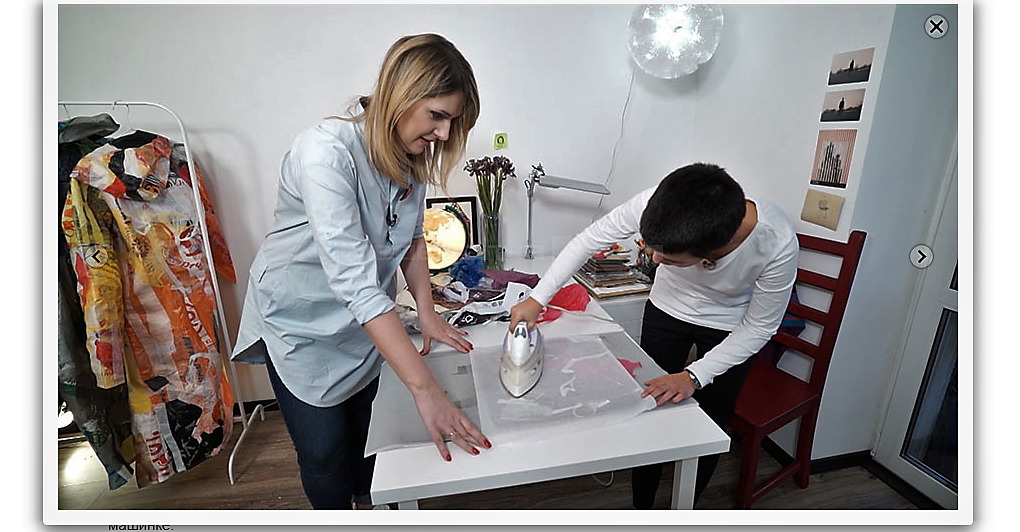
- When finished, you get a single sheet of fabric material that is suitable for sewing.
Reference: before you start ironing, you need to select the optimal temperature.
To do this, iron a small flap and carefully monitor the result.
We sew a raincoat
When our canvas is ready, we move on to making the cloak.
Pattern
When preparing patterns, it should be taken into account that the finished product should have a free size, as it is worn over the main clothing. You can use a shirt or nightgown as a basis. When forming patterns, you need to add a few centimeters to make the cape loose.
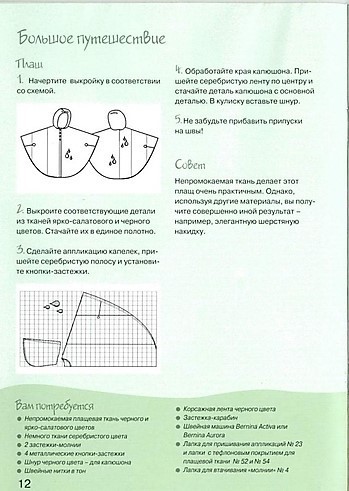
A one-piece raincoat resembles an apron, as it is worn over the head. To do this, measure the neck circumference, shoulder width, and record the length. We mark a solid product on the material and outline a cutout for the head. Waist circumference measurements are required to make the laces. The pattern for them is prepared from the same material.
To create a hood, you need half the volume of the head and its height.
Important! When creating a pattern, you should add 1-2 centimeters for seam allowances, and also leave a few centimeters for a loose fit.
Completing of the work
After preparing the pattern, you can start sewing. 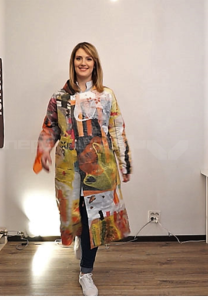
- We carefully cut out the patterns according to the contours.
- We sew the parts from the wrong side.
- It is recommended to sew the side seams with a zigzag stitch.
- We carefully bend the allowances and start working on the sewing machine.
- The neck area is stitched in the same way. To make it more attractive, you can sew bias tape in a bright shade in the throat area.
The presence of additional fasteners depends on personal preference. We process the shelves with a regular stitch. We outline the location of the buttons on both sides. When using buttons, it is recommended to make the front half a little wider compared to the back.
The hood will help protect your head from raindrops.In order to provide additional protection to the neck, it is recommended to sew a hood with a cape.
There are more and more packages in every home. We can easily get rid of those that have become unnecessary. They will come in handy when creating original and necessary wardrobe items.
The process of sewing a raincoat from bags will go quickly, and the product will be original, high quality and will be able to reliably protect you even in pouring rain!


 0
0