growmyownhealthfood.com
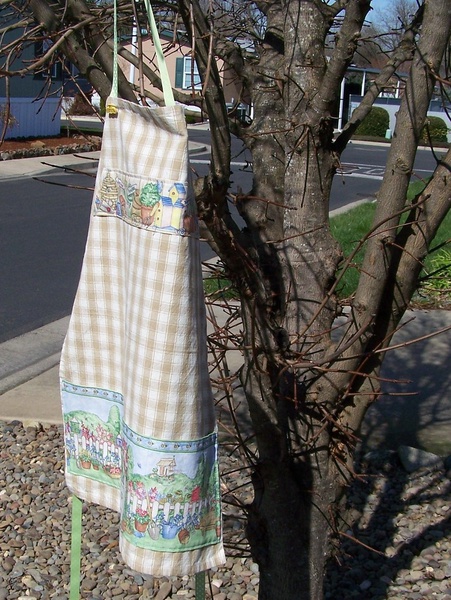
An apron for the garden is a necessary thing in the country that every housewife needs. You can buy a finished product in a store or spend a little time and sew it yourself. The ideal material is raincoat fabric or fabric used for sewing umbrellas. Sewing time is no more than three hours. You should first prepare a sewing machine, scissors, thread and needle and a ruler. To make marks on fabric you will needtsI am chalk or soap. Quantity of material – 150 X 50 centimeters.
DIY apron for the garden - pattern, sewing technique
The advantages of a raincoat apron are its lightness and waterproofness. Even when working with water, clothes will remain dry. We'll make a special pocket for your phone to always stay in touch, and a couple more large pockets. The model does not include a bib; fixation is ensured thanks to a long belt. Let's make a pattern and cut out the material:
- Lay the fabric out on a flat surface and carefully iron it through any fabric;
- We cut a piece of one and a half meters into two parts, the length remains fifty centimeters;
- One piece of canvas is the main part of the product;
- We use the second piece of fabric for pockets. It is enough to make two large pockets and three medium-sized recesses;
- For one pocket we make a closing flap. It will be used to carry the phone;
- The details of the pockets should simply be drawn across the entire width of the product. There is no need to cut out each piece separately. Using double lines we mark the indentation or places of future seams;
- Let's cut out a strip and cut out a pocket with a flap. We put the remaining material on the belt;
- Seventy-five centimeters of canvas remain, from which we make two strips - this will be the belt of the product. Cut out the belt. This completes the work with the pattern and cutting.

growmyownhealthfood.com
Convenient apron for the garden - step-by-step instructions
The trick to sewing this apron is to use an outside stitch. All elements are stitched on the front side. The transparency of the material allows you to see all the stitching lines, which makes the product neat. Then we follow the instructions:
- We turn all the pockets at the top with a double flap and machine them.
- Then we will sew the parts to the main part of the product. You need to retreat three centimeters from the bottom edge and sew the pockets with large stitches.
- This is a continuous fabric, so we sew it with a double seam in the middle. This will make the product stronger.
- Along a straight line we pin and sew all the details of the pockets to the base.
- Sew the compartment with the flap along three edges, turn it inside out and fold the top outline in half. Then we will hem the product.
- We work with a small pocket.Fold the belt loops in half, fold the edge, and stitch.
- It is necessary to collect all the fragments of the product and sheathe it on all sides.
- We sew the flap for the pocket from the inside.
- We fold the fabric along the bottom of the apron to the front side, grabbing the bottom of the pocket, and make a seam. Using one line we make the processing of the edging and the bottom for the pocket.
- Fold the product twice along the sides and stitch it to the inside.
- We work with the belt. After completing the remaining manipulations, it remains quite long. We sew it around the perimeter, bending the material in half. We make one long ribbon from two strips.
- Apply the center of the belt to the middle of the product. The belt is on the front side, the apron is on the wrong side. We retreat about five millimeters from the top border and sew the part.
- We throw the belt along with the belt loops over the “face” of the product. Fold the belt in half and smooth it out.
- We tuck the belt at the bottom and sew it onto the front of the apron. In this case, the previous seam and belt loops are hidden inside.
- All elements that have not yet been sewn are processed with neat seams. We fold the belt parts inside again and stitch along the front part.
The apron for the garden is ready. Sewing it from raincoat fabric is much easier than working with knitting needles or using other materials.


 0
0


