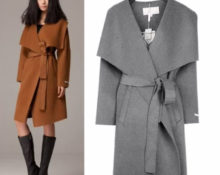
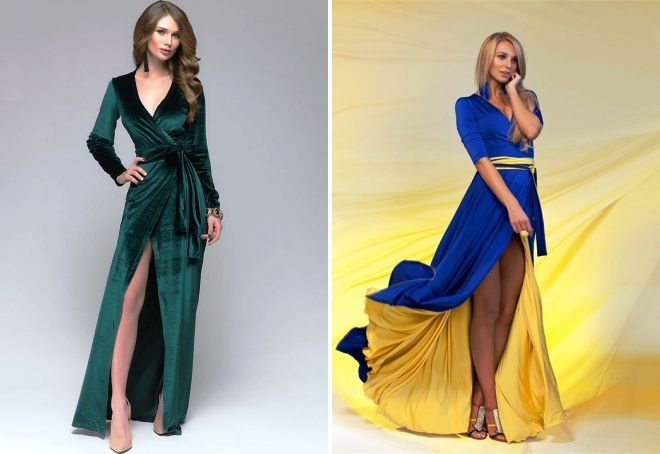
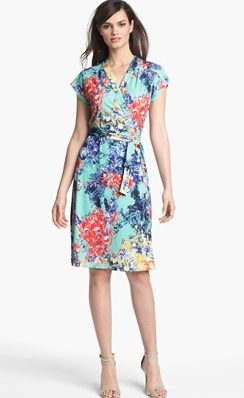
Almost any fashion collection is complete without a wrap dress model. They can be found in different designs: from supermini to floor-length. And if earlier classic robe dresses were made exclusively from jersey, now they are made from completely different fabrics, from light chiffon to elegant velvet.
How to sew a robe dress with your own hands
It’s not at all difficult to make such a thing yourself if you have basic sewing skills.
Model selection
There are many styles of this dress:
- Smell at the top (on the bodice), where one half of the bodice overlaps the other, while the bodice can be loose, tight-fitting, or of a complex cut, for example, with a pleat. The lower part is made in any variant.
- In the lower part (skirt), can have a regular rectangular shape, petal-shaped, creating a cut, or expanded, forming folds.
- From the chest line, from the yoke or high waist.
- A one-piece classic scent. This is exactly the option used when sewing robes and dressing gowns.The two halves are secured on the inside with buttons or auxiliary ties, and on the outside with decorative buttons.
 For this master class we will choose one of the simplest options, which even a novice seamstress can handle. Let's cut out two main identical parts, without side seams.
Materials and tools
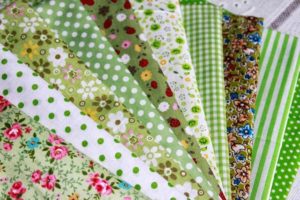 Since our model is intended for the warm season, we will use breathable cotton fabric and matching threads for sewing.
REFERENCE! If the fabric width is 150 cm or more, the material consumption will be equal to the length of the product + 10 cm. If the size exceeds 54, then the consumption will be equal to length * 2.
Tools that will be useful:
- sewing machine;
- overlock (if available);
- scissors;
- pins;
- needles;
- tape measure;
- ruler;
- pencil;
- chalk or soap.
Pattern
This product can be sewn in a classic way, using a pattern, or in a lightweight way, without a pattern. Let's look at the process of creating a robe dress in the classic way.
Taking measurements
Since the product is very simple, we take the minimum number of measurements:
- neck girth;
- hip girth;
- shoulder girth;
- shoulder length;
- back height to waist;
- dress length;
- the length of the sleeve;
- distance from the bottom of the armhole to the waist.
ATTENTION! When taking measurements, immediately include allowances for a loose fit.
Constructing a pattern
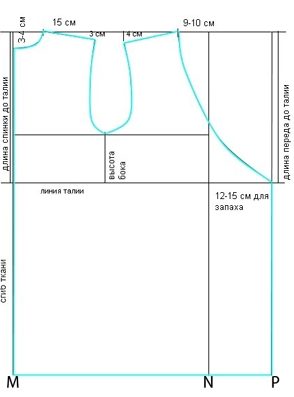
- Draw a rectangle on a large sheet of paper. Line MN is the measurement of hip circumference /2 + 8–10 cm, NP is the size of the smell. The depth of the smell can be adjusted to any depth.
- We build a neck line along the back. From the upper left point we put 3-4 cm down, and to the right - 1/4 of the neck girth measurement. Connect the points with a rounded line. From the edge of the neck we set off the length of the shoulder.
- From the line going up from point N, we also set aside 1/4 of the neck circumference measurement.From this point, the length of the shoulder should be set aside and the smell should be formed with a smooth line.
IMPORTANT! Please note: the top point of the armhole is 3–4 cm below the top parallel.
- From the waist line we draw a parallel using the distance measurement from the bottom of the armhole to the waist.
- Using a pattern, we form a smooth armhole line.
- To create a sleeve pattern, you will need measurements of the sleeve length (About1H), shoulder girth (PS) and armhole height (segment PO1WITH). We mark the points and outline the okat line with a smooth line.


Sewing process
Uncover
The fabric must first be washed and ironed. When the material has begun to shrink, we begin cutting.
Main detail:
Fold the fabric in half face to face. We apply the pattern so that the back line is aligned with the fold. We outline with chalk. We set aside allowances of 2 cm at the edges, 6 cm at the bottom. We trace, taking into account the allowances, and cut out.
We will not create a pattern for the facing and waistband, but will put the required dimensions directly on the fabric.
Facing:
We measure the length according to our pattern from the bottom, through both shelves and the neck + 3 cm for allowances. The width, taking into account allowances, is 8 cm. If there is not enough fabric for a one-piece piece, you should sew the length from 2 parts.
Belt:
Length 150 cm, width 8 cm. It can also be made from 2 parts.
Sewing steps
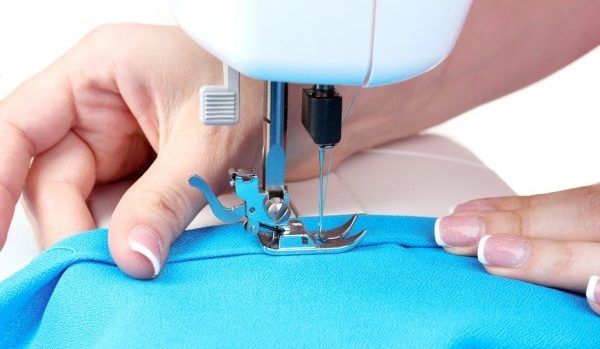
- We process the edges of the product with an overlock or zigzag stitch.
- We baste and then sew the shoulder seams. Let's iron them out.
- We process the sleeves from the bottom. Fold the bottom 1 cm, baste it, fold it another 1.5 cm, baste it, machine stitch it. Let's iron.
- Sew the sleeves along the side seams.
- We sew the sleeves into the product. First we sew a line with the longest tie length, leaving the edges of the threads 5 cm on each side. We insert the sleeves into the “body” of the dress. We gather the sleeve to the desired size of the round, pulling the remaining threads.We distribute the gathers evenly and lay a basting line. We try it on, if the sleeves look good, we grind them down. Iron the seam towards the main part.
- Fold the facing piece lengthwise, right side inward. We machine stitch on both sides along short cuts at a distance of 1.5 cm from the edge. Turn it inside out and fold it in half along the long side, right side out. We pin, sweep, iron.
- We attach the facing to the line of the shelves and neck. We pin it with pins and sew a basting line. We stitch at a distance of 1.5 cm from the edge, taking two layers of facing and one layer of the main part. Iron the seam towards the shelves.
- We fold the belt along the length, inside out. Stitch the short edges and turn them right side out. Iron it thoroughly. We turn the free edge (lengthwise) inward by 0.5-0.7 cm, pin it together, and lay basting ties. We stitch using a machine with a seam in increments of 2.5-3, at a distance of 0.2-0.3 cm from the edge. Let's iron.
The wrap dress is ready!
 0
0