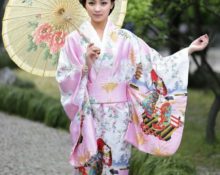
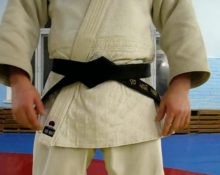
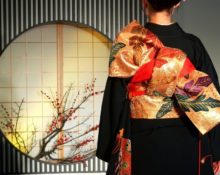
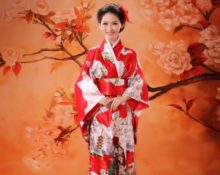
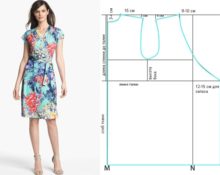
 A robe is a state of mind, but a kimono is just a song! Remember how Oblomov was tied to his sofa and robe? A medical gown is meant to inspire confidence, but what associations does the word “kimono” evoke? Languid Japanese geishas or nimble wrestlers on the tatami. Let's try to create an image in the Japanese style.
Kimono is perceived in Japan as a synonym for the word “clothing”, according to tradition, it is worn by both men and women. A person’s shoulders and waist are accepted according to the principle: “less bulges and irregularities - better results.”
Reference! All women's kimonos are the same size, men's differ in height and hip circumference.
Taking measurements for a kimono robe (with wrap and sleeves)
If you have a ready-made pattern, the following measurements are necessary:
- hip circumference;
- chest circumference;
- length of the product;
- sleeve width.
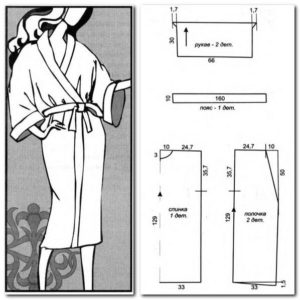 If you want to create patterns for your body type, then the measurements will be as follows:
- The length of the shoulder seam; the sleeve will be sewn to this distance.We measure the distance from the shoulder to the elbow on both hands, taking the average value (*A). With your arms down, measure the distance between points A of each arm, going around your neck with a measuring tape.
- Neck circumference - measured at the base of the neck along the jugular cavity.
- Chest circumference - at the back along the shoulder blades, at the front - at the highest points of the chest.
- The circumference of the abdomen, waist, hips - we measure the standard points at the protruding points, select the largest value.
- The length of the sleeve from the place of sewing to the wrist - we find the place where a fold forms when the wrist is bent. We measure the distance from the shoulder seam to the hand.
- Product length - choose a convenient length.
- We are looking for the distance from the beginning of the shoulder (socket) to the middle of the sternum.
- Sleeve stitching line - find the distance from the junction of the neck and shoulder to the end of the sternum.
- Sleeve width is the distance from the beginning of the neck to the desired width (in our case, to the knee). If you need a short sleeve, then divide the length from the neck to the floor into three parts.
- Sleeve opening - measure how many centimeters are between the most protruding little finger and thumb. On a separate sheet of paper we trace the hand, then measure it with a ruler.
Choosing a style and fabric for a kimono
We decide on the material: silk, satin, cotton, linen, less often mixed and synthetic fabrics.
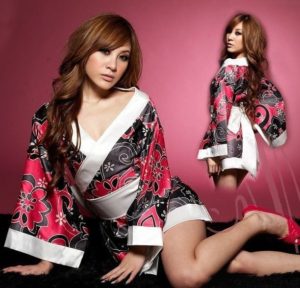 If you need a warm product, then take terry cloth that holds its shape well.
Expert advice:
- All seams are straight and flat. The fabric does not stretch too much.
- Sleeve width In the traditional kimono it is associated with the status of a woman; unmarried women wear wide ones. Festive dresses have sleeves up to the hem.
- The finished product is no more than one and a half hip widths.
Reference! The most common type is Yukata. It is possible to sew a dress, robe and even a coat using these patterns.
Preparing patterns for kimono patterns
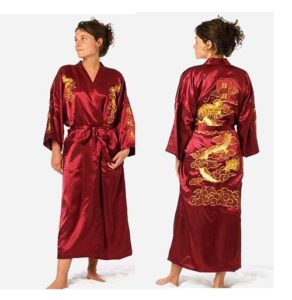 We put aside the obtained measurements on a sheet of tracing paper, wallpaper or special paper for patterns. We do not take seam allowances into account.
It is more convenient to use a tailor's ruler.
Building a stitched back is a mandatory rule for kimonos in Japan. In this case, there is not a fold in the center of the back, but a seam.
For large size robe, wedges are inserted. Length is measured from waist to hem. The width of the bottom is arbitrary.
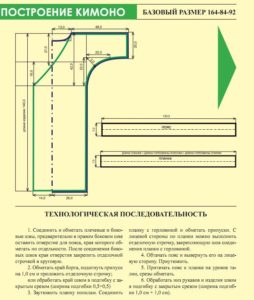
It is possible to create a complete pattern from rectangles - a back, two shelves, two sleeves.
If you decide to make a bar or shelves, we cut it out along the grain.
More details about the patterns in the model descriptions.
Models
Kimono without paper pattern
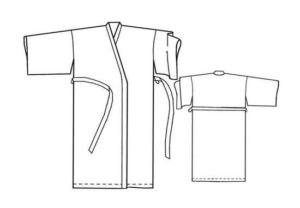 In half an hour you can sew a robe without patterns or complex measurements. This model is suitable for slender girls up to size 48.
You need a ruler, soap or chalk for drawing, a sewing machine and a piece of fabric (with a width of 90 cm, you need 150 cm of fabric). We choose a material that drapes and flows well: crepe, chiffon, acetate.
We sew the finished product.
Stages of work:
- Fold the fabric in half face to face.
- Measure 25 cm from the free edge and go deeper by 15 cm.
- Connect the marks, thus selecting a 25 by 15 cm rectangle from each edge. The design should resemble the letter “T”, where the upper part is the fold of the fabric.
- Cut it out.
- Sew on a machine, having previously chipped it with pins, or using a running stitch “on a live thread”.
- Fold the resulting piece in half to find the line along which we will make the cut.
- We cut the shelf along this line without touching the back.
- Fold the back in half and create a neckline.
- We process cuts in a convenient way - zigzag, overlock, facings, bindings.
2. Simple model with set-in sleeves
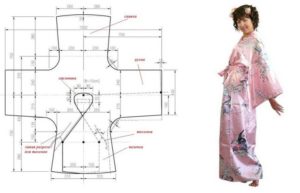 The kimono robe is long, one-piece at the back, and has an excessively loose fit. Great smell provided. Sleeve length – three quarters. The bias tape is wide and borders the sides and neckline. The robe is closed, tied with a belt, there are no locks or buttons.
Pattern for chest circumference 96–100 cm, intended for men and women.
You need to prepare:
- matter (chintz, satin, terry cloth, satin, silk): width 1.50 m - 2.40 m; width 80-90 cm – 4 m;
- ready-made bias binding or material for it 10 cm wide - 3.30 m.
Important! Remember that the binding is cut at an angle of 450.
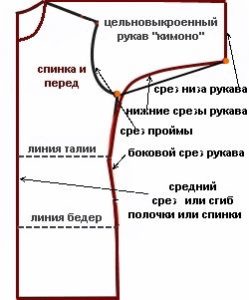
When cutting, take into account the shared thread. Standard allowances are 10-15 mm, hem allowances are 40 mm:
- Shelf - 2 pcs.
- Back - 1 pc. with a fold.
- Sleeve - 2 pcs.
- Belt - 1 pc.
- Bias tape for sleeves - 2 pcs.
- Bias tape for shelves - 1 pc.
Sew the finished product
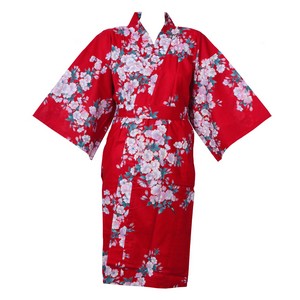 Sequence of work:
- Machine sew the shoulder seams. We do not stretch the thread, nor do we stretch the material.
- Iron the seam allowances to the back. All seams are additionally ironed.
- We sew the sleeves into the armhole.
- We sew the side seams, as well as the sleeve seams, with a single line.
- We iron the allowances to the shelves.
- Sew bias tape.
- We process the hems of the robe with tape, the first seam is machine-made.
- We baste the trim, folded in half.
- We process the sleeves in the same way.
- We sew the belt, turn it right side out, and manually sew up the hole.
- Iron the belt.
 If desired, sew the belt to the robe.
Choosing an ornament for a kimono robe
In Japanese culture, kimonos were traditionally decorated with embroidery or batik - painting on fabric.
The batik was done before cutting, and the design had to be combined on purpose. A ready-made kimono was embroidered according to a previously invented design.The simplest seam - a goat, cross or satin stitch - can decorate your finished kimono.


 0
0