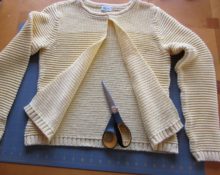
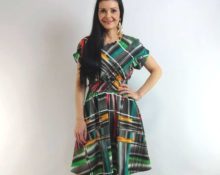
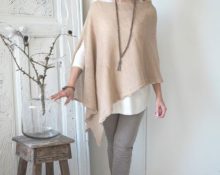
The cocoon cardigan is a simple but effective model; sewing takes 40-50 minutes even for beginner seamstresses. Thanks to the drapery on the back and sides, the product emphasizes femininity and decorates at any age.
What you need to create a cocoon cardigan without a pattern
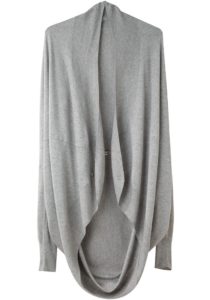 To create such a drapery you will need a knitted flowing fabric. You can sew a product from a knitted fabric based on thick threads, it will turn out impressive, but in this way a completely different silhouette is achieved. A huge advantage of this product is that it is dimensionless and will suit any body type.
To achieve the drapery effect, you need to select light knitted fabrics. If you need a cocoon cardigan for the summer, then a piece of lace fabric, mainly without synthetics, will do. How much fabric do you need for sewing? The standard width is 1.45-1.55 cm, and the length down should be 70 cm or more. This value depends on personal preference and the desired effect.
Also for sewing will be needed:
- Threads to match;
- Scissors;
- Overlock, sewing machine.
Important! The model is sewn with wide sleeves or gathered into a cuff. For the cuff, you can use the main fabric or knit fabric. The cuffs are sewn on last. You can also sew a belt for a cardigan from the main fabric, depending on the desired effect.
Step-by-step instructions for creating a cardigan
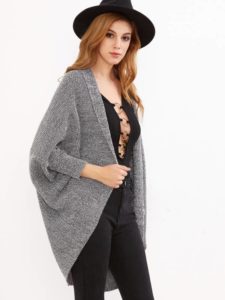 What is a cocoon cardigan? Structurally, it is a rectangle, folded in half and with stitched sides. This is easy to understand from the drawing with the diagram. No patterns are needed, we start sewing right away.
Fold the rectangle of knitted fabric in half along the length of the product. For example, if the length is 80 cm, then, folded, you get 40 cm and the corresponding width (1.4 or 1.5 m). Now you need to mark the holes for the arms. To do this, measure down 7-8 cm along the fold line on each side of the canvas and make a mark. The width of the cuff can be adjusted at your discretion. Measure down 4-5 cm or 10-11 cm. From this mark down you need to sew the side seam on the overlocker. That's it, the product is almost ready. All that remains is to sew on the cuffs and finish the edge of the product.
The edge of the product can be processed in three ways, depending on the capabilities of the machine:
- Fold inwards and secure with a stitch on the sewing machine. However, not all machines can handle thin knitwear. Therefore, other methods may be relevant.
- Apply bias tape around the perimeter; again, this should be done on a sewing machine; there will be no problems with this method. But for the binding you need to choose a suitable fabric that the machine can handle.
- And one more way using an overlocker. A long strip is cut out of the same knitwear, folded in half, and sewn on with an overlocker. It looks very interesting.
Important! You should choose a method of edge processing that will not create a wave if, for example, you sew thin knitwear on a machine. Instead, the seam should be smooth and neat.
The belt is sewn last, if the idea requires it. To do this, cut a strip of 7-8 cm, bend it in half and sew it on an overlocker, turn it inside out, and sew the ends. Now the product is completely ready!


 0
0