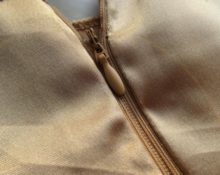
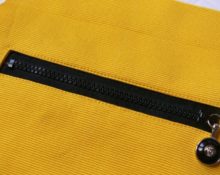
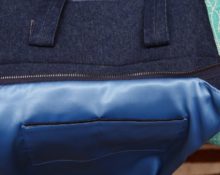
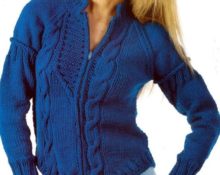
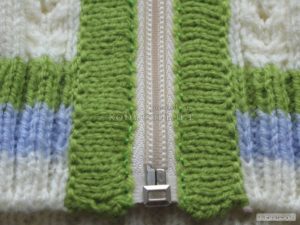
 For several seasons in a row, the zipper has been a stylish and popular fastening option for knitted items. That’s why many needlewomen want to decorate their clothes with it themselves.
However, not everyone knows where to start and how to do the job correctly.
Methods for sewing a zipper into a knitted sweater
A product in a fashionable hand made style will look especially attractive if the clasp is fastened correctly.
It’s not difficult to sew it in, but in order for the resulting jacket to look neat, you need to pay attention to some points.
Let's take a step-by-step look at several options that will help make this process easy.
First you need to prepare the materials that you will need while sewing. This is a knitted sweater or jacket, zipper, paper, pencil or felt-tip pen, pins, yarn, knitting needles, hook, scissors and needles.
First way
 Turn the item inside out, attach paper to it and fix the distance between the rows.
- Transfer data to lightning.
- Insert thread and needle and make a loop at the first mark.
- Thread the hook through it and tighten the yarn.The stitch should be approximately the same size as the stitch on the garment.
- Continue to the next step at the second mark, and then knit this way along the entire length of the product.
- Sew the zipper with thread, picking up the stitches that were made the previous time. The new clasp is ready.
ATTENTION! Take careful and accurate measurements so that the fastener looks neat on things.
IMPORTANT! Make sure the stitches match the row.
Second way
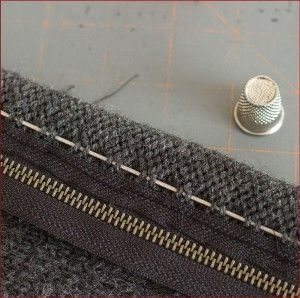 During sewing, problems with fixing the product may occur. There is a good way to eliminate it, which requires a thin wire.
- First, pass it from the wrong side along both parts of the sweater so that one part goes straight along the edge, and the other at a distance of 5 cm from it.
- Place the item with the right side facing you and position the clasp so that the knitted edges cover the fabric part.
- Secure the zipper with pins, placing them between the wires, and sew it on. To decorate the other side, unbutton and sew each one separately.
IMPORTANT! Distribute the loops evenly along the wire.
Useful tips for fastening the clasp
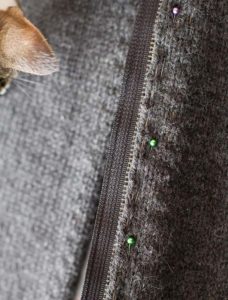 To avoid difficulties while working, pay attention to some tips. They will help you avoid mistakes.
- It is better to choose the zipper according to the color of the product so that it does not stand out from the overall look and looks beautiful, both in length.
- The upper border of the fastener should be at the level of the collar; the excess should be cut off.
- Secure the clasp to the garment using hand stitches.
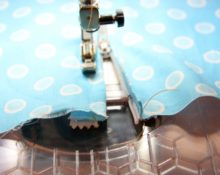
- Sew it with two lines on a machine, one at a distance of 3 mm from the edge, and the second at 6 mm.
- You can use pins for additional fixation. There is no need to remove them when using the machine.
- To prevent the dog from interfering with your sewing, you can temporarily remove the foot and then return it.
- Remove threads from hand stitches and iron over seams.
ATTENTION! Don't forget to leave a piece of the zipper to decorate its edge.
Now you can put off going to the studio and sew a new one or replace a broken zipper yourself at home. For the first time, this process will seem complicated and time-consuming, but each time it will go faster and easier.


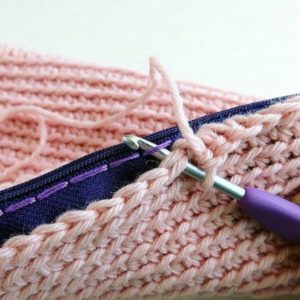 Turn the item inside out, attach paper to it and fix the distance between the rows.
 0
0