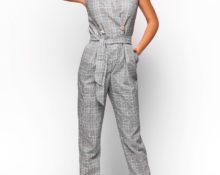
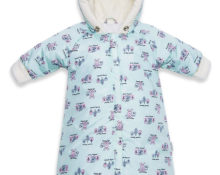
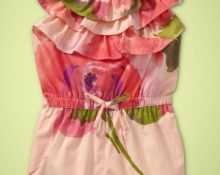
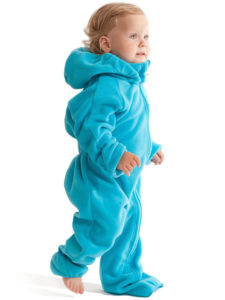
 Fleece overalls are a comfortable and multifunctional element of a children's wardrobe. In winter frosts it is often used as an intermediate layer under a down jacket. And in spring and autumn you can wear it as an independent outerwear.
Fleece has rightfully earned the trust of young parents. This is a lightweight, breathable and at the same time warm material. It has all the qualities of natural wool, but does not cause allergies. Fleece products have excellent stretch and do not fade or shrink after washing. Thanks to these unique properties and special softness, fleece fabric is very common in the manufacture of children's clothing. You can sew a comfortable children's model yourself. And we will tell you how to make a jumpsuit pattern with your own hands.
What measurements are needed for the pattern?
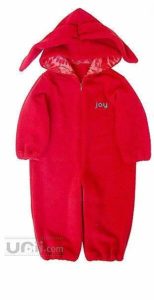 It is better to take measurements for creating a pattern not from the child himself, but from the clothes he is currently wearing. These can be trousers, shirts or ready-made overalls.
For example we will take measurements for a 5 month old baby.
- Chest circumference - 49 cm;
- Abdominal girth - 51 cm;
- The length of the product to the butt (where the butt ends) is 43 cm;
- The total length of the product (from the top of the shoulder to the floor) is 55 cm;
- Sleeve length (don't forget to allow a small allowance for elbow bend) - 16 cm.
How to make your own jumpsuit pattern
ADVICE! To avoid mistakes, first create a pattern and sew all the details on test material. If the model is successful, then you can repeat the same pattern on fleece.
Before
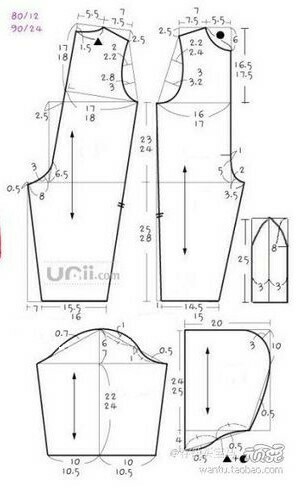
- In order to construct the first front pattern, you need to draw a rectangle on a large piece of paper with points A, B, C, D. Distance AB is equal to ¼ of the total chest circumference. In our case it is 12.5 cm. Do not forget about the seam allowances, we have already added them. BC is the total length of our product.
- From point A we put 3 cm towards point D and 5 cm towards B. We mark points A1 and A2 - this is the future neck. Connect the marked points with a smooth line.
- Let's move on to constructing a sleeve rollback. From point A towards B we measure 6 cm, then step back 1 cm to the right. We get point B1 and connect it to A2. From point B to C we set aside 10 cm. Place point B2 and connect B1 to B2 with a smooth line. The sleeve armhole is ready.
- From point A3, measure 1 cm to the right and rise 1.5 cm (A4). From point D we rise up 2 cm (D2). We connect points A3, A4 and D2 with a smooth line.
The pattern for the front part of the overalls is ready.
Back
Let's move on to building the back. This detail will follow almost all the lines except the shoulder and sleeve armhole. We outline the first pattern, making the neck 1 cm higher and the length of the shoulder 1 cm wider.
- To build a sleeve, we connect two finished halves at a slight angle of 15 degrees.
- Using a measuring tape, measure the finished armhole of the sleeve (20 cm).We transfer these dimensions to a blank sheet of paper. Find the middle of the segment and rise 2 cm.
- From this point we measure down the full length of the sleeve.
- From the bottom point in both directions we set aside 1/2 the length of the circumference of the child’s wrist (about 8 cm).
- We connect the upper and lower horizontal lines and get a sleeve. All that remains is to round the upper line of the sleeve so that its shape and length coincide with the already modeled armhole. That is, it was also equal to 20 cm.
The overalls pattern is ready.
A simple way to create a pattern
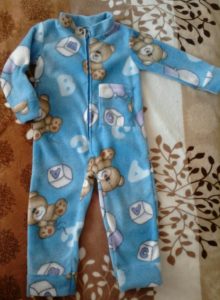
ADVICE! If you have no experience at all in cutting clothes or you are afraid of making a mistake with the measurements, you can use a little trick - a pattern from ready-made clothes.
Take old baby clothes that fit your child. This could be, for example, a home vest and pajama pants. Carefully push them apart at the seams and take them apart piece by piece. This way, you will have ready-made patterns for your future overalls.
Tips for sewing overalls
When sewing overalls, the two back halves are sewn down first. To do this, fold them right sides together and sew the seam from the back side. It is better to sew on an overlocker, but if this is not possible, a regular stitch sewing machine will do.
- The sleeves are sewn to the finished back of the overalls.
- The front pattern pieces are sewn to them.
- Next, the neckline and fasteners are made.
- Only after this can you proceed to the final stage of stitching the front and back parts of the overalls. To do this, turn the product inside out and sew the seams on the sleeve with the side seams in one line.
- The crotch seam is sewn last.
The bottom of the sleeves and legs can be decorated with cuffs or a regular double hem seam.


 ADVICE! If you have no experience at all in cutting clothes or you are afraid of making a mistake with the measurements, you can use a little trick - a pattern from ready-made clothes.
 0
0
