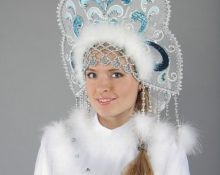
In most cases, standard ready-made costumes for the granddaughter of Santa Claus do not look presentable or very simple, and those that meet the specified requirements cost unreasonable money. A good option is to sew a Snow Maiden costume yourself.
IMPORTANT! It is worth noting that sewing a suit is quite a time-consuming task and you need to distribute your tasks and responsibilities so that you have enough time to meet the deadline.
Making a Snow Maiden costume for an adult
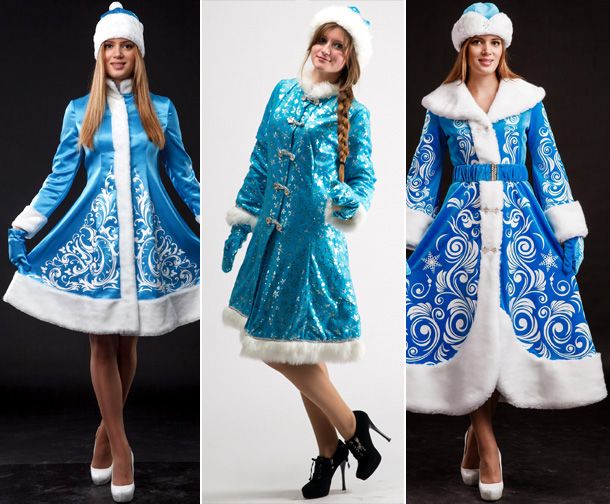
Before you start work, you should decide on the style of the outfit. It will be long or short, tight-fitting or wide cut. It is necessary to adapt to the celebration, if it is a youth party, the short version looks great. If the holiday will take place with your family, then you should opt for a laconic, calmer option, for example, a beautiful long outfit made of iridescent fabric.
Coat
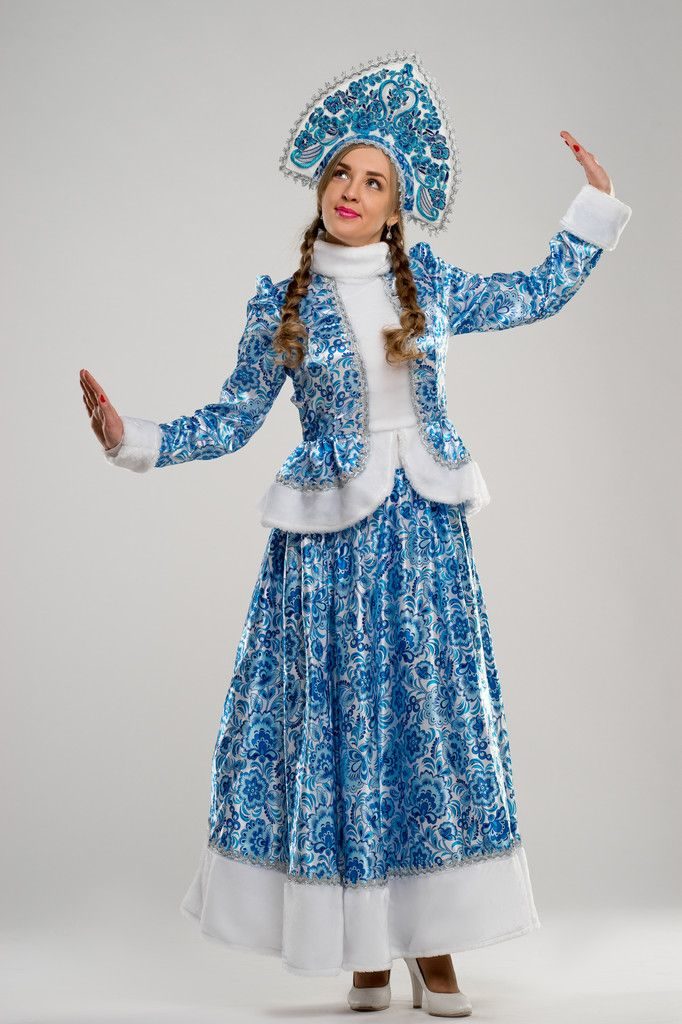
Usually the outfit is sewn in the form of a trapezoid fur coat, that is, expanding downwards. The edges of the fur coat are trimmed with fur.But the long version is not always appropriate, especially when dancing is planned. The decoration of the fur coat mainly consists of the following decorations:
- Fur;
- Shiny accessories - beads, pearl rhinestones;
- Lace.
A fur coat is sewn using the following auxiliary materials and tools:
- 3 meters of fabric. The color is usually chosen blue, blue, white, golden, beige;
- Concealed zipper 50 cm;
- Artificial fur;
- For sewing, you will definitely need such standard tools as a tape measure, thread, needles, and pins.
Constructing a pattern
The first option for constructing a pattern will be the simplest if you have an old dress of a similar silhouette. The dress is cut at the seams and a new pattern is already constructed from it. If there is no robe, you will have to model it yourself. To do this, the basis is a basic pattern, which can be downloaded on the Internet, and you will need to expand it downwards by 8-12 cm. Then you need to lay out the fabric for cutting in a suitable place and cut it.
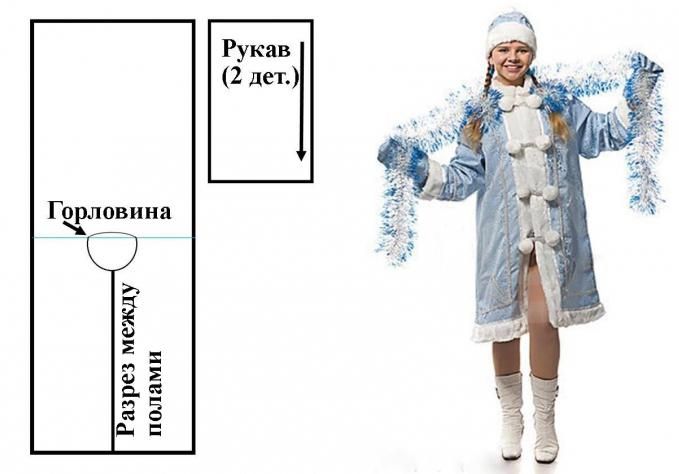
IMPORTANT! It is necessary to leave seam allowances of 1-2 cm. If you forget about them, the product will decrease by one size.
When making a sleeve, you can model a flashlight. It will work out if you increase the sleeve cap and make cuts at a distance of 2-3 cm from each other. The cuts should be marked from the middle of the sleeve going to the sides. Then you need to attach the pattern to the fabric and cut out the sleeve, do not forget about the seam allowances (1-2 cm).
To make a stand-up collar, you need to cut two pieces from fur and from the main fabric, 6-10 cm wide and a length equal to half the circumference of the neck. If the fabric is very soft, then you can put a paper base between the layers.Then you need to turn the collar right side out and sew it to the neckline, making a 0.5 cm long cut in the middle of the collar.
Product assembly
In order for the fur coat to turn out beautiful and there are no surprises, you must first sew all the details by hand and baste the seams. Then, if possible, try on the outfit.
After fitting, you can increase the armhole of the sleeve, if it is small, and you can also increase the neckline of the collar.
If everything is satisfactory, then you need to sew everything with a sewing machine and iron the seams. You can also overlock reliefs. They should be directed towards the center of the product.
When decorating a fur coat with fur, you need to sew it right side to the front side of the fur coat. If the fur consists of several parts, then first you need to sew all its parts end-to-end, that is, do not overlap the material, this must be done manually. After the fur has been sewn to the front side of the product, you need to fold it over to the front side and stitch it. The stitching should be as close to the edge of the fur as possible, 1-2 mm.
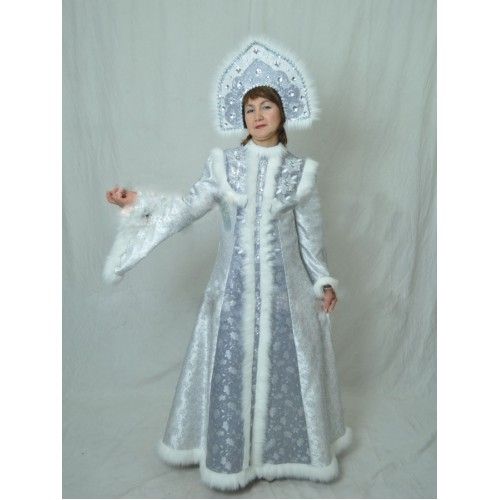
You can decorate it with fur on the front, on the shelf. To do this, you just need to sew the fur on the sides. But you need to pay attention that the fur is directed from top to bottom. After all the fur parts have been sewn. You can comb them with a special brush or simply a comb.
All that remains is to sew in a hidden zipper; you can also use Velcro as a fastener.
You can decorate your fur coat with individual pearl beads or snowflakes.
Hat or kokoshnik
To start working on the kokoshnik, you need to draw it on paper, transfer it to cardboard and cut it out. You also need to prepare two parts from the selected fabric. One of the parts should be 2 cm larger.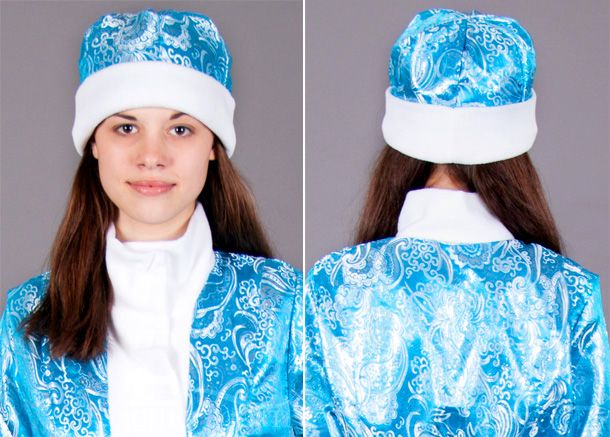 Next, use glue to attach the parts to the cardboard.Then you can decorate the kokoshnik with lace, a ribbon of pearls and rhinestones. Using wide pieces of fabric, approximately 10 cm, or ready-made satin ribbons, make fastenings for the kokoshnik by sewing the ribbons to the base.
Sometimes the kokoshnik is replaced with a hat. There are only 2 necessary measurements for a headdress - head circumference and hat height. Afterwards, the size of the coverage is divided into 4 wedge parts and about 1 cm is added for allowances. The next step will be to sew all the wedges together. After the wedges are sewn, it is necessary to sew the opposite sides together, so that when turned inside out the cap will look like a bath cap. After finishing the edges, turn the hat inside out. Along the edge it can be decorated with rhinestones, fur, and pearls.
Mittens
You can use a wide variety of materials for mittens - a piece of leftover fabric, fleece, an old and unnecessary warm sweater.
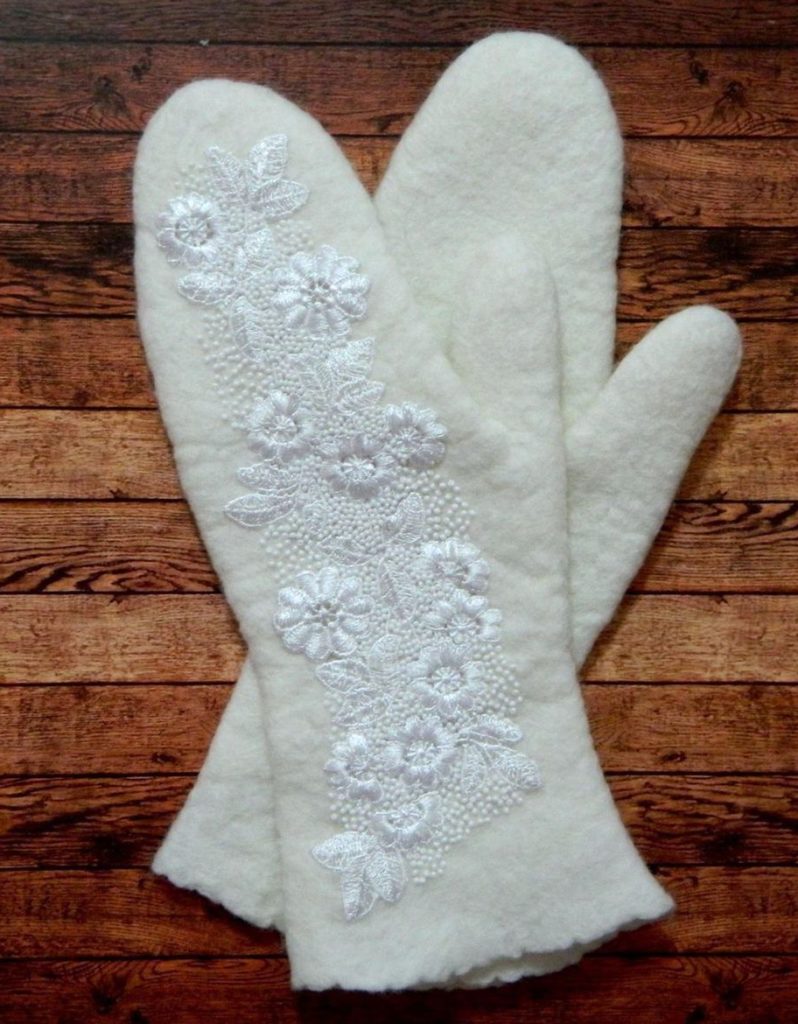
To construct the first part of the pattern, you need to trace your hand without the thumb. Then place only your index finger around your hand. The length of the finger can be set to 7 cm. By copying the second part so that the bottom has a rounded side - the top of the mitten, and the second part has a straight cut - the bottom of the mitten.
Once the pattern is constructed, you can begin cutting and sewing the pieces. First you need to sew 2 parts of the back side of the mitten, and only then sew them to the front side.
After all the details are sewn, you can decorate the mittens with various shiny accessories. You can also embroider a snowflake on the front side.
New Year's Snow Maiden costume for children
A children's New Year's costume requires thin silk or satin fabric, since holidays are often held indoors.
IMPORTANT! Natural material for fabric is considered a good choice, since even two hours spent in synthetics will cause discomfort to the child.
Coat
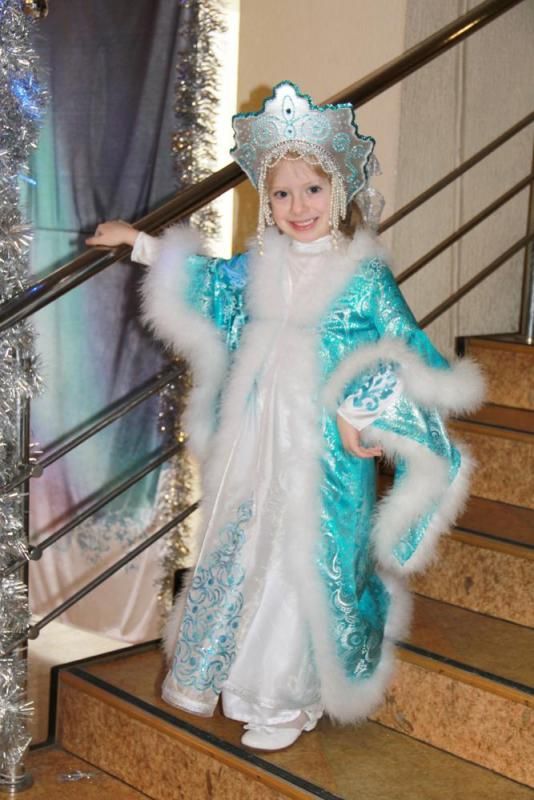
The pattern of a fur coat for children is no different from the pattern of a fur coat for an adult, you just need to reduce the size. And the darts on the chest should be reduced.
You can also sew another fur coat, with a yoke and a circle skirt. It is easy to construct, but will require a little more fabric.
To create a template for a yoke, you need to draw a circle whose radius is equal to the height of the chest. Chest height is measured from the base of the neck (start of the shoulder seam) to the chest.
The circle skirt pattern is a circle, the radius of which is equal to the length of the product. Another one is placed in the center of the circle, its radius is equal to half the length of the body circumference, in the place where the parts will be connected, divided by 3.14. The two parts are sewn together so that the upper part overlaps. The dress can also be decorated with fur at the bottom. Scatter pearl beads randomly or decorate with rhinestones in the shape of snowflakes. You can choose a transparent material for the sleeve, for example, organza coated with glitter.
Hat for little Snow Maiden
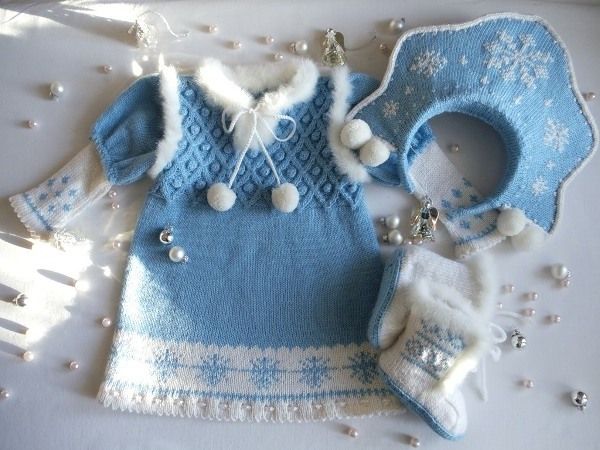
It is good to make a blade hat from lightweight materials and trim it with rhinestones. You can also decorate the hat with New Year-themed appliqués. Stages of making a hat. First, the edge of the hat is made of fur, equal to the circumference of the head. Then, having put the edge on the child, we take the following measurements - the length from ear to ear and the length from the forehead to the back of the head. We got the measurements that will be needed when creating the pattern.
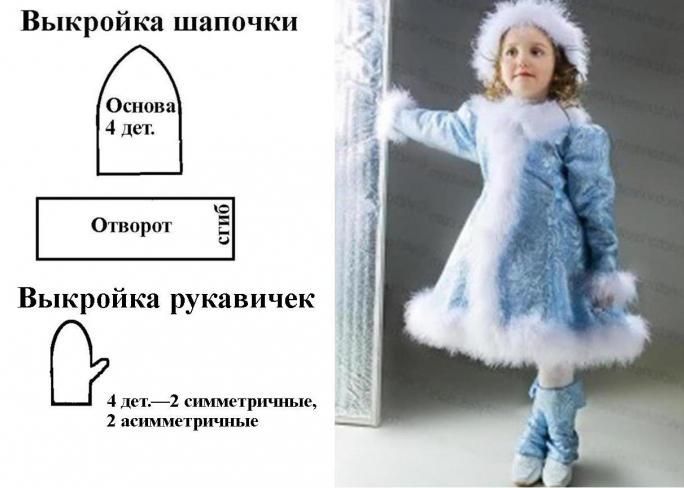
The pattern must be constructed in such a way that the front part is equal to a quarter of the circumference of the head. The remaining parts are equal to half the length from ear to ear.It is necessary to draw a triangle with right angles so that the parts are sewn together well. When sewing, the seams must be processed using an overlocker or hemmed by hand so that the edges do not fray. The next step involves sewing the crown and edge together. This must be done face to face throughout the circle. Then, from the inside out, fold the seam allowances and all the inside edges again and sew them on with hand stitches.
The headdress can be complemented with a pompom. To do this you need to prepare a large button and fur. From the fur, cut out a circle of diameters 2 times larger than the button, then you need to sew a stitch along the edge of the circle and tighten it at the end. The button should remain inside. All that remains is to sew the pompom to the top of the hat.
Mittens
For girls, you can sew mittens like potholders. You need to outline your hand on paper. Then, you need to transfer the pattern to the fabric, cut it and sew it together. This mitten is easy to put on and does not require the help of an adult. Also, if the celebration takes place outside, the mittens can be easily insulated by stitching the main fabric together with padding polyester and lining. You can choose a wide variety of decorations for mittens, the imagination of the master comes into play here.


 0
0