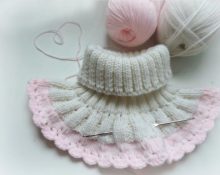
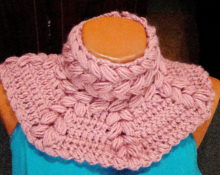
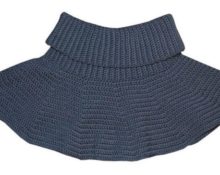
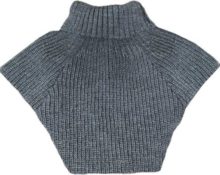
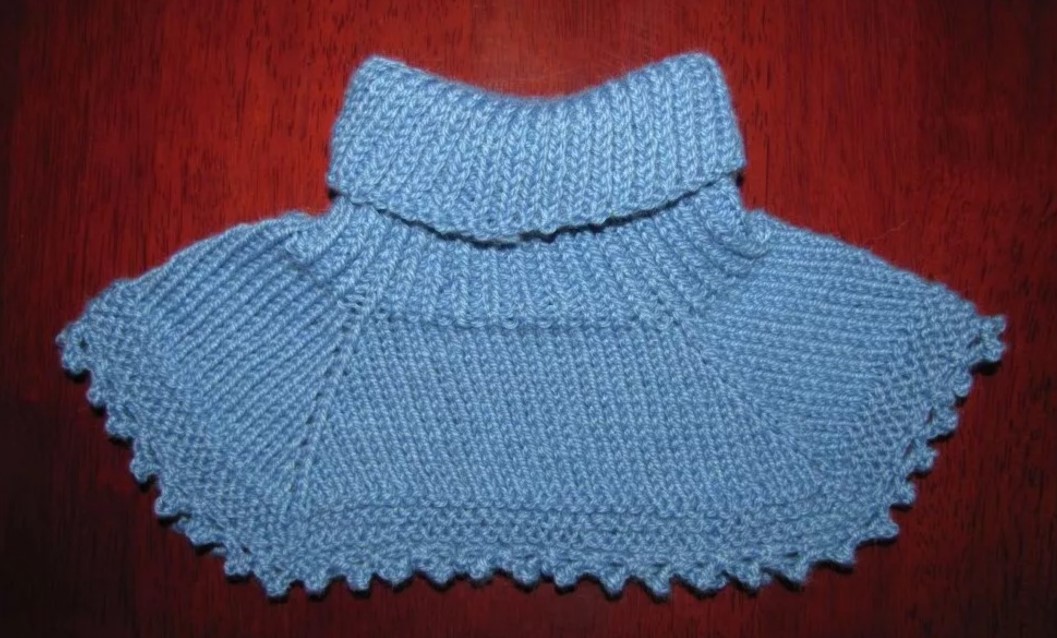
 A crochet shirt for a boy is a very popular knitted item. For girls, you can use various laces, but for a boy model you should be somewhat restrained in choosing a pattern. But such shirtfronts cannot be called boring either, since you can use beautiful colors in them. Many models are made using unusual multi-yarn. Below are beautiful models that contain several threads, but the resulting ensemble is liked by boys and inspires craftsmen.
Warm yarn and hook for baby clothes
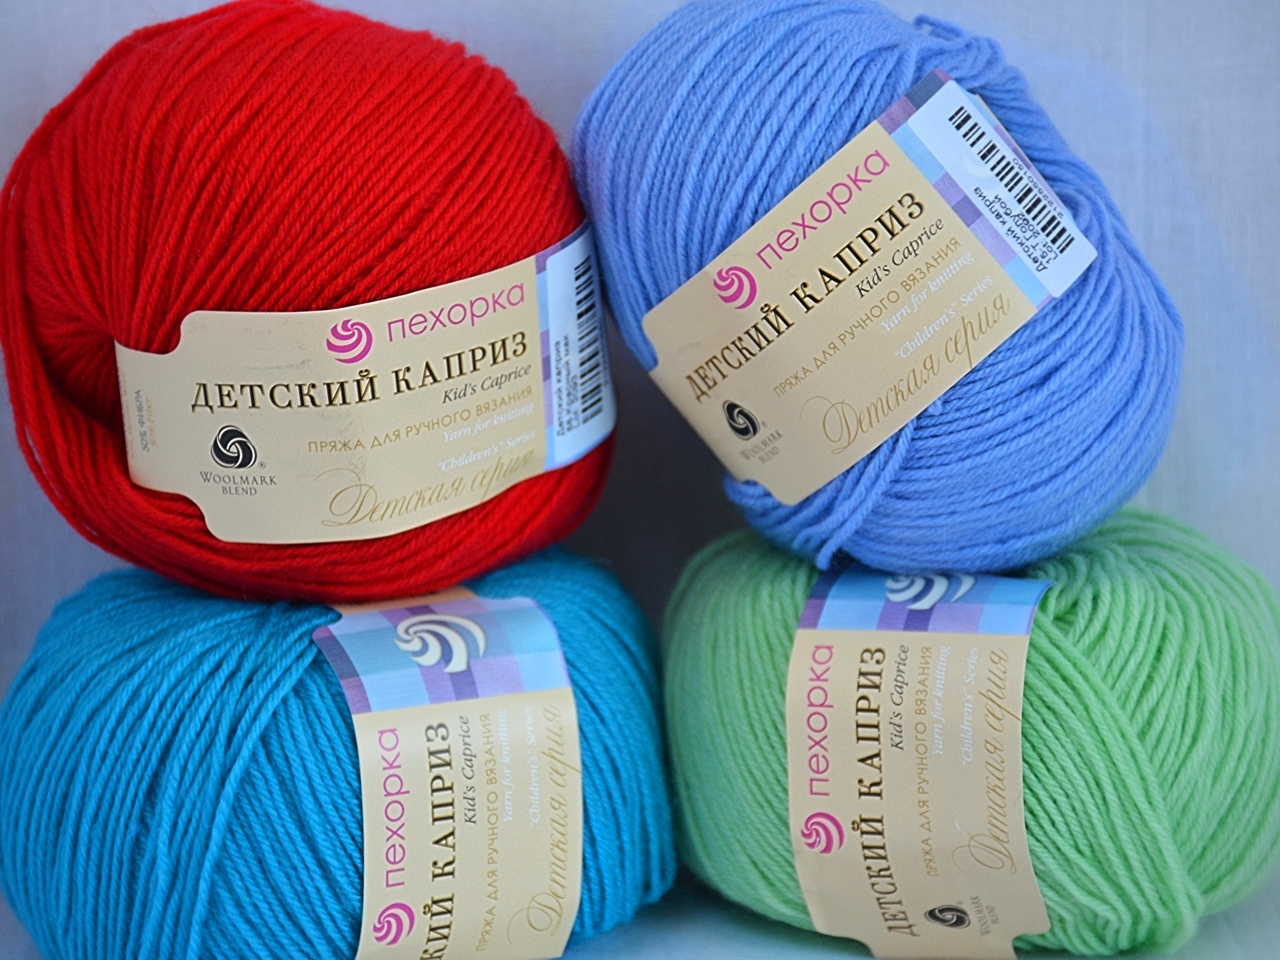
The shirt front should warm the child’s neck in cold weather and therefore it is always based on a warm thread. The thread is warmer the more wool it contains. But not every wool can be used to create children's things. In fact, there are quite a few limitations here.
Important! The yarn should not cause allergies in the baby and therefore only hypoallergenic threads. It should also be pleasant to the body, the baby’s body should not be rubbed by the prickly fabric.
There is a special branch of children's yarn, but you will have to choose carefully among them. Since such products very often consist of a small amount of wool and practically do not warm. But this does not scare the masters and so many things have been created for children.
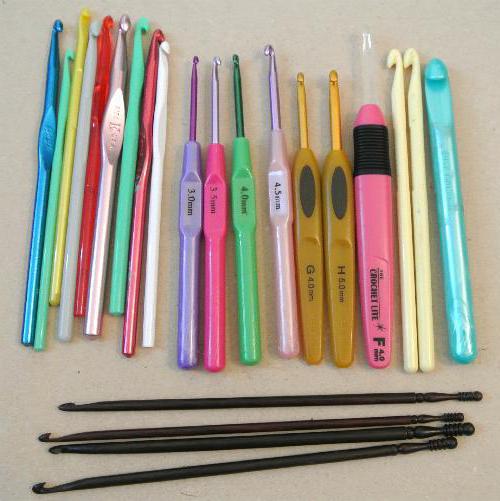
The hook is the easiest to choose. It should just match the thickness of the thread, which the master selected for his product. Also, it should not cause discomfort in the hand, so that work with the tool is faster.
Sample
Before starting any model, you will not only have to practice making a new pattern, but also calculate the knitting density of the pattern and thread. Different thread thicknesses will have their own density. To do this, you need to knit a small square using the selected thread and pattern of the product. Then do the calculations.
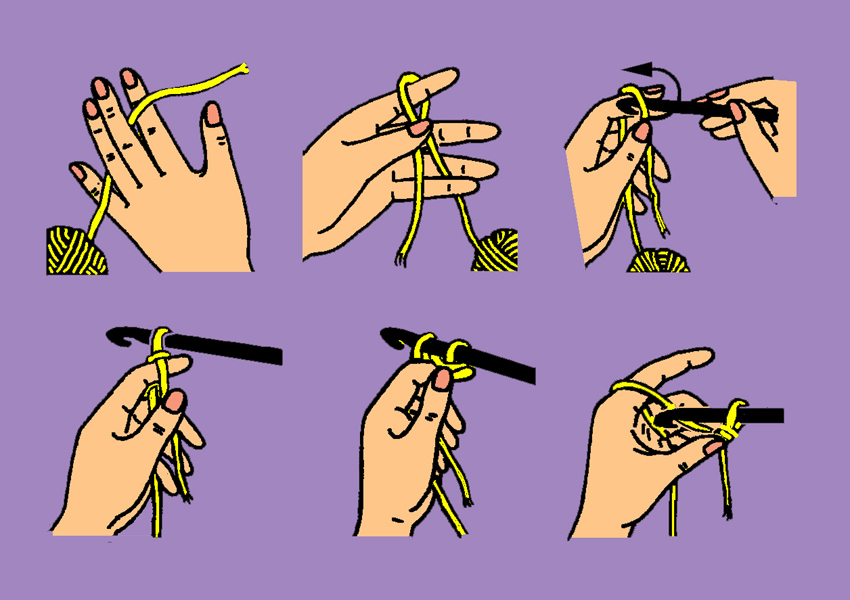
Apply a ruler horizontally to the canvas and count how many loops there are per 10 cm. Next, turn the ruler 90 degrees and measure how many rows there are vertically. The result is two numbers, from which it will be easy to recognize not only the initial set of air loops for the first row of the fabric and all rows beyond.
How to crochet a boy's shirtfront?
Two adorable bib designs that everyone will love.
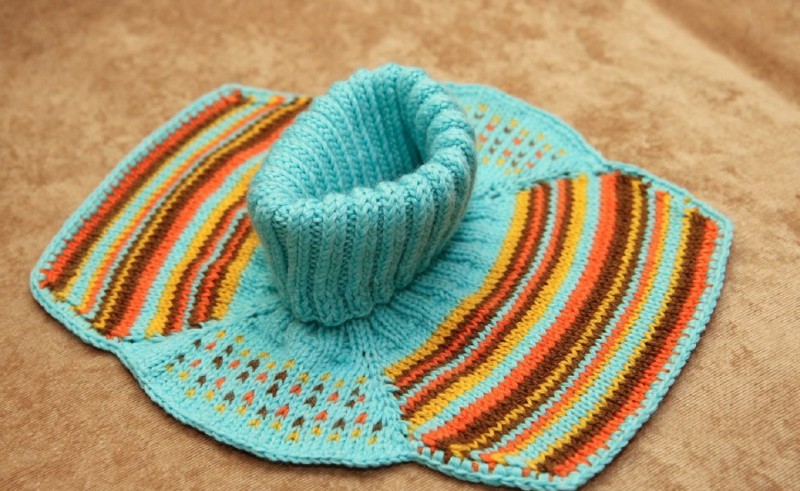
For those who doesn’t like nautical themes - you can also choose your thread color wisely. This will only make the picture more individual and familiar. Two cool models for boys are created using a crochet hook and warm thread.
Crochet shirt for boy
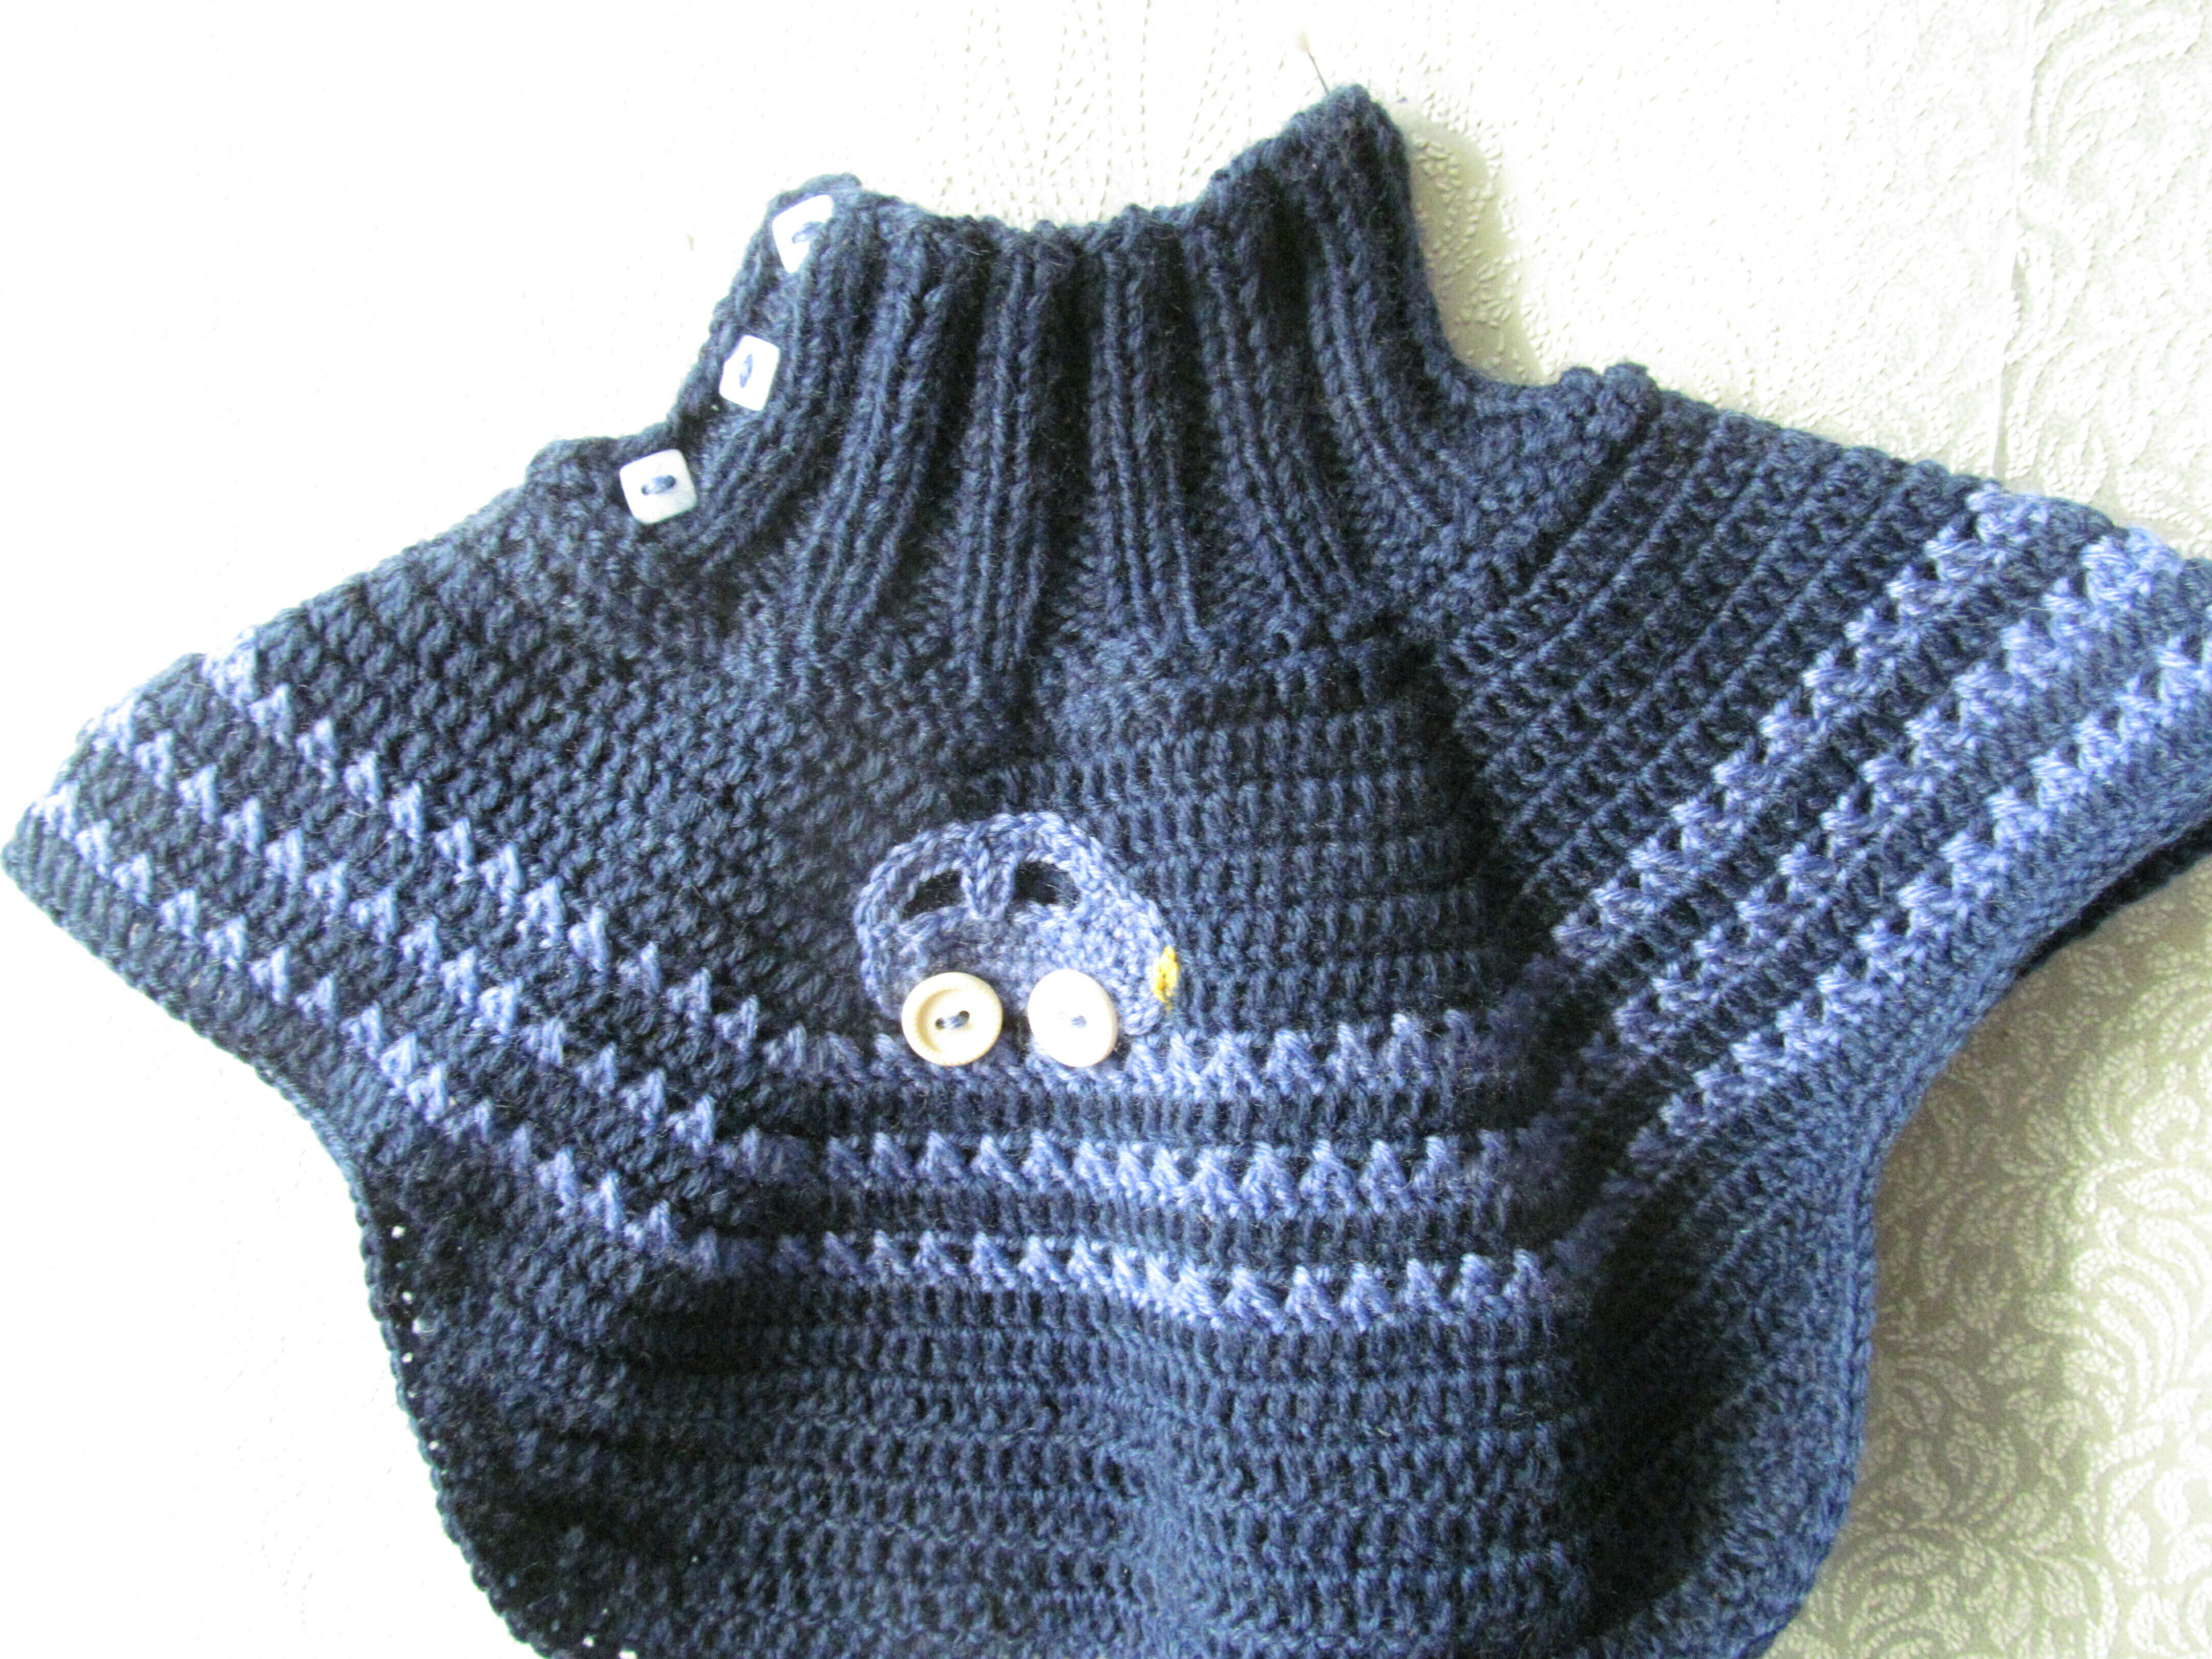
A beautiful multi-colored shirtfront for a boy is crocheted from top to bottom. For the elastic band around the neck, use the usual single crochet fabric. But the expansion at the bottom is made with an unusual type of pattern. Read more below for step-by-step instructions on how to make this cute shirt for a boy.
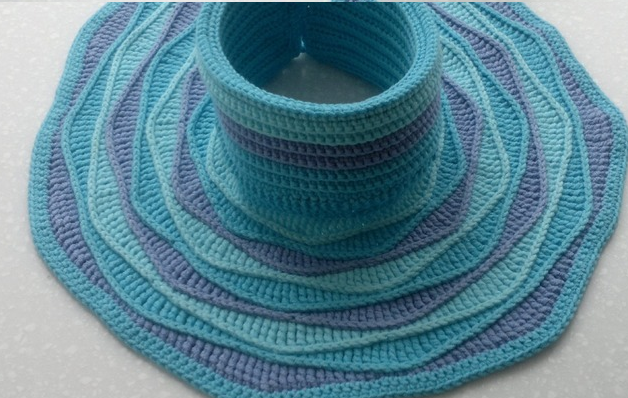
To work you will need:
- children's yarn with 50% wool;
- hook thickness to thread;
- buttons for fastening.
Measurements
To measure, you will need to measure the height of the neck, and multiply the figure by 2. This shirtfront will have a small gather, and in cold weather you can hide in it well. The second measurement for such a product is the length from the bottom of the elastic to the required branching of the fabric. The product should not bulge; the circumference of the shoulders is also measured, and the circle is not knitted to the end, but a small sector is left so that the model is fitted at the bottom.
Sample
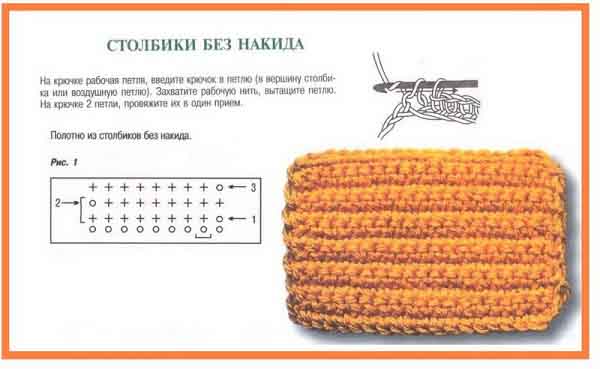
Complete the sample according to the second pattern. Knit a small fabric and measure the knitting density for it. To measure, it will be enough to simply hold a ruler horizontally, and count how many columns there are in 10 cm, and then measure the same indicator vertically, but only measure not the number of columns, but the number of rows. These two numbers will then help you calculate how many stitches you will need for the initial cast-on, and how many rows you will need to complete the bottom piece.
Rubber
The shirtfront begins with a pattern of single crochets from the very first row; you need to make a set according to the received and calculated measurements. Next, knit the height of the neck 2 times, and do not further increase or decrease loops. Knitting occurs not in circular rows, but in straight and reverse rows, since a fitted product is more convenient with a fastener.
Bottom part
After knitting the required height of the collar area, you need to change the pattern to a fabric with coal rows. For the angle, make the necessary additions. The product should turn out to be a circle with an unfinished sector.
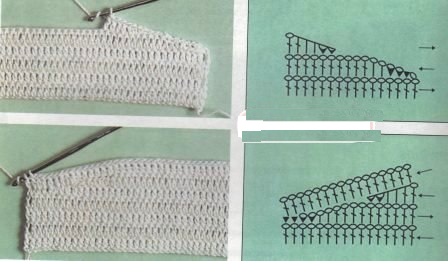
Harness
In order to be able to use a fastener such as buttons, you need to make a border with air loops.
Clasp
Sew buttons on one side opposite the border with air loops. Start sewing from the very corner. So the shirtfront is ready. You can change the colors of the main yarn, and make something green or gray instead of a marine style.
Crochet bib collar for boy
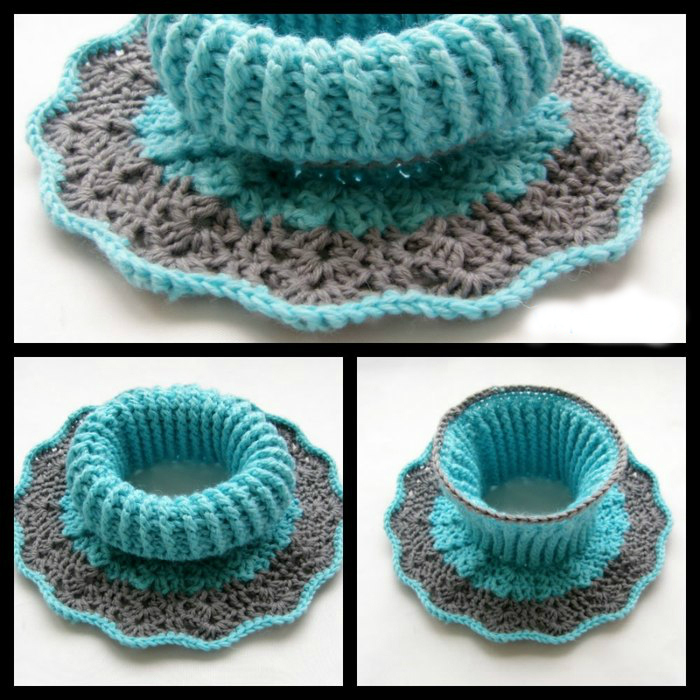
This product is very difficult to recognize under a jacket or down jacket. Much like an adorable turtleneck sweater. Knitting takes place in two threads, and therefore this option will protect well from the wind and hide the throat from frost. The inside of the shirtfront is made using an openwork modest pattern, especially so that the child is comfortable in the product and does not overheat or sweat.
For work use:
- yarn for children's clothes pekhorka;
- hook.
Measurements
Measure the child's neck circumference and neck height. There is no need to make any increase. This model should be low, if necessary, the baby will be able to straighten it and hide his neck under the warm fiber. The second size is the length from the bottom of the elastic along the shirtfront to the required line. You should not make the product very long, it will interfere with its lace. It is enough to make about 20 cm and the shirtfront will look beautiful.
Sample
Make a sample using an openwork pattern, and calculate the knitting density for it. Since the patterns are very different, for greater accuracy you can knit a small piece according to the first pattern, for an elastic band, and also calculate the knitting density for it. This is the content of loops and rows per 10 cm. These calculations are the main stages and they are what help real craftsmen achieve the ideal size of the product according to the model.
Elastic band for bib
Rubber
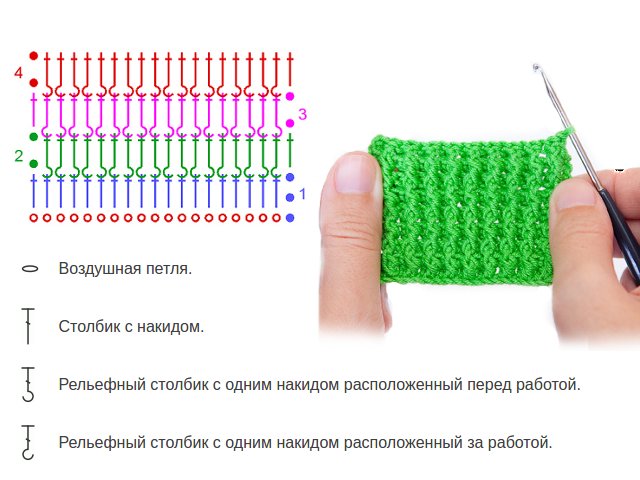
The dimensions for the elastic are calculated, and you can begin to make a beautiful product. This shirt also needs to be knitted from top to bottom. If you have doubts about the size, you can add an extra amount, but no more than 2 cm. This is a circular knit and the elastic stretches very well. Knit the required number of rows and move on to the next step.
Openwork
Smoothly change the elastic crochet pattern to an openwork pattern, if necessary, add a few loops. For crochet this is very easy to do. You just need to knit several loops from one loop.
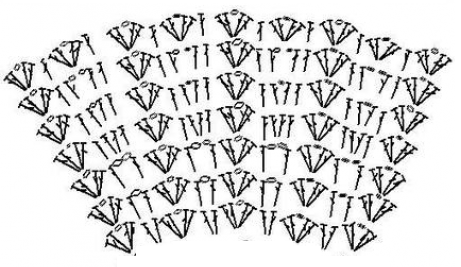
In this case, it is better to increase rather than decrease loops. To prevent a compressed elastic band with waves. Knit half of the openwork with a contrasting thread and again change the thread for the last row to the main color of the shirt front.
So the charming crocheted shirtfront for a boy is ready.
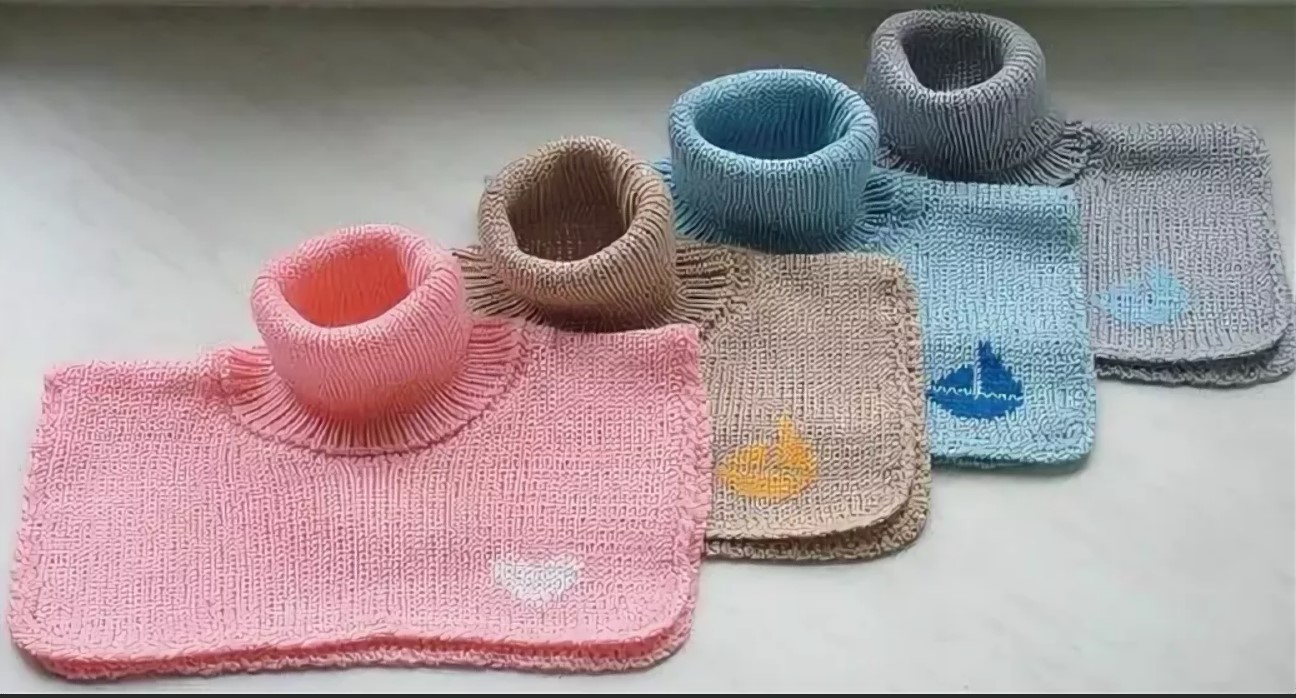
There is no need to be afraid to fantasize. Even familiar colors, when combined correctly, can make beautiful knitted items. More practice will allow you to make beautiful products even for beginners.


 0
0