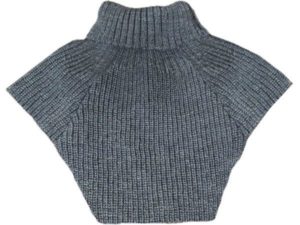
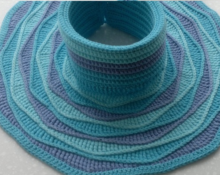
 With the onset of winter, people begin to prepare warm clothes. Knitted shirtfronts have been very popular for a long time now. The shirt front resembles a removable collar and protects the neck well from the winter cold. Using a knitting machine you can very easily and quickly make the product you need for the winter cold.
We'll tell you how to knit a shirtfront.
What you need to knit a shirtfront on a machine
There are many different product options. We'll keep it simple. Let's take youth-adult size as an example. If you need to increase or decrease the size, then you can easily add or decrease the length and width to the pattern by changing the number of loops and rows.
To knit a very simple and uncomplicated model of a shirtfront, making calculations is not difficult. To do this you will need 32-2 yarn in bobbins. On average 250 g, wool mixture (folded into 4 threads).
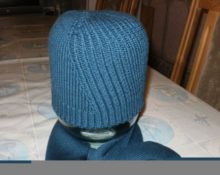
The work is done using a binding pattern - pearl elastic (half-fang), 2/2 elastic. The knitting density of semi-patent elastic is PL 4, elastic 2/2 is PL 5/5.
Description of work
The process of making a shirtfront does not require much effort or time. Several separate parts are knitted (neck, front, back and two side parts), and then sewn together.
Reference. We knit everything with pearl elastic (semi-knit), observing the placement of needles under the elastic 1/1.
We build a pattern for the front, the back is done in a similar way.
Step-by-step knitting instructions
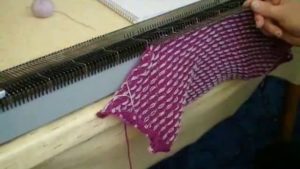
Let's start knitting a shirt-front 70 p. wide and 128 p. high. Fold the thread four times.
The basis
- We set the needles on the sewing machine to 35-0-35 (arrangement for the elastic 1/1), set of rows PL1. For knitting pearl elastic, we adjust the carriage and change PL 4. We knit in accordance with the pattern, increasing and decreasing the number of loops on both sides.
- We add one loop starting from the third and then every four rows up to 54 r.
- We proceed to decrease from 59 one loop at a time, alternating the fifth to sixth row. And so we continue until the 126th row.
- We knit 2 rows without changes. After this, we complete the piece by transferring it to the upper needle bed and knitting several rows.
- In the same way we make the second, third and fourth parts of the product.
- We put the blanks together and sew them by hand.
Neck
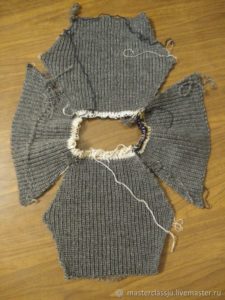
After completing the first part, we move on to knitting the neck of our shirt-front. This is not difficult to do.
- Fold the thread four times.
- We set the working area on the needle bar 41-0-41, the needles themselves are in position 2/2.
- We knit 70 rows of elastic with a density of 5/5. Upon completion, transfer the workpiece to the upper needle bed.
- We hang half of the previously made shirt front on the freed needles with the wrong side facing us (front and sides).
- Row 1 must be knitted by hand and the loops closed without pulling.
- When connecting the neckline to the main part, keep in mind that there are 6 fewer loops in it. To avoid any excess left, we hide them evenly in the middle of the shirt-front, hanging 2 on some knitting needles.
- We tie the rest of the neck in the same way. When finished, fold it inward and sew it together.
Assembly
At the end, all that remains is to sew all the details, remove excess threads and bring the product into proper form.
As a result of your work, you will get a warm, elegant product that will perfectly warm you up during the cold season and help maintain your health.


 0
0
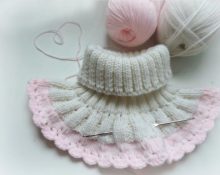

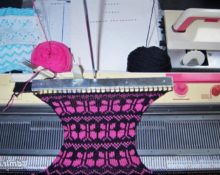

YOU SHOULD WRITE WHAT TYPE OF MACHINE IS KNITTING ON