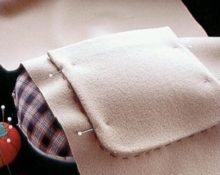
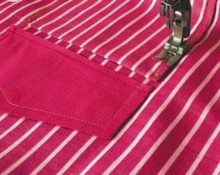
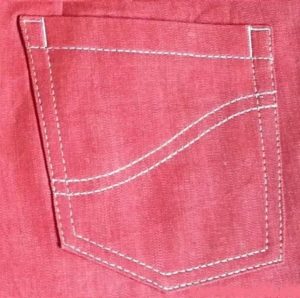
 The simplest and most practical option for pockets is the patch form. It is considered a classic and is used on trousers, shirts, and jackets. It is easy to cut. It is easy to process. Any beginning seamstress can handle this pocket.
This is interesting! For the first time, such a detail as a separate element in clothing appears on the camisole of Louis XIV (17th century). And the main lover of this detail was the trendsetter - Coco Chanel at the beginning of the 20th century. She believed that women also needed such a masculine element in a suit.
Such details are very practical. They are different in shape, can decorate any ensemble, are always relevant and fashionable.
Types of patch pockets
These pockets are very practical. They are different in shape, can decorate any ensemble, are always relevant and fashionable.

- Location: There are chest, back and side.
- Form: They are made in different ways: oval, rectangular or curly.
- Design: they can be made using various design techniques: with volume, flat, with valves.
Important! This is a very necessary, convenient element, which is why pockets are made in both classic and tracksuits.
Secrets of patch pockets
 To make it easier to sew on such details, they would look natural on clothes and be comfortable to use, you need to decide on their size, mounting location.
- A part template will speed up and make your work easier. It's easy to do it yourself.
- Start with the simplest option. If you can sew a simple shape, you can handle complex configurations.
- It’s no secret that it’s much easier to sew overlays on summer clothes than on seasonal or winter ones.
We also offer some useful tips for designing your pattern.
How to make a patch pocket
We begin the work by cutting out and preparing the part.
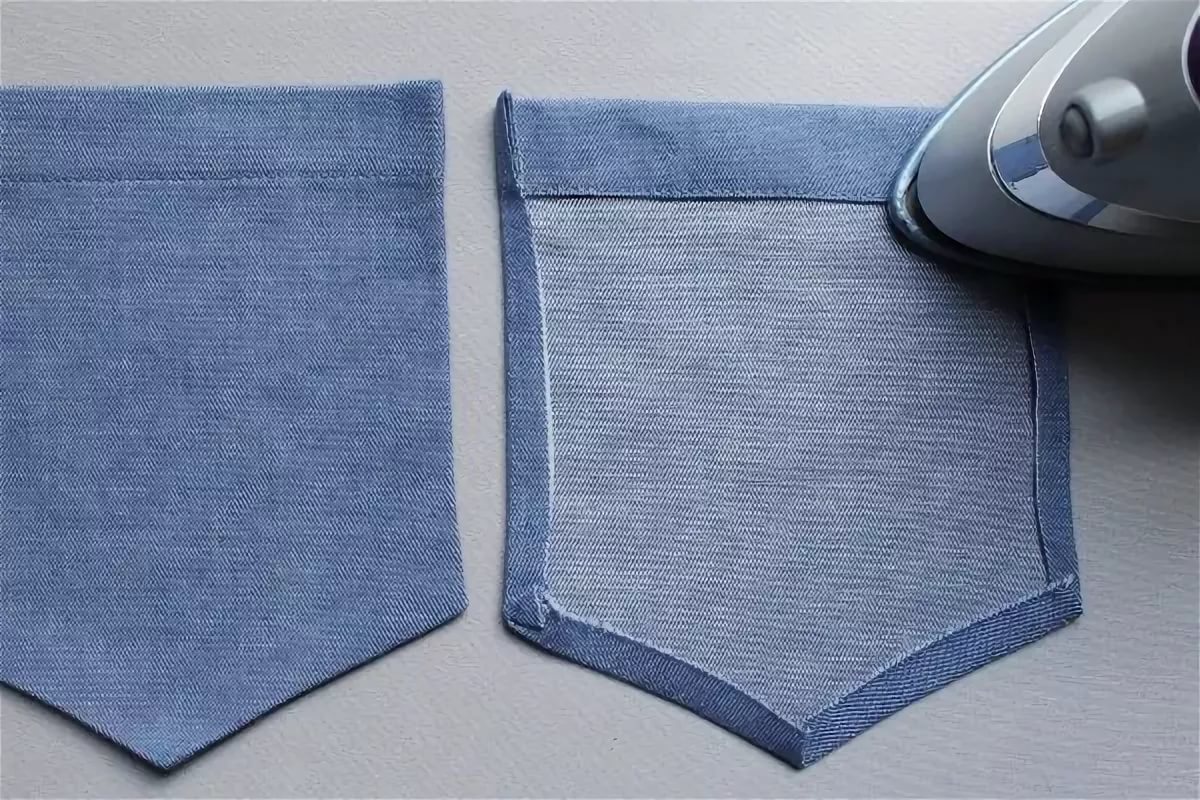
- We draw a rectangle whose dimensions correspond to the real valve (without additional allowances). You can make the corners of the pattern rounded if you wish.
- Add 1.5 centimeter allowances on the sides to the drawn template.
- Add 2.5–3 cm of fabric to the top of the template. This will be needed for the double hem. You can fold it once and finish the cut edge with an overlock stitch..
- Cut the part along the lobar lineand fabrics.
- If a pattern on the material requires it, the pattern can also be made on the bias.
Important! The diagonal design of the pocket is used for a “stripe” or “check” pattern.
- Build the detail on paper, maybe newspaper, or even better on graph paper.
- Make rounded corners using a compass or coin of suitable diameter.
- Attach the template to the fabric, secure with pins (don't forget about seam allowances).
How to sew a patch pocket correctly
Adhere to the following operating algorithm.

- Set the machine stitch to 4mm long.
- The tension on the upper thread can be slightly loosened.
- Sew the rounded corners of the workpiece.
- Sew the pocket from the sides, attach the bottom side.
- Turn the top cut inside out, approximately 0.5 cm, and iron it with an iron.
- Turn it right side out and secure with pins.
- Carefully sweep the parts along the sides.
- Form corners and use a steamer.
- Cut off the allowances.
- Place the finished template along the markings on the product and attach with pins. Can be secured with running stitches.
- Machine stitch the edges.
- Remove the threads and iron the pocket.
Important! On denim clothes, the seams are made with two lines running parallel, or with a linen seam.
- Along the top of the product, sew 2 short additional seams.
The work is ready!
To make your pockets durable and beautiful, cut them carefully and sew them carefully.


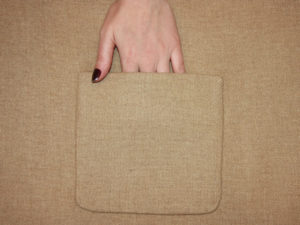 To make it easier to sew on such details, they would look natural on clothes and be comfortable to use, you need to decide on their size, mounting location.
 0
0