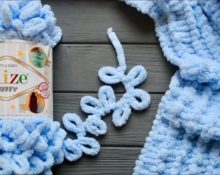
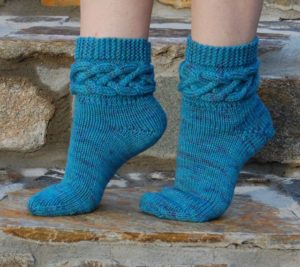
 Doing something with your own hands is not only pleasant, but also fashionable. Because the result is unique things. It's nice to do things not only for yourself, but also to pamper your loved ones.
Well, what grandmother wouldn’t be happy with new socks from her beloved granddaughter. These nice gifts can be made in just a couple of hours.
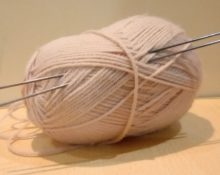
Yarn selection
For an experienced person in the field of knitting - the question of choosing yarn is not as pressing as for a beginner. But with socks everything is simple - they must be warm. That's why It is better to pay attention to yarn with a high wool content.
It is also necessary to pay attention to the thickness of the thread. For example, there is wool yarn with very thin threads - it will not work.
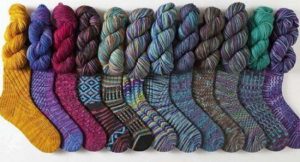
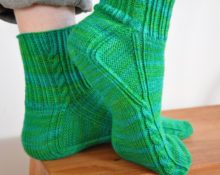
Yarn and ready-made socks
The color scheme is already an individual indicator. It will be a big plus if the socks are also a fashionable color.
Knitting needle selection
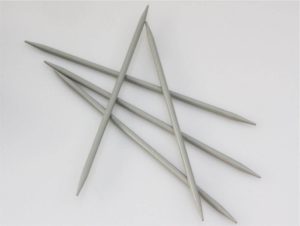
Knitting needles for socks 5 pcs.
It is more convenient to knit socks with special stocking needles. There are only 5 knitting needles in the set, usually 2-3 mm. The size depends on the thickness of the yarn and how exactly the person knits.
If the craftswoman knits loosely, then it is better to buy thin ones, and knitting too tightly predisposes to purchasing thicker knitting needles.
Matte or shiny - it also depends on individual preference. But shiny ones have a slippery surface. There are also sets of bamboo knitting needles. They are very comfortable to knit.
How to determine your sock size?
Before knitting socks you need take certain measurements. They will help make this product comfortable to wear. But it’s not always possible to take measurements. For example, when knitting socks for grandma.
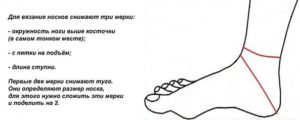
How to take correct measurements for socks?
It’s not always possible to go and measure. That's why All sizes are related to a person's true shoe size. You just need to use the formula.
Sock length = (shoe size:3)*2
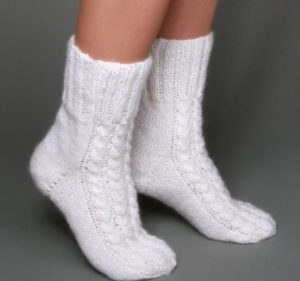 If person's shoe size is 38, then it needs to be divided by 3 and multiplied by 2. The length of the sock for size 38 will be equal to 25.3.
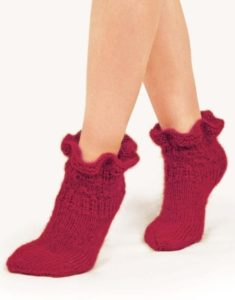 There is a special table that helps you choose the right indicators for each size.
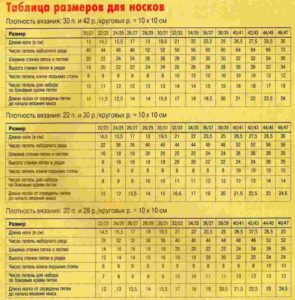
It is very convenient, it indicates how many loops you will need to cast on and calculates the width of the heel and its height. This is how the perfect socks are created.
Loop calculation
Not everyone is ready to trust the table and cast on as many stitches as recommended by the GOST standards. Why not calculate this indicator yourself.
To do this, you need to know only two measurements - the circumference of the ankle and instep. Add the two indicators and divide by 2. This is how the average is calculated. It should be referred to as the circumference of the future sock.
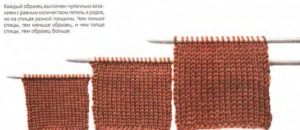
Types of samples on different knitting needles
After you will need to knit a small sample and use it to calculate the required number of loops.
Important! The number of loops for knitting a sock should be a multiple of 4. Since knitting is carried out on 5 knitting needles.
How to knit socks on 5 knitting needles: step-by-step instructions for beginners
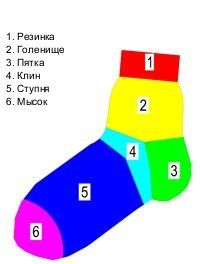
Any sock has 5 parts:
The first is the elastic and is called the sock cuff.
The second is the upper part of the sock.
The third is the heel.
The fourth is the main part of the sock.
The fifth is the toe and the very end of the sock. This is the order in which you should start knitting any sock.
A set of stitches on 2 knitting needles together
Everything is ready for work. The loops have long been calculated. The yarn has been selected and the knitting needles are lying and waiting for their turn.
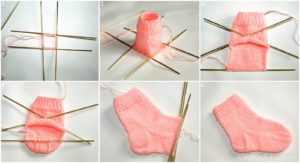
6 stages of knitting socks with 5 knitting needles
You are good to go and usually use a traditional set of buttonholes for socks. But no one excludes the use of another. Let's start with the 1st stage and gradually consider everything: from casting on loops to decreasing loops for the toe of the sock.
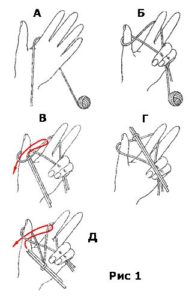
Set of first stitches for 2 knitting needles
Let's look at all the steps step by step. Two knitting needles are connected together and we begin to cast on the loops on the knitting needles.
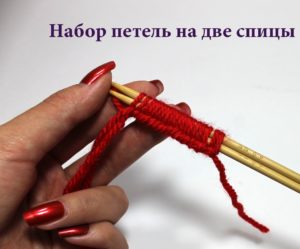
The first stitches are cast on on 2 needles
We dialed the required number, which will be a multiple of 4. Next, we prepared all the other knitting needles and you can move on to the next stage and the first row.
Switch to circular knitting (4 knitting needles)
The first row and this is the row when you need to adapt all the knitting needles.
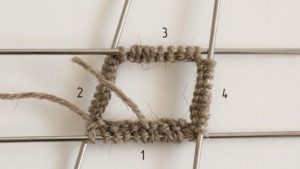
1st row of socks – transition to 4 knitting needles
Divide the total number of loops by 4 and use an elastic band to knit 1/4 of the stitches onto one knitting needle. Do this for each of the 4 knitting needles. Knit an elastic band in the round.
Important! The first row will always seem a little unfinished and therefore it is better to immediately fasten the rest of the thread that hangs down so that the circle closes more tightly.
Knit on the fifth needle with the first. When the first one is freed, in knitting it becomes the leading needle and so on.
English gum
To create socks You can use different elastic bands for the cuff. This could be a 1*1 elastic band.A very common elastic band in socks with a 2*2 pattern.
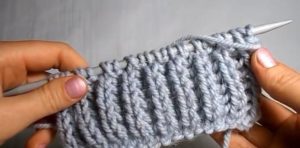
Toe cuff: English elastic
Some have gotten used to using English elastic on all socks, they are very voluminous, this is not the best option.
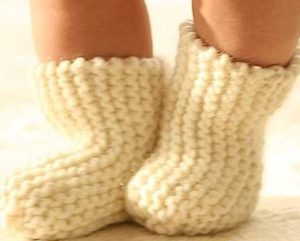
Simple socks for baby
It is correct to use regular “sock” knitting, although you can decorate it with decor (patterns or ornaments). To do this, you will have to constantly count the loops, which is difficult for a beginner.
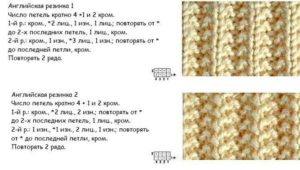
English_elastic_2 types
For circular knitting, the English rib will be slightly different:
1st row: slip one double crochet stitch, purl. P.
2nd row: persons p. (knit a loop and yarn over), remove 1 purl with a yarn over. P.
3rd row: persons p. remove with yarn over, purl. p. knit a loop with a double crochet.
Designations: out. p. (purl loop), knit. n. (facial loop).
Next alternate rows 2 and 3.
Transition to heel
This is already the beginning of the upper part of the sock. It can be changed in height and this will change the height of the sock itself. Usually it accounts for 5-6 cm.
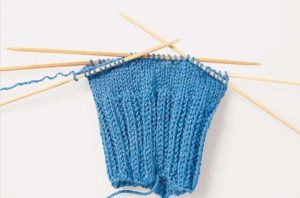
Upper_part_of_sock
Next, knitting continues on two knitting needles - the so-called height of the heel wall is knitted. This indicator can also be found in the size table.
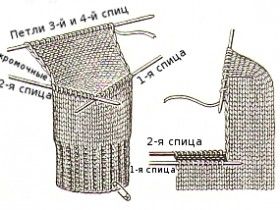
Height_heel-toe
Then, from two knitting needles that are intended for the heel, select the width of the heel and the heel itself is knitted. To do this, knit these middle loops and pick up a loop from each edge of the loops remaining on the heel needles. This creates a “pocket” for the heel.
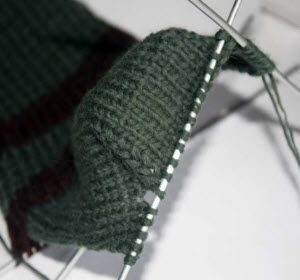
Heel_toe
When this heel is knitted, it is necessary to cast on the edge of the resulting heel. And this indicator is in the table below.
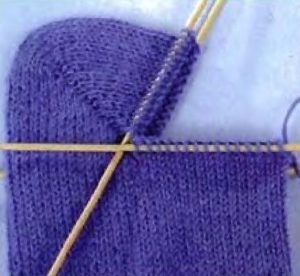
Main_part_of_sock
After casting, all knitting needles continue knitting and it is again circular. But the fourth part of the sock is already knitted - its main part. You need to knit the desired length and then start decreasing.
Knitting a toe
Decreases are the new part.. This will be the toe of the sock. It is more convenient to decrease at two points - on the sides of the toe.
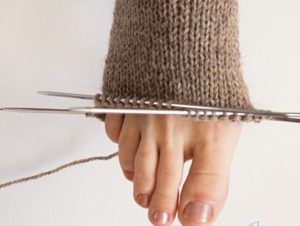
Toe of the sock when to decrease stitches
This will create a neat rounding. But many also do a decrease at 4 points. Especially if the leg is very thin. When a few loops remain, close them together and hide the thread.
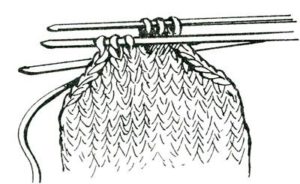
Smooth decrease in toe loops
It's not that difficult to knit socks. But it will be unusual for a beginner to handle 5 knitting needles at once. Therefore, even the most simple socks will require patience from the master.
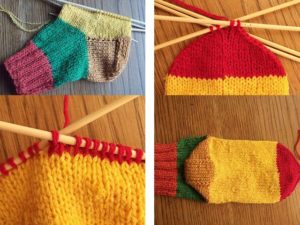
Stages of knitting a sock
Beautiful patterns can be obtained if you add some kind of pattern instead of the usual stockinette stitch for the sock.
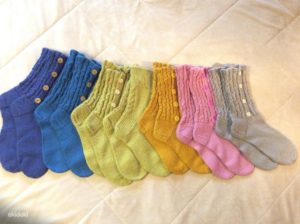
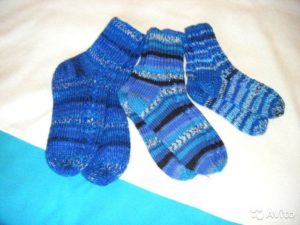
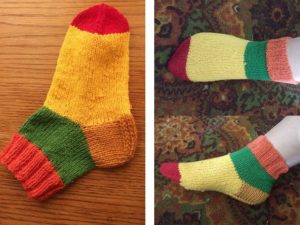
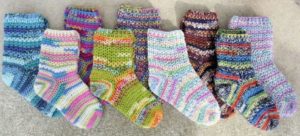
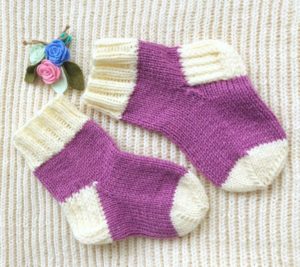
Patterns for decorating socks
Interesting patterns that can be used to decorate adult or children's socks after the English elastic band (before moving to the heel).
For example, after 10 rows of English. elastic bands 1*1 (knit/purl loops alternate). Then the stockinette stitch is knitted on 3 needles (all stitches are knitted). The pattern (rapport) consists of 12 loops. It will look beautiful if it is placed on the outside of the sock, on the side or in front. Knit 12 cm (pattern below):
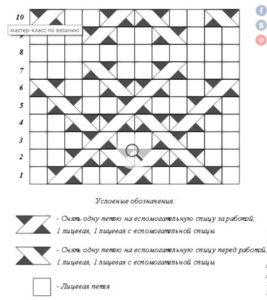
Vertical pattern for socks
This is how the pattern will look in the product; it can be knitted along the entire length of the sock or to the heel:
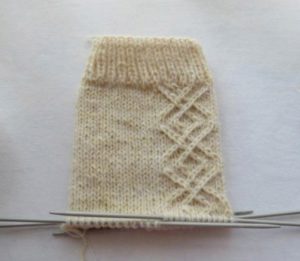
Vertical sock pattern
Traditional winter themed decorations (snowflakes, birds, etc.):
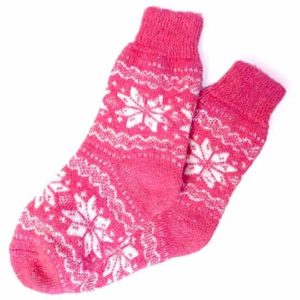
Placing patterns on socks

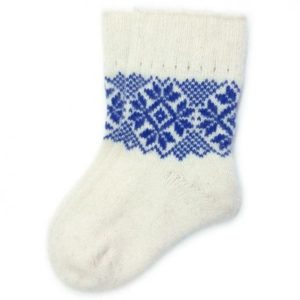
Small socks with ornaments
Creative ideas for knitting socks:
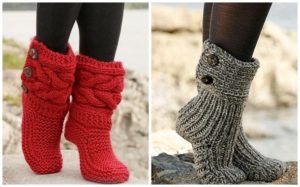
Knitted Red and Gray Button Socks
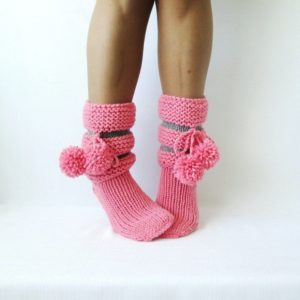
Pink socks with pompoms
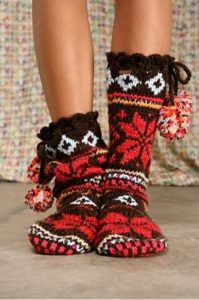
Original colored socks with different patterns


 0
0