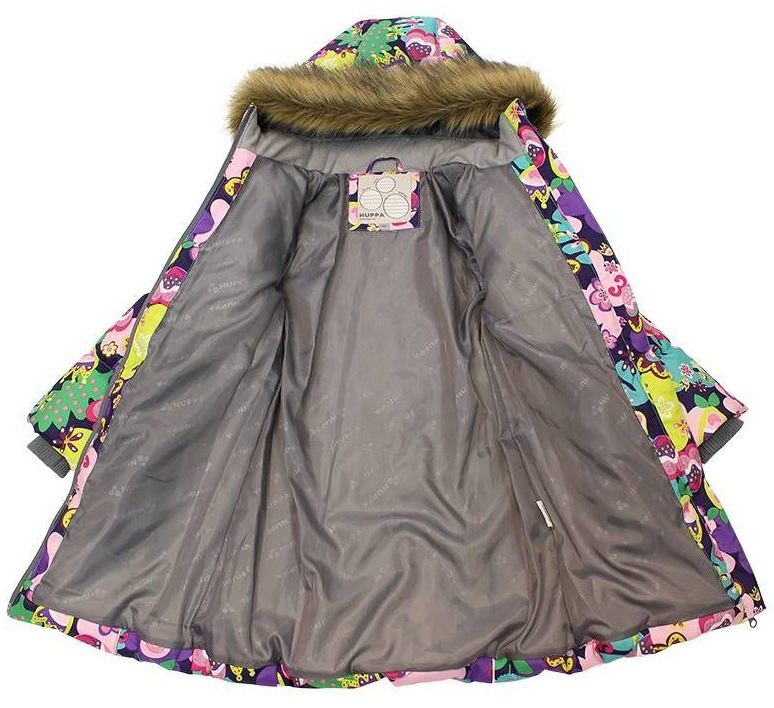
 The presence of a lining on outerwear is extremely necessary. It has an additional insulating function, protects the coat from moisture and damage on the inside of the product, and masks unevenness on the back surface. Using sewing skills, you can sew the lining to the coat yourself.
Selection of material and preparation of parts
Sewing a new lining is most often necessary in case of damage to an existing one. Also, using padding polyester or holofiber, you can insulate the product, making it suitable for the winter period.
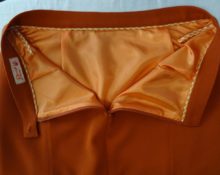
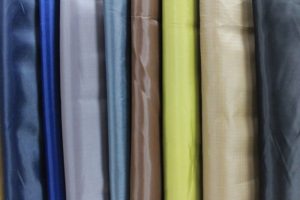 The choice of fabric must be approached with special care. It performs a large range of functions and protects the reverse side from premature wear. You should pay attention to fabric such as satin (photo). It has a dense texture and attractive appearance. However, its price is higher than other materials, so this option is not suitable for everyone.
Atlas is more budget-friendly, but no less attractive.It is often used by manufacturers to sew linings on outerwear and other wardrobe items. It retains its shape well, is protected from damage, and actively absorbs and retains moisture.
The color range is presented in a wide range. You can use colors that are as close as possible to the original color of the product. Recently, fashion designers are increasingly offering products with bright linings for a more impressive appearance.
Once the material has been selected, you can begin constructing the lining. Before cutting out the lining parts, experts recommend carrying out a wet heat treatment - decating. The fact is that many fabrics tend to “shrink” after washing. This may seriously damage the inner lining of the product. Timely decating will help avoid this. To carry out the procedure, you need to slightly moisten the fabric and walk over it with the hot iron platform until it dries completely.
Lining pattern
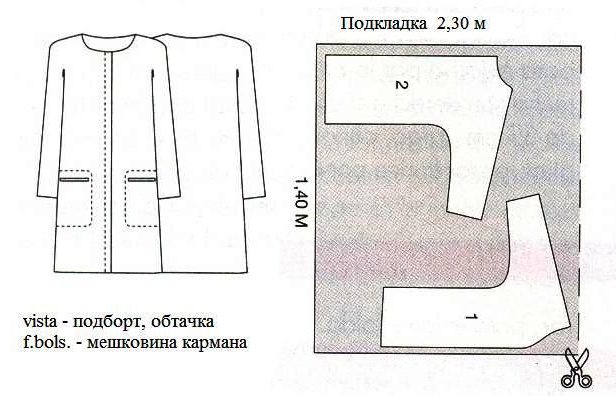
To take measurements and prepare a pattern, the best option would be to use old material (if available). It must be carefully peeled away from the coat. It is better to take measurements on a hard, flat surface. A wide desk is suitable for this.
We measure all components of the coat:
- product width;
- length and shape of the sleeve cap;
- length of the back, shelves.
It is necessary to add 1–2 cm to these indicators; they are spent on seams. It is recommended to make patterns on paper or cardboard, and then transfer them to consumables. Simple steps will help you correctly calculate the exact dimensions and avoid unnecessary waste of fabric.
Important! When preparing and sewing a lining for a coat, you must adhere to all recommendations, maintaining the accuracy of the calculations.
It is advisable to cut out the components using a special sewing cutter. It is easy to guide along the contour and is easy to use. Large scissors or a tailor's knife will also work.
After preparing the required patterns, you can proceed directly to sewing.
Reference! For additional convenience, the parts can be fastened together with safety pins and the product can be tried on. This move will allow you to take into account all the nuances in advance and correct mistakes.
Sewing process step by step
Fashion designers differ in the intricacies of sewing linings for outerwear. Some people recommend sewing all the parts together first, and then sewing them to the coat. Some people recommend sewing each part one by one. The most optimal and convenient option is the first one: sew all the parts together, and then process the wrong side of the coat.
To begin with, you can work on the shelves and back:
- We alternately pass the seam from the wrong side between the parts.
Important! Carefully monitor the evenness of the seam, as unevenness can cause wrinkles on the surface.
- The second stage will be the sleeves. They must be sewn in the shoulder area without sewing the sides together. That is, the sleeve is sewn only to the back, and is connected directly to the coat.
Attention! It is recommended to apply the seams with small but tight stitches. They secure the fabric well, hold the lining components tightly and do not stand out.
Coat processing
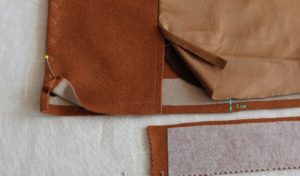
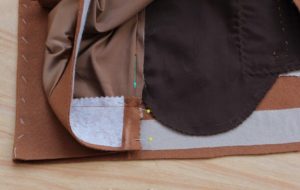
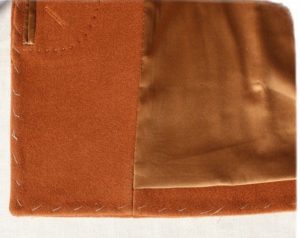
After preparing all the lining elements, we move on to the most difficult stage: sheathing the coat. The process should be approached with particular care: any carelessness can lead to damage to the fabric.
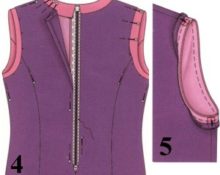
- The first step is to treat the back in the collar area.Carefully fold in the remaining centimeters and sew with a small, inconspicuous seam. It is better to use threads that match the fabric. This way the seams will not stand out on the product.
- After the collar, you can move on to the sleeves. We process the seam in the area of the shoulder joints without sewing them together. We start seams from the neck to the shoulders, then along the diameter. The top is ready.
- Then you can proceed to processing along the length itself. To begin with, it is recommended to treat the area where the back and front are sewn together, that is, on the sides. Afterwards we start sewing the shelves themselves - this is the area in the location of the buttons or zippers.
- The penultimate stage will be processing the bottom. Here you need to keep an eye on the remaining fabric. The lining should be positioned freely, without tightening the coat itself, but also without leaving unnecessary folds. Finally, we sew the sleeves. The phasing depends on personal convenience. You can first sew the bottom of the sleeve, and then connect it along the entire length.
The updated wardrobe item is ready. The new lining will improve the appearance of the product and its additional characteristics.
Conclusion
The presence of inner lining on outerwear is mandatory. It not only protects from wind and moisture, but also additionally maintains its attractiveness. A little knowledge of sewing and some free time will help in processing the lining for a coat.


 0
0
