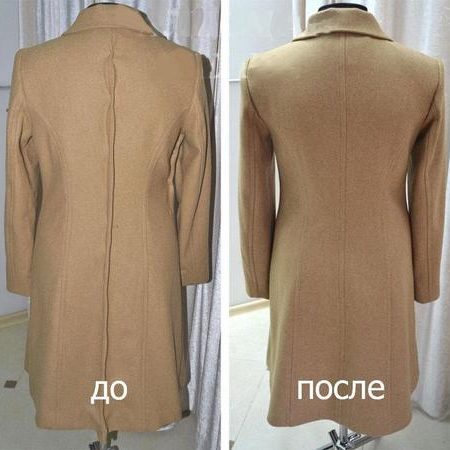
 Properly selected outerwear gives each representative of the fair sex an elegant and sophisticated look. A stylish demi-season coat will not only warm you up in cool weather, but will also add femininity to any look. It often happens that a coat becomes large, and it is not possible to purchase a new product that fits in size. In such cases, using cutting and sewing skills, The product can be sutured at home.
Preparatory process
Half of successful work depends on competent and accurate planning. Sewing warm outerwear must be approached with special care, following all recommendations and taking into account even the slightest nuances. Accurate calculations and correct actions will help achieve the desired result.
First of all, you need to decide on the required size and area of suturing. On average, 1 size equals approximately 4 centimeters. To determine the exact size of the changes to be made, you need to try on the coat and calculate the exact numbers.
Attention! For a good fit, the product must be sutured evenly along all seams. So, if you need to reduce the product by 1 size, then the difference of 4 cm must be distributed over all existing seams, including darts.
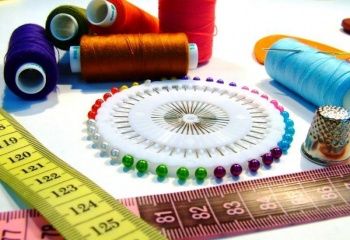 Required tools:
- scissors;
- sewing meter;
- chalk or pin pencil;
- safety pins;
- threads to match the product being sewn (it is advisable to use nylon threads that match the color structure);
- sewing machine.
Stages of sewing a coat
Once the necessary tools are ready and calculations have been made, you can begin the main stages of work.
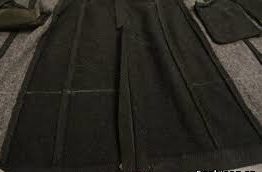 After trying on, turn the product inside out and carefully rip out the bottom seam of the lining. Now you can rip off the rest of the lining. Care must be taken as the material will be sewn back later.
Next, we rip out the middle seam on the back and the side seams connecting the back of the product with the shelves.
Attention! The details of the shelves must be ripped apart carefully, not reaching a few centimeters to the sleeve area.
After all the necessary components have been ripped out, you can begin marking the reduction corrections. This process is best carried out by placing the product on a hard and flat surface. A wide desk without any foreign objects on it is suitable. Along the edges of each piece, mark a new stitching line with chalk. If the product is intended to be fitted, mark the depth of the dart. For a loose-fitting coat, this is not necessary. After the necessary measurements, the coat elements can be fastened together with safety pins for preliminary fitting. This action will help ensure the accuracy of the calculations and take into account any errors that may arise.
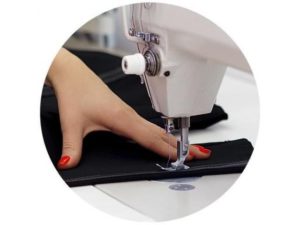
When the markings are made, you can prepare the sewing machine.It is necessary to use a strong wide needle and nylon threads to match the product.
After preliminary fitting, we do not remove the pins: they will be useful when sewing components together on a sewing machine.
 Technological process:
- The first step is to place a primary stitch at the stitching area. After the stitching is done, you can remove the pins and carefully cut off the extra centimeters of material.
- When the excess is cut off, heat treatment of the seams is recommended. To do this, apply damp gauze to the stitching areas and straighten the seams with the hot sole of an iron.
Important! All work is carried out on the reverse side of the product.
After all the necessary manipulations, the coat is almost ready - all that remains is to finalize the lining. The technology for carrying out sewing work is similar.
- Carefully straighten the lining on the product, mark the desired size on each side with chalk or a pencil pin (about 0.5 cm). We fasten the sewing area together with safety pins.
- From the wrong side of the lining we start a seam using a sewing machine. After stitching, remove the safety pins and carefully cut off the excess fabric.
- For a more secure fixation, you can skip another seam.
- We perform similar actions when attaching shelves with a back. Carefully turn the coat right side out through the bottom.
- All that remains is to sew the lining on the bottom of the coat with an invisible seam.
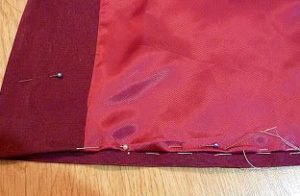 Also, while working, you can hem the bottom of the coat, making it shorter. To do this, measure the unnecessary number of centimeters on the hem and mark it with chalk. It is recommended to leave about 2 centimeters - they are spent on skipping the seam. After marking, excess fabric is cut off.
Important! The edge of the coat must be ironed, and only after this work can be done on a sewing machine, connecting the lining to the main fabric.
Now the elegant and feminine wardrobe item is ready to create new unique looks and outfits.
Conclusion
In cases where outerwear has become too big in size, do not rush to free up space in the closet. With a little sewing skill, you can easily adjust your coat to the desired size yourself.


 0
0