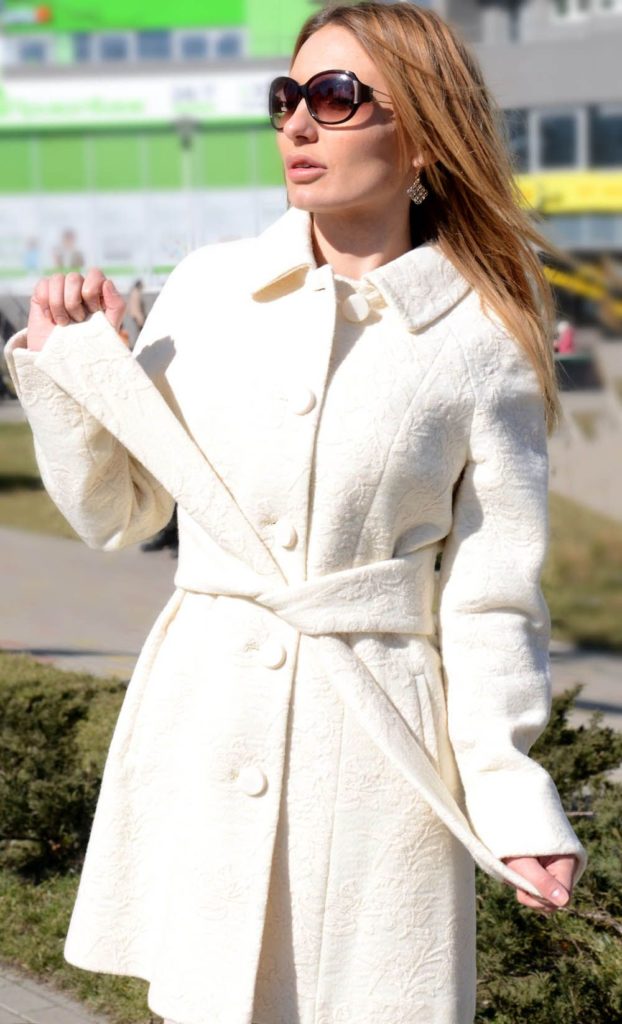
 A beautifully or originally tied belt on a coat will add additional zest to the look. A correctly selected accessory and knot will emphasize the advantages of the figure and, if necessary, hide its shortcomings. Learning several tying options is not difficult. And those around you will appreciate the result, seeing you off with admiring glances.
Classic way of tying
Classic is always relevant and stylish. In this case, it’s also simple. However, simply does not mean “ineffective” at all. The classic knot for a belt on a coat is a single knot in the middle in the front.

You can diversify the composition by moving it to one side.

Such knots are suitable if the accessory is made of non-slip material.
After mastering the classic version, you can move on to non-standard ways of tying a belt.
Non-standard methods (tying patterns step by step)
A bow will help make your look more feminine and romantic. It can be made from a narrow or medium and less often from a wide belt.It can be made from the same material as the coat, or from another: satin, leather, wool.

This bow is tied as follows:

- Wrap one end of the belt around the other from bottom to top from the inside.
- Fold the other end into a bow wing.
- First, wrap the second one from the outside and lead it behind the wing.
- Pull the second wing into the resulting loop.
- Tighten and straighten the bow.
Similar, but a more strict knot is a half-bow.

It is tied in the same way as a bow, but the first wing is not made. The end that is on top clasps the bottom, and one wing is brought out into the loop. The knot is tightened, and you get a neat half-bow, which has an eye on one side and two tails on the other.
Another variation of this knot It works if you don’t make an eye, but stick the entire tail being wrapped into the loop.

Another option for belting a coat is a tie knot. There are many ways to tie a tie, and almost all of them are suitable for a belt. For example, one of them goes like this:

- Wrap the product around your waist so that one end is longer than the other.
- Wrap the long tail around the short one over the top.
- Bring it up and pass it through the loop down.
- Wrap the short end around the front again with the long end.
- Pull the working tail through the bottom into the loop.
- Pass it down into the resulting loop. Tighten.
Or you can tie a reverse knot this way:

- Cross the ends so that the outer one is longer than the inner one.
- Long lead up from the inside.
- Wrap it around the belt, pull it back down, and pass it under the short end.
- Raise it from the outside again.
- Wrap it around the belt again and lower it through the resulting loop.
- Tighten.
Original node can be tied from a flat accessory of medium width as follows:

- Cross ends.
- External draw up from the inside.
- Bend the lower tail up and pass down between the raised end and the crosshair.
- Bend the second tail and pass it through the loop of two layers of the belt.
- Tighten.
ATTENTION! If the belt is long enough, it can be tied twice around the waist and tied in any of the ways discussed.
You can tie a coat not only at the front, but also at the back. To do this, the accessory is passed through the back or side loops. Usually such knots are knitted before putting on the coat. And they can be left untied for a long time. In this case, the coat can be worn either unbuttoned or buttoned.
One of the possible options is single turn tie knot, which fits as follows:

- Cross the ends.
- Place the bottom one over the top one, wrapping it around it.
- Bring the same end up behind the crosshair.
- Insert it down into the resulting loop.
- Tighten.
Another interesting knot - a bow with several ears. It goes like this:

- Cross the ends, bring the bottom one up. The second end should be significantly longer than the first.
- Fold the long ponytail in a zigzag pattern with an arbitrary number of loops.
- Wrap a short one around the middle of the zigzag.
- Bring it behind the crosshair and pass it through the loop formed.
- Tighten.
ADVICE! You can also tie all the knots that are tied in the front at the back: a tie, a bow, a half-bow and others.


Some tips
In order for the belt to perform its functions, it must be correctly matched to the coat and to the figure, and a suitable knot must be selected for it. To avoid mistakes, you should consider some points:
- This item of clothing can be tied not only at the waist, but also a little higher, focusing on the chest. Or lowered a little on the hips, visually lengthening the body.
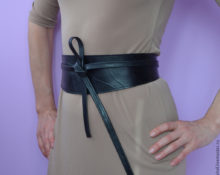
- Wide belt emphasizes the waist, it can be chosen in a contrasting color.
- If needed take attention away from the waist, you should choose an accessory that matches the coat and tie a simple classic knot, or you can tie it at the back. Then the belt will play its role without placing emphasis.
- For a voluminous figure It is better to choose an accessory of medium width. A narrow belt will emphasize the belly, and a wide belt will make the figure even heavier.
- Long belt You can tie all sorts of knots, but it is better to limit the short one to a simple knot.
- Belt with buckle Most often they are tied rather than fastened.
- A little carelessness Tying a belt will add lightness and a stylish note to the image.
When choosing a knot, don’t be afraid to experiment. By taking a little time to practice in front of the mirror, you can master different tying methods and determine which one is suitable for a given situation.


 0
0