A jacket is an essential element of a woman's wardrobe. It is used to create a classic, feminine or casual outfit. Modern fashion designers offer fashionistas a wide selection of different models. They differ in style, accessories used and colors. You can sew such a product yourself at home, using a little imagination and sewing skills.
We sew a women's jacket with our own hands

The finished design of the jacket must fully comply with the necessary requirements and emphasize the main advantages of the figure. It is necessary to choose the style, length of sleeves and products, finishing based on personal preferences. Beginning seamstresses should choose a simple model of a summer jacket without a collar or lining.
Required materials and tools
The choice of fabric is one of the main aspects when sewing a jacket. It should suit a certain body type and have the right texture. The fabric should be selected based on the application and style of the jacket.
The following fabrics are suitable as the main material of the product:
- tweed (for cool weather);
- knitwear;
- cotton;
- denim;
- velveteen;
- atlas;
- velvet (for a festive version of the product).
Required tools:
- sewing meter;
- ruler;
- scissors;
- safety pins;
- chalk or pin pencil;
- doublerin adhesive;
- threads to match the product;
- sewing machine.
After all materials and tools have been prepared, you can begin sewing the product.
Taking measurements
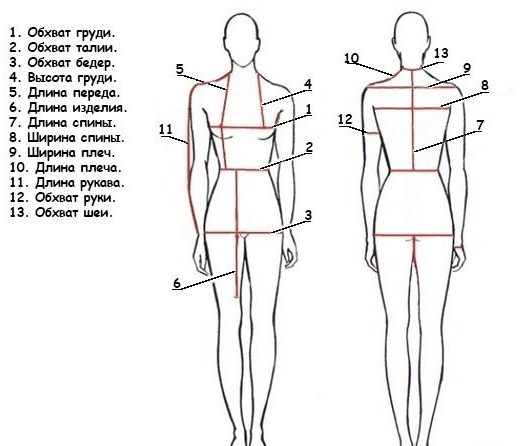
The first step in sewing a jacket is taking measurements. They are necessary for the exact dimensions of the finished wardrobe item.
Required sizes:
- length from neck to waist;
- shoulder width;
- the length of the sleeve;
- arm circumference at the shoulder joint;
- wrist circumference;
- neck girth;
- Waist;
- chest girth.
IMPORTANT! It should be remembered that when creating patterns you need to add a few centimeters for a loose fit.
In the sleeve area the allowance will be approximately 6 cm, in the waist area about 8 cm. For a looser fit, you can increase the number of additional centimeters.
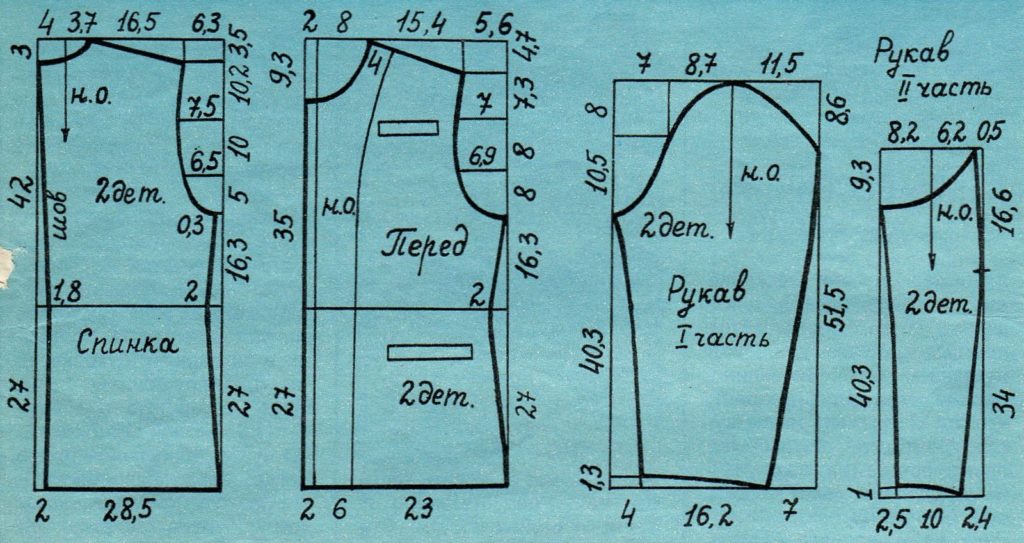
Preparing the pattern
Once the required dimensions are known, you can begin working on the pattern.
To create a sleeve pattern you will need the length, girth of the arm and wrist. Don't forget about the extra centimeters.
For the back pattern use the desired length of the finished product, as well as shoulder width and waist circumference. The back can be sewn either from one solid piece or from two. To do this, the pattern is vertically divided into two parts in the center. Don't miss out on the auxiliary centimeters.
The shelves consist of two parts. They require the overall length of the jacket and the circumference of the shoulders. Do not forget about the half-waist and half-chest girth.
ADVICE! Many professionals recommend initially constructing a pattern on cardboard, and then spreading it on the material. Simple steps will help save material.
Cutting the main fabric and auxiliary materials
It is recommended to decate the fabric before cutting. To do this, the material is moistened and thoroughly ironed with a hot iron. Such actions will help take into account correct shrinkage and prevent deformation of the material.
ATTENTION! Many fabrics should not be exposed to moisture. Before the decatification process, it is necessary to obtain the necessary information about the properties of the material and the rules for caring for it.
Fabric cutting should be done on a hard surface, not cluttered with foreign objects. A desk is suitable for this. We lay out the main parts: the back, shelves and sleeves. Between them we place auxiliary ones (pockets, collar). Before cutting, you should take into account the direction of the pattern (when using decorated fabrics) and the direction of the pile (when using corduroy or velvet).
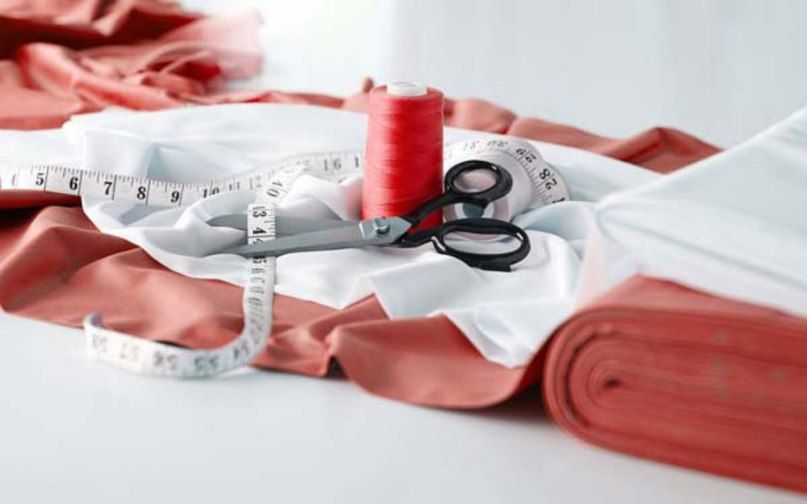
The material should be cut with large scissors, a tailor's knife or a cutter. Don't forget about the extra centimeters of fabric for seam allowances. We cut out the necessary main and auxiliary components (pockets, collar, hems, facings). From dublerin we cut out parts that should have a rigid shape: pocket leaves, collar, sides.
After cutting, all parts can be folded into an approximate product to check the length of all parts. Now let's proceed directly to sewing.
Sewing steps step by step
- First of all, you can mark test seams and try on the jacket. This action will help take into account all the nuances and negative aspects when sewing.
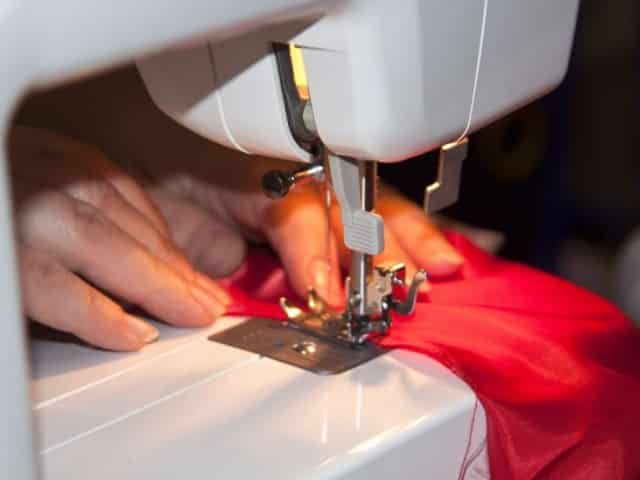
- For starters, you can sew sleeves. The parts of the product in the wrist area are sewn on the wrong side using a sewing machine. Then a seam is passed along the entire length of the sleeve. We do the same with the second sleeve.
- We prepare the back and shelves. We pass the seam along the lower back of the product. Then we sew the seams one by one in parts of the shelf, sew on the borders, previously glued with dulerin. When sewing, it is important to consider the direction of the pattern and pile.
- If the product intended with pockets, you can mark out the pocket areas in advance, and now make the necessary seams. We do the same with buttonholes.
- Now you can sew the product. We sew one of the shelves to the back without affecting the sleeve area. We do the same from the other side. If there is a collar, carefully place a seam that goes from the back to the front.
- We sew in the sleeves.
After finishing the sewing work, we try on the finished product and are satisfied with the result. The jacket can be decorated with a brooch or other accessory, depending on personal preference.
Conclusion
The jacket has long been a staple in the wardrobe. It helps you choose the right combination for your outfit and makes your look complete and complete. A few simple steps will help you create a truly unique and original product that will meet all the requirements of its owner.


 2
2


