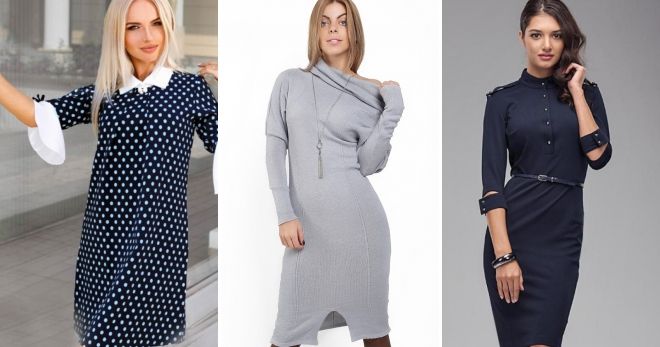
 It is extremely rare for a person to wear a collar without a collar. Removable, stitched, flat and turn-down, they give a finished look to our things.
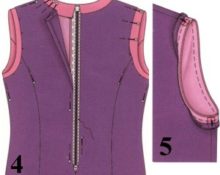
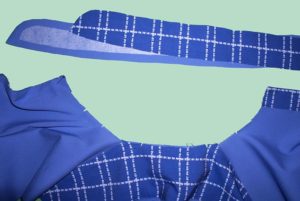
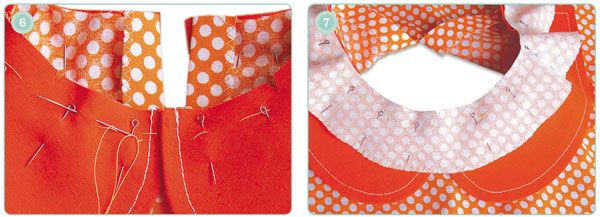
Let's look at step-by-step steps on how to sew a collar yourself (pictured).
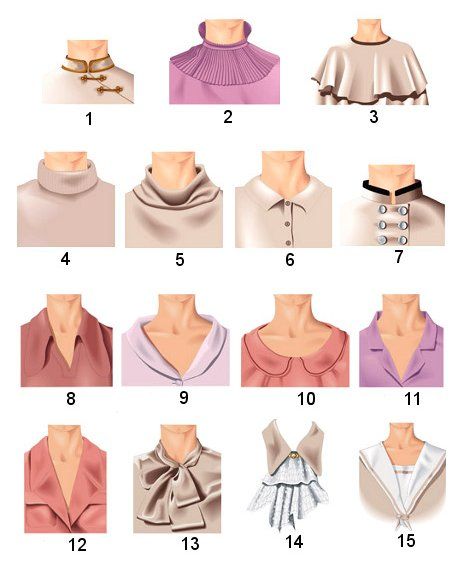
Collar types
Some styles require a one-piece cut:
- one-piece stand;
- shuttlecock;
- sailor;
- blouse stand;
- one-piece turn-down.
Some styles mean that the stand, as well as the details, will be cut out separately. This is a stand-up collar.
 According to another classification, collars are divided into:
- flat-lying;
- stand-up;
- stand-up collars.
 At the same time, the methods of processing the product, as well as the methods of sewing it to the front and back, are not much different.
 The main point is the connection with the neck; it depends not on the collar itself, but on the shape of the neck.
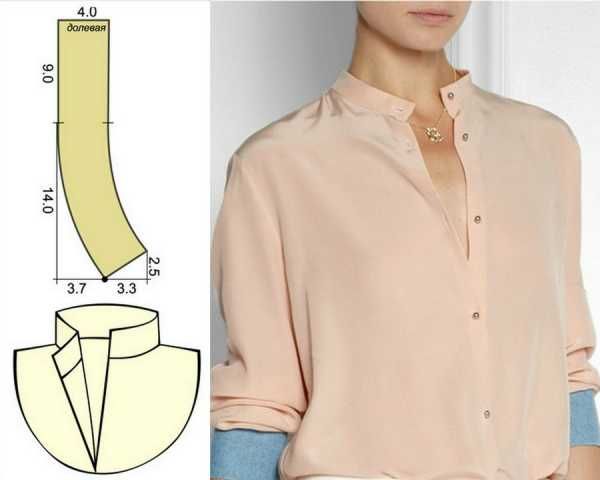
Making a stand-up collar
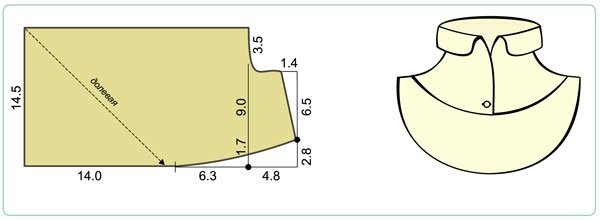
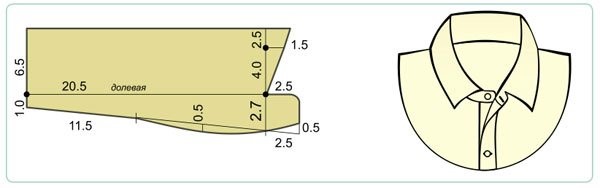
This type does not have a turn-down part. Different styles differ only in the height of the stand. There are cut-off or one-piece (cut together with the shelf and back).
 Stages of work:
Manufacturing of parts:
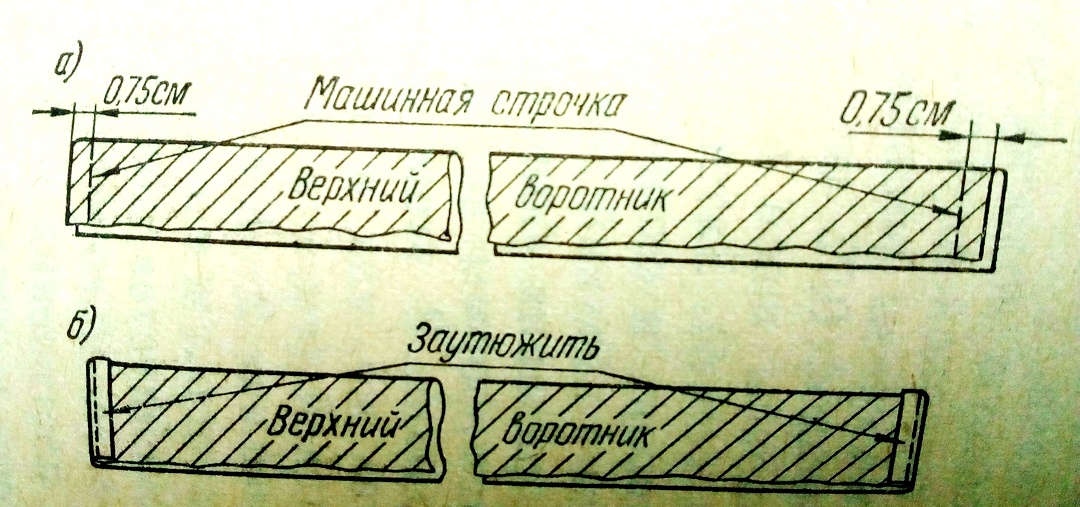
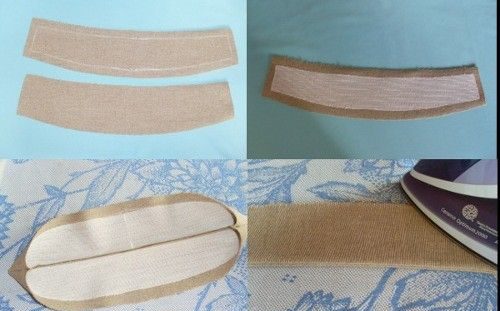
- The collar is cut out of two stripes.
- The stripes are ground together face to face. Leave the neck line free.
- The workpiece is turned inside out.
- Ironing.
- If you need rigidity, duplicate the fabric with non-woven fabric.
 Interesting! The stand does not have to be a boring straight line; if its ends are lengthened and left free, then you can get a tie or bow.
 Sewing it into the armhole
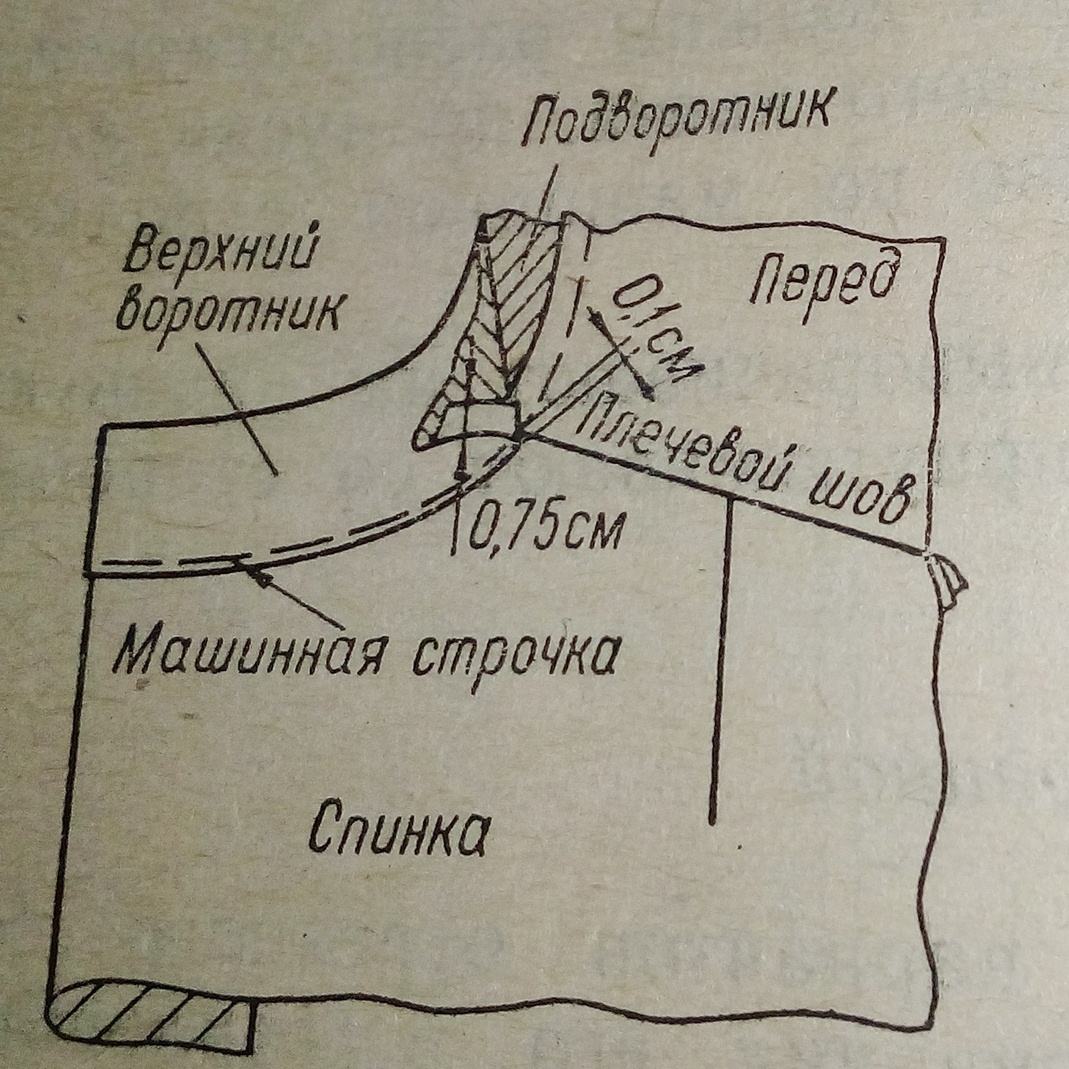
- The collar is sewn in last, when the shoulder and side seams are already sewn:
- We place the collar on the wrong side of the main product with its inner side.
- We combine the ends of the collar with the fastener of the main product.
- We sweep or pin along the side of the product.
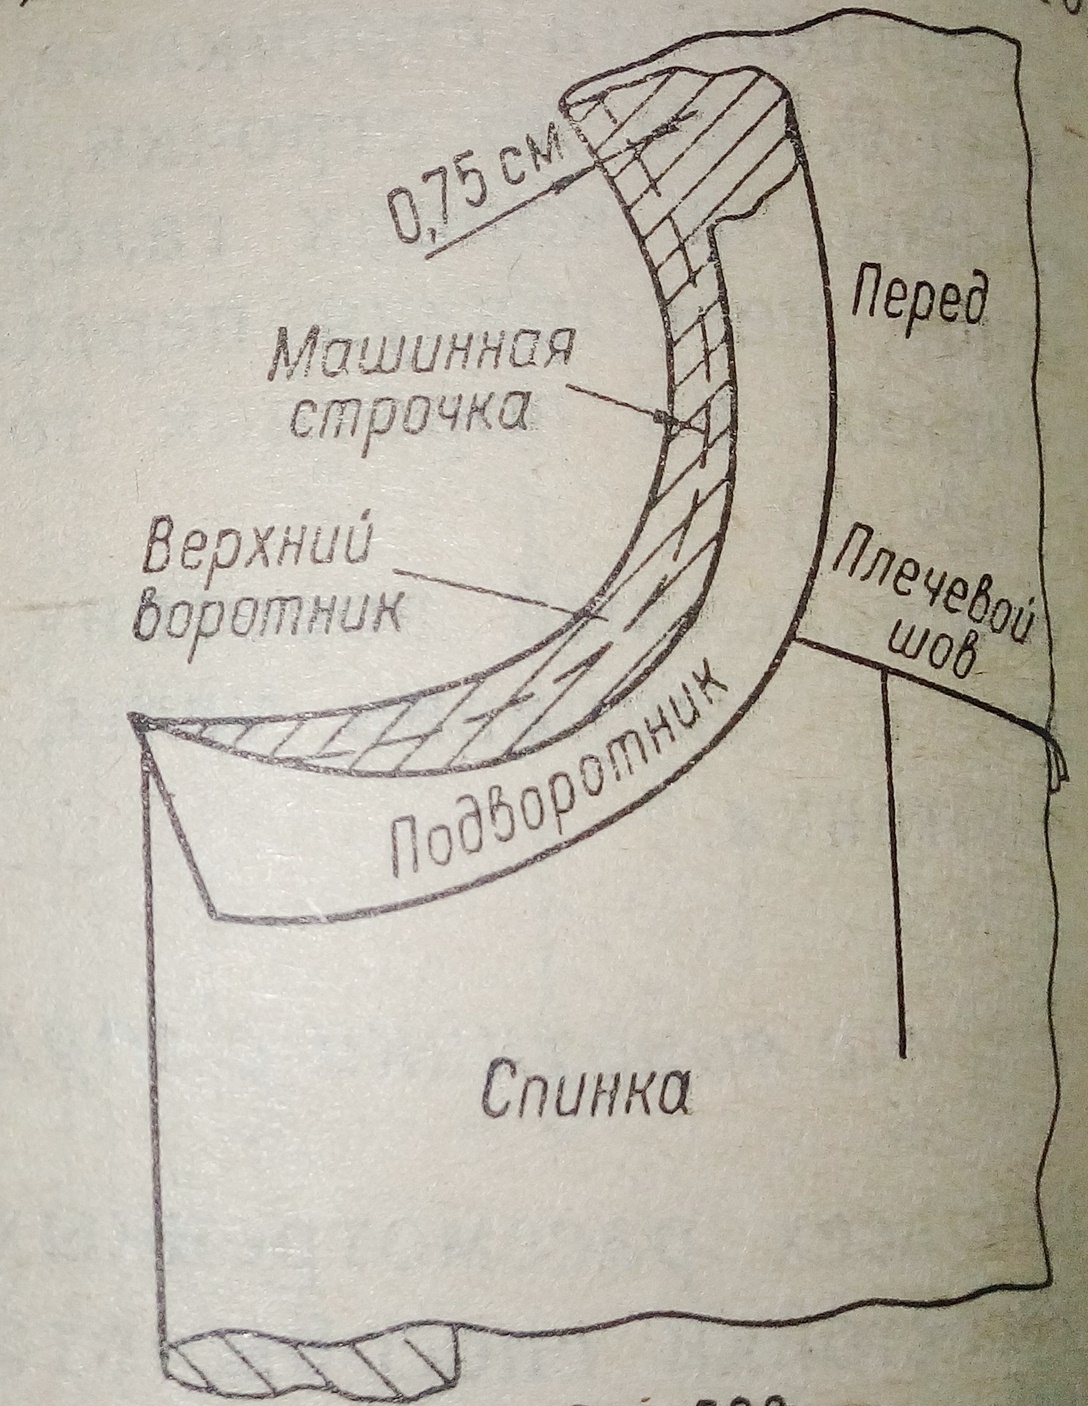 We sew it on the machine, on the contrary, on the side of the collar.
Important! The thinner the fabric, the more painstaking the work.
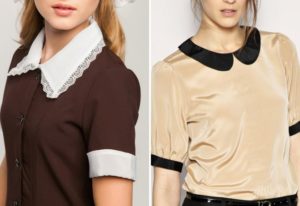
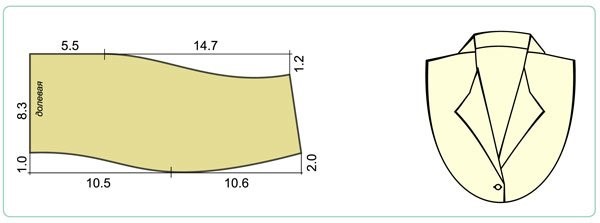
Sew a flat collar
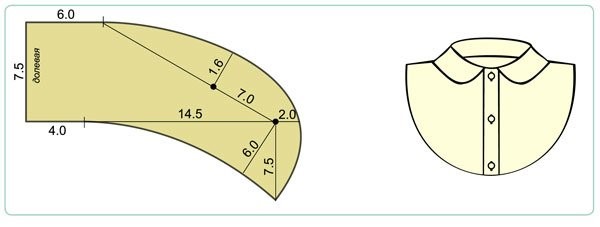
This type of gate does not require complex patterns, does not have a stand, and consists of only two identical parts.
It can be one-piece, that is, its left and right sides are connected only at the front or back, depending on the clasp of the dress, or have several seam joints.
 Stages of work:
- We cut out the details, remember that any collar is double.
- If necessary, we cut out the same parts from non-woven fabric and duplicate the fabric ones with them.
- Place them face to face and chop them off.
- We sew without touching the neck area.
- We make neat cuts along the edge.
- Overlay the edges.
- Turn it inside out.
- Straighten the corners.
- If necessary, we sew along the perimeter, except for the side of the neck.
- Ironing.
- We put it in the neck, pin it together, and combine the clasp.
- On the side of the dress, increase the allowances slightly.
- We insert the collar between the main part of the dress and the hem, which is mandatory in dresses with a collar of this type; it follows the contours of the neckline.
- We sew it on our hands and sew it together, making sure that there are no creases and that all the parts lie flat.
- We stitch on a machine.

 If you are in doubt about working with collars, sew a test version, for example, from chintz or lining fabric - you will see that it is not difficult.
 0
0