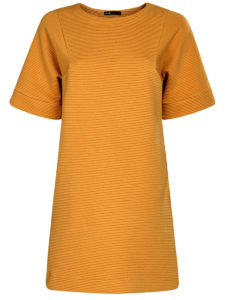
A woman's wardrobe can be business-like, laconic, or it can surprise you with its diversity. But no wardrobe is complete without a universal plain dress with a straight cut. If you don’t have such a dress yet, then there are many options for solving this issue. We recommend a quick and affordable way to cut and sew a classic straight-cut dress in 15–20 minutes without any special knowledge.
What is needed for sewing and how much?
 Spacious work surface at a comfortable height. Material and tools:
- Plain fabric, with a width of 1.5 m, with a cut length: 2*DI+ 7–10 cm;
- bias binding – 0.6 m;
- threads, scissors, needles, chalk.
Important! It is better to take a material for such a model that is soft and flowing, but at the same time not capricious to work with.
When choosing natural fabrics, be sure to wet, dry and iron the piece before work, because such fabrics can shrink.
Cutting and sewing technology
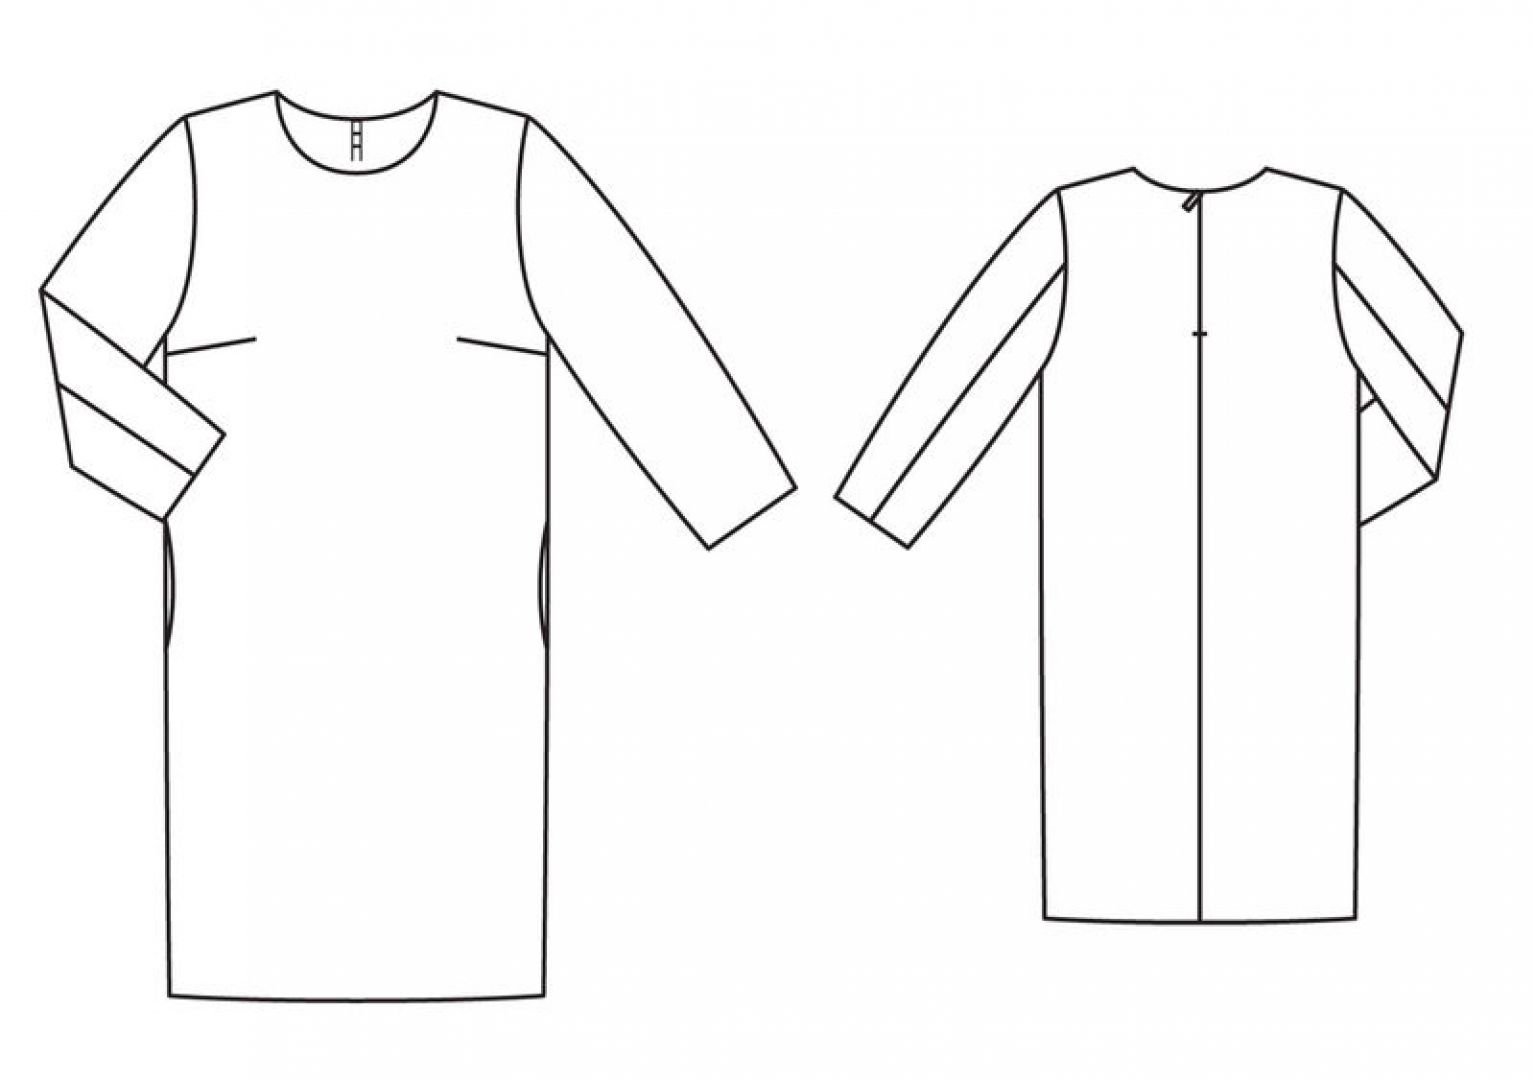
 Let's consider the technology of sewing a straight dress with one-piece sleeves. First of all we cut the back: place on the work table a piece equal to the DI (length of the product) and folded in half widthwise, with the front side inward. We take measurements, write them down, and transfer the required dimensions onto the fabric.
Length:
- Back (DS) - measured - from the 7th cervical vertebra to the waist;
- Products (DI) - from the 7th cervical vertebra down to the desired length.
Girths:
- Breasts - OG, measured at armpit level;
- Waist (OT) – at the level of the elbow (this is not necessarily the thinnest place);
- Hips (OB) – at the level of the hips.
Additionally:
- ШС – back width – along the back, from one edge of the shoulder to the other;
- DR - sleeve length - from the shoulder to the middle of the palm (if desired, during fitting, you can reduce the length), at this level measure what the width (circumference) of the sleeve will be - ШР.
What we do:
- We are building the back.
- Fold the fabric in half lengthwise on the work table with the right side facing inward, with the center facing you.
- From the right edge we put 4-5 cm down along the center line - we put a mark - this is our 7th vertebra - 0 (zero mark).
- Further down the fold line we put aside the measurements and draw perpendiculars through the resulting points.
- So, from our 7th vertebra we put aside DS and DI - we get the waist and bottom line.
- Divide the distance from point 0 to the waist line in half - this is the auxiliary line – let’s call it the chest line or armhole line.
- From the waist line down, mark the hip line
- The distance from the waist line to the hip line depends on height and is conventionally taken from 17 to 21 cm, 17 cm is for average height (even if in reality this distance is less, it is better to take 17 cm), 21 cm is for very tall height .
- Next, along the resulting lines we set aside ¼ of the corresponding girths, adding 1.5 cm for a loose fit: ¼ OG + 1.5 cm; ¼ FROM + 1.5 cm; ¼ OB + 1.5 cm.
- To narrow the product slightly downwards, subtract 1.5 cm from ¼OB.
- Next we build the neck and sleeve.
- Neck: from the 7th vertebra in a straight line perpendicular to the fold of the back, set aside 9 cm.
- From the resulting mark up (to the right), set aside 3.5 cm and draw the back of the neck.
- Along the chest line we put aside a measurement equal to ½W and draw a perpendicular upward - we get a line for the width of the back.
- From the top point of the neckline we draw a shoulder line until it intersects with the back width line - we get the end of the shoulder. From the end of the shoulder, further along the shoulder line, we lay off the DR and draw a perpendicular to the shoulder line and set aside ½ SR (you can take it a little wider), we get the lower point of the edge of the sleeve.
- Points on the hemline and hip line - connect strictly along the line, and more smoothly bring it to the bottom point of the sleeve.
- A one-piece sleeve can be made to any depth.
- To cut out a less spacious sleeve: divide the distance between the armhole and the waist in half, and from this point we begin the rounding.
- In this case, with a very thin waist, in order to have an even side seam, we remove the excess along the waist line into darts, approximately in the middle of each half of the back along the waist line, and additionally in the center we take 1.5 cm to the curve of the back.
- We cut out the back, taking into account an allowance of 1 cm, excluding the neck.
- We are building a shelf.
- The shelf is completely identical to the back, the only difference is the height of the shoulder line and the depth of the neckline. Therefore, we place the back on the rest of the fabric; for convenience, you can secure it with sewing pins.
- To draw the neckline for “balance of the product” we set aside from 1 cm to 3 cm from the shoulder line at the edge of the neckline: (for sizes 42, 44 - by 1 cm; for sizes 46, 48, 50 - by 1.5 cm; for 52, 56, 58 sizes - by 2 cm; for size 60 - by 2.5 cm; for huge sizes - 3 cm).
- From the resulting point we draw a straight line perpendicular to the axis of the product and from this point we put 9 cm down - during fitting, the cutout can be made deeper.
- We connect the point of the edge of the shoulder with the upper edge of the neck - the shelf is ready. We cut it out the same way as the back.
- Next: baste, try on, adjust, stitch, process the hem of the dress and sleeves.
- We process the neckline using bias tape. Our dress is ready.

The dress can be worn with a thin belt or decorated with a wide bright belt with a clasp. Various decorations and accessories will suit it, but you need to use no more than one or two of them.
Important! Separately, each seam, after stitching, should be immediately ironed, this helps to sew any product more accurately and efficiently.
Tips for beginners
- For the first experience, the dress and the method of making it should be simple.
- Do not overload the model with unnecessary details.
- Choose your material responsibly.
- First, read the instructions carefully and follow each step sequentially.
Important! Precise cutting down to a centimeter is not for this method, so keep in mind that with this cutting method, fabric consumption may not be as economical as when working with a pattern.


 0
0


Alexandra, hello. Very clearly described, but it seems to me that the shelf is always a little wider than the back?
and if it is possible to publish the construction of a set-in sleeve