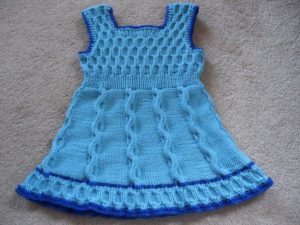
 Our little princesses, they want to look like adults and fairy-tale heroines. They want a little fairy tale, but at the same time, to be treated like adults. This children's fantasy simply knows no bounds.
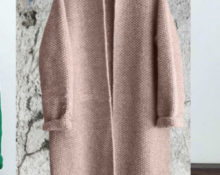
For a girl, you can make so many lovely dress models with knitting needles that your head will spin with admiration. Several dresses for an adult lady - a model with a high collar, for a little princess - a very positive blue model and a wonderful green dress for a fun holiday.
These are the newest knitted patterns and small tips with descriptions in creating this magnificence.
Yarn and knitting needles
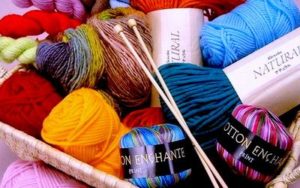 Work begins with yarn. For a girl, it is worth paying attention to this fiber; it should not cause allergies. The skin should not experience stress from it and therefore only soft fiber and only non-prickly models.
Knitting needles are always purchased according to the thickness of the yarn. Therefore, you can find out the hint in the store itself or look at the thread and on the packaging there are also various hints regarding the knitting tool.
Sample
When creating a dress, it is important to visually estimate how many loops are needed. Then knit half and realize that it is either too little or too much.
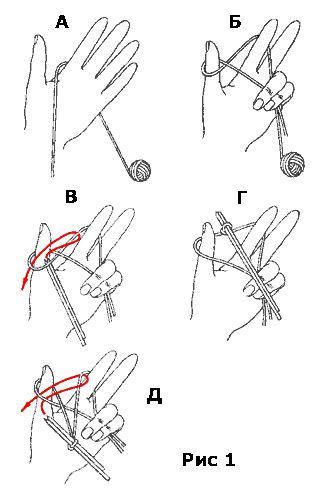
Set of first stitches for 2 knitting needles
The result is an uneven product, uneven knitting and uneven loops. The sample is very important.
 Therefore, it will take only 10 minutes. They tied it up, calculated the density and calculated everything to precision.
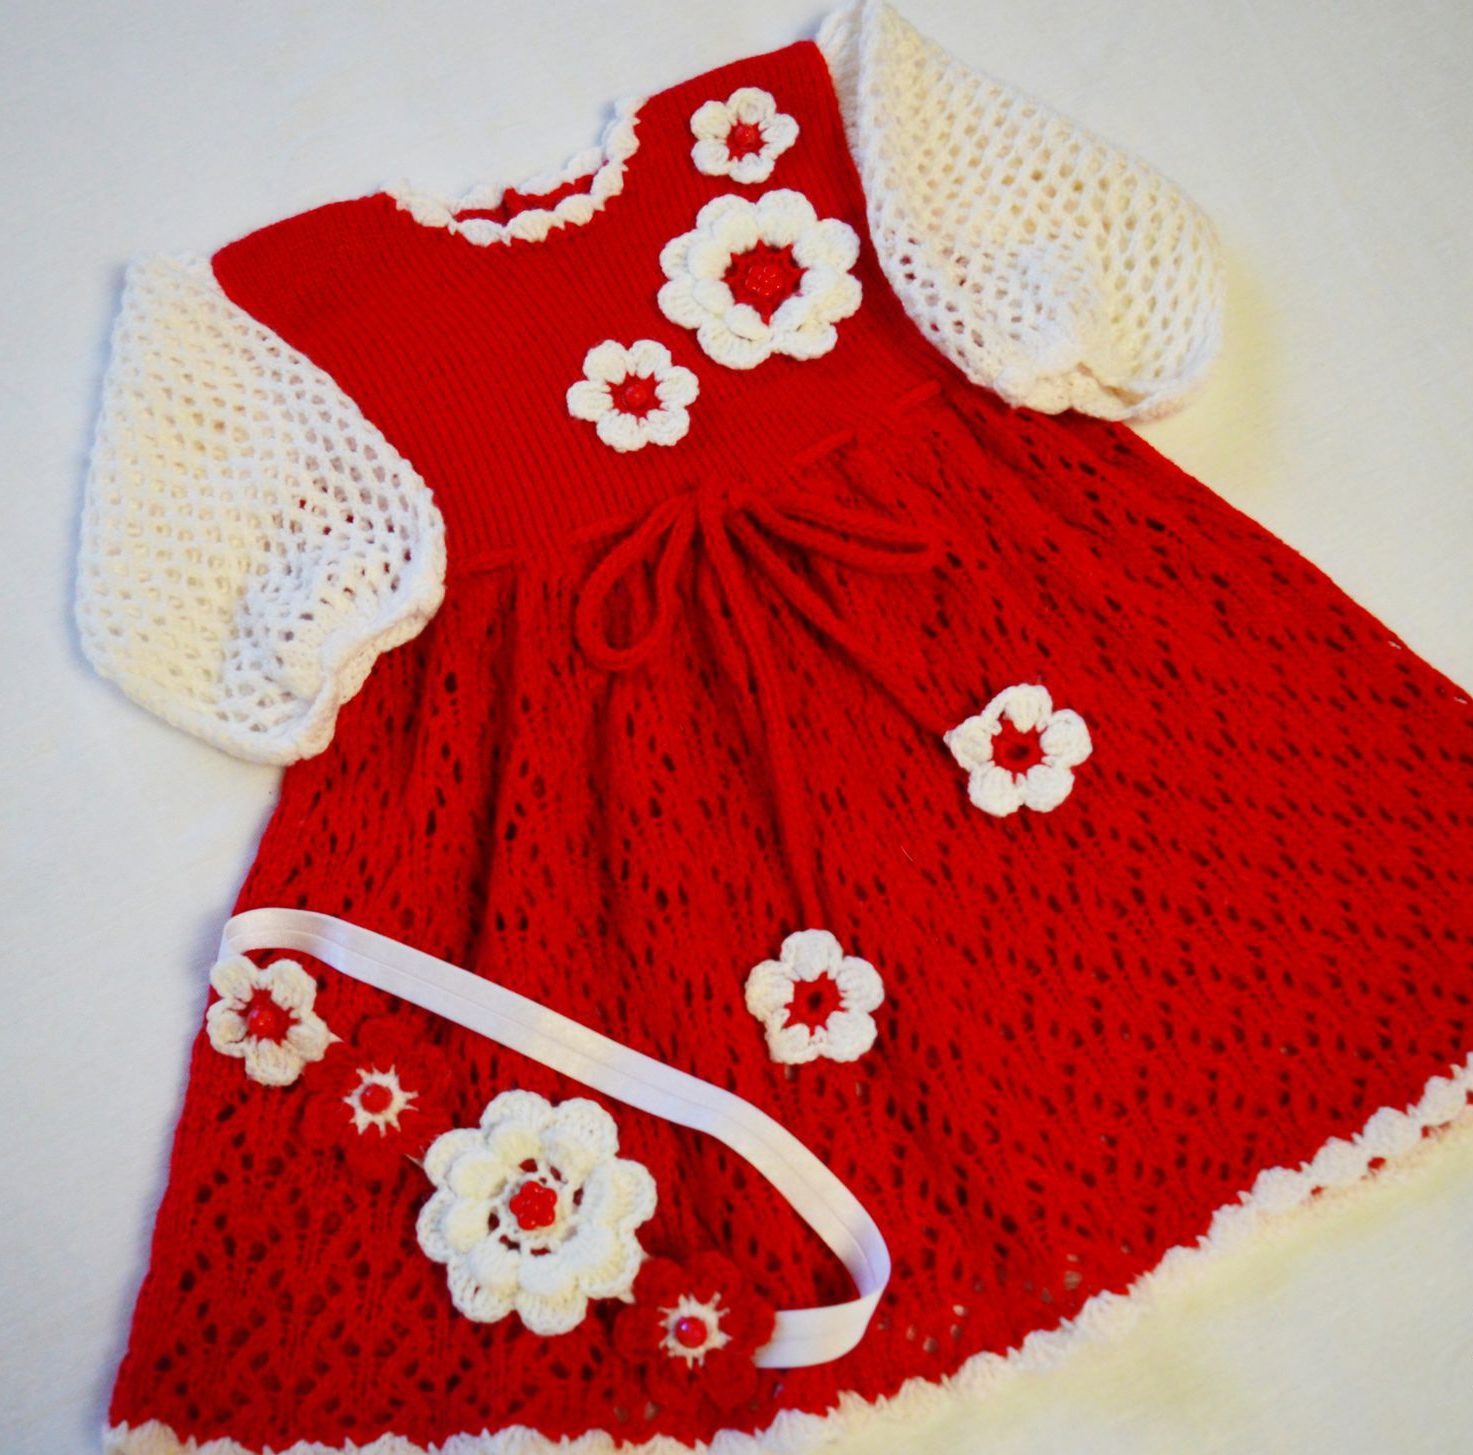
Blue dress with a bow knitted

A very cute model for an equally charming girl. The front shelf is very nicely designed. The high waist gives special comfort to the dress. The beautiful lace on the front front and along the edge of the hem is also made with knitting needles.
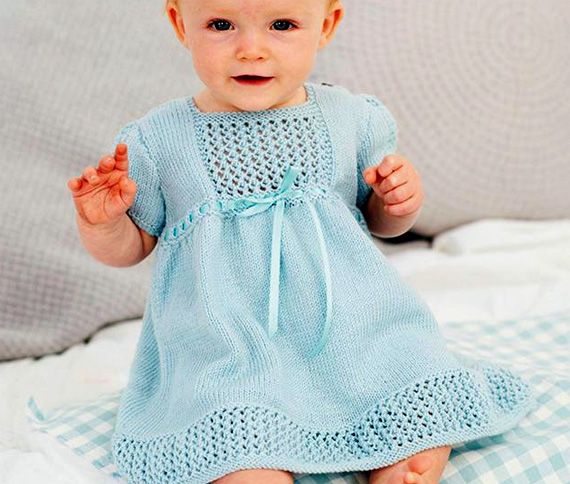 The work will require:
- blue pekhorka yarn;
- knitting needles number 2.
Measurements
The size of the dress is designed for a child aged 1-2 years.
Front end
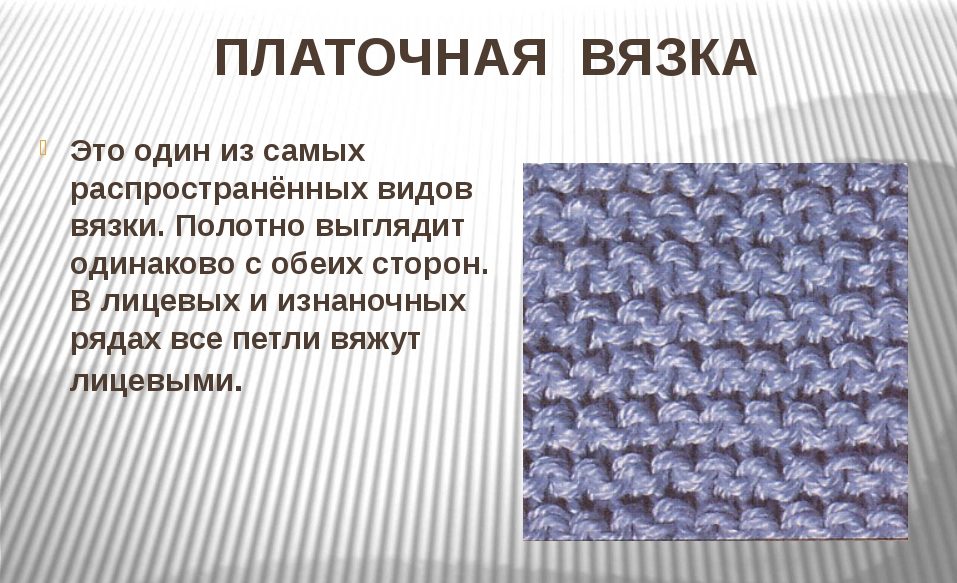
The entire product consists of 4 parts. These are two sleeves, front and back. The front piece is knitted from the bottom to the neckline. You need to cast on 120 stitches and perform 6 rows of garter stitch for the hem edge.
After garter stitch, move on to the openwork pattern. Use it to knit 7 cm. Next, knit 6 rows of garter stitch again and jump to the stockinette stitch pattern. This pattern will be the longest and can be knitted from 30 cm.
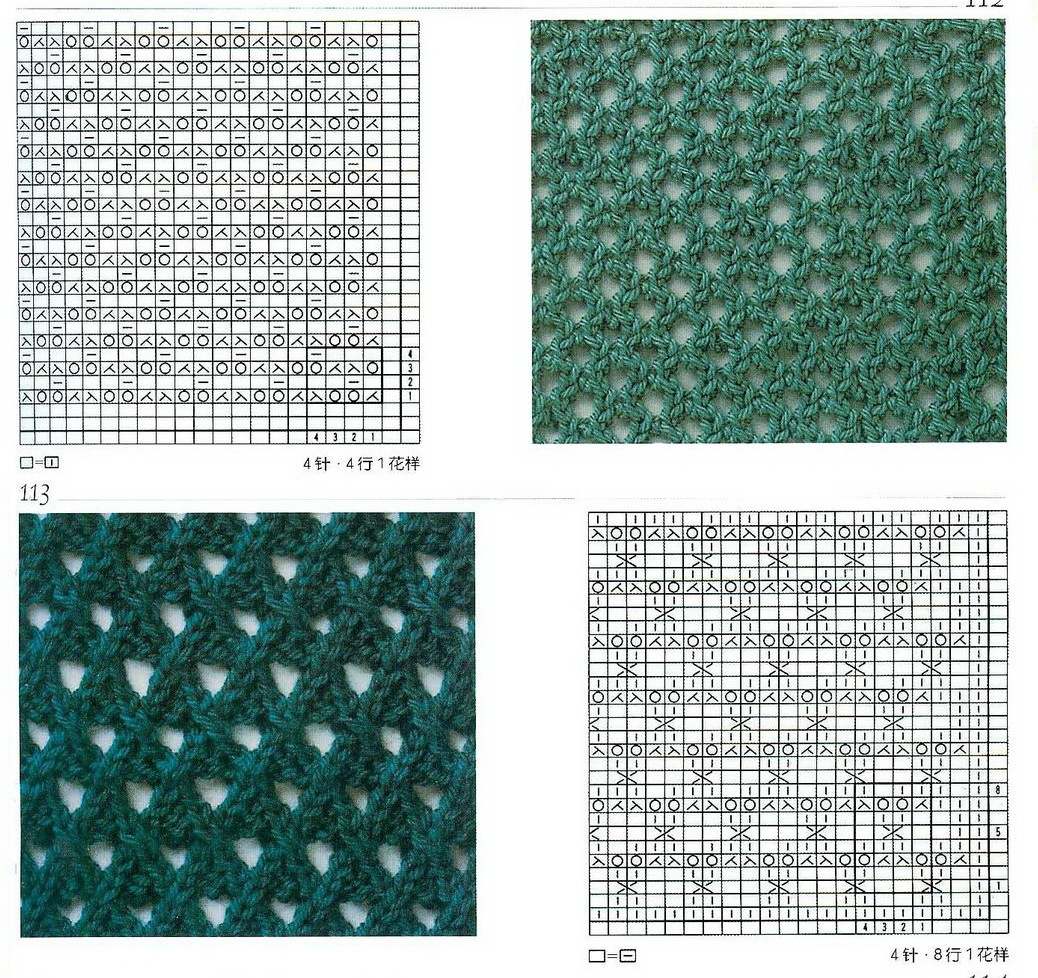
Openwork
To make a bow after assembly, you need to create additional holes for it - this is just one repeat of the openwork pattern.
Decrease the loops immediately after this openwork. You need to leave 80 loops for making and 10 repeats of the pattern in the center and for the front stitch along the edges. Knit according to the pattern: stockinette stitch (canvas), 3 garter stitch loops, 10 repeats of the openwork pattern, 3 garter stitch loops, stockinette stitch (canvas). Knit openwork to a height of 8 repeats.But make small decreases for the sleeve armhole, cast off one loop in every second row.
After receiving 8 repeats, instead of openwork, knit garter stitch for 6 rows. Next, close the garter stitch loops instead of the openwork and continue the shelves separately, keeping the fabric with the front loops and 3 garter stitch loops at the edge of the neckline. Knit 10 rows and bind off the loops.
 Back
Back
The back is simpler compared to the front part. Here everything remains unchanged from the hem to the waist. The same row of openwork for the ribbon. But after that you should not make either an openwork pattern in the center of the shelf or garter stitch. But close the loops for the neck 10 rows before the end. Next, knit 6 rows in garter stitch and perform, as for the front front, the fabric separately on the right and separately on the left, preserving the garter stitch of 3 loops and knit stitches. Knit only 4 rows and bind off the stitches according to the fabric pattern.
Sleeves
For the sleeve you will need to cast on 46 stitches. First, knit 6 rows in garter stitch and then move to stockinette stitch. Knit 10 rows and start decreasing from the edge of the fabric, 2 loops on each side and through each row. The length of the sleeve should be no more than 10 cm. Using the same principle, make the second sleeve model.
Assembly
Sew on the shelves first. Then sew on the sleeves; you may have to tighten the fabric somewhere. Afterwards, sew all the side seams and insert the ribbon into the openwork strip specially designated for this.
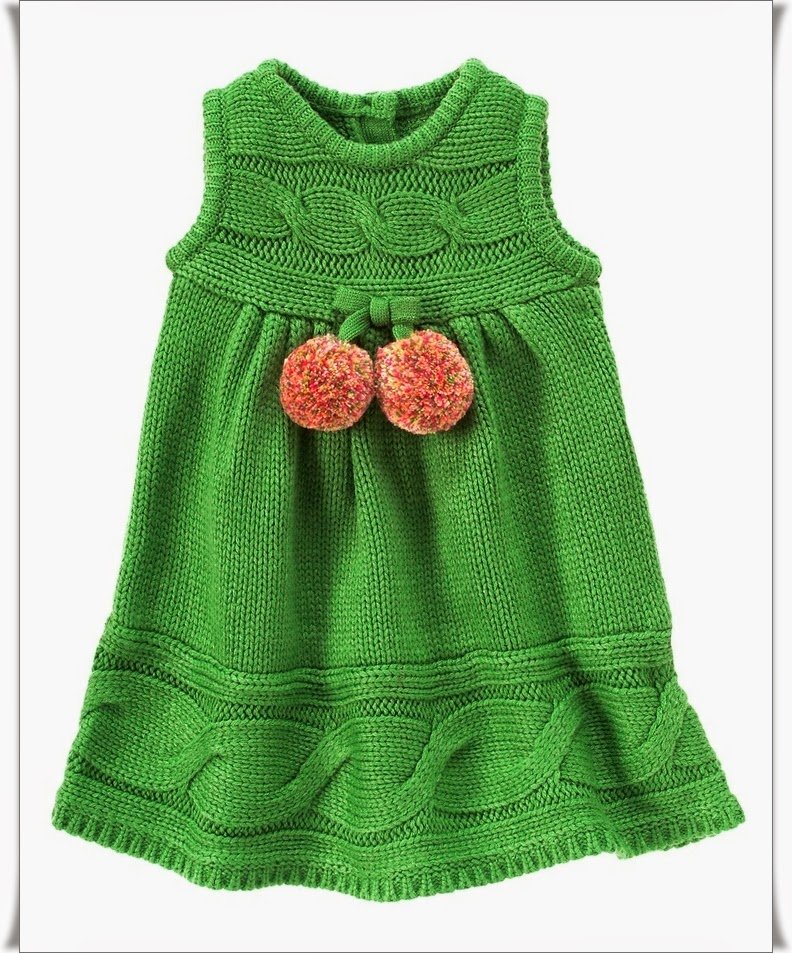 So the dress is ready for the little and cute princess.
Knitted dress with short sleeves and high collar
An intriguing model and a girl will always look decent in her style. This is more reminiscent of something from the classics and even from an adult’s wardrobe.A fluffy skirt of three flounces looks even better against the backdrop of a restrained stockinette stitch. The model would not have been so successful without this collar. Imagine her with a low or round collar and everything will immediately lose its meaning.
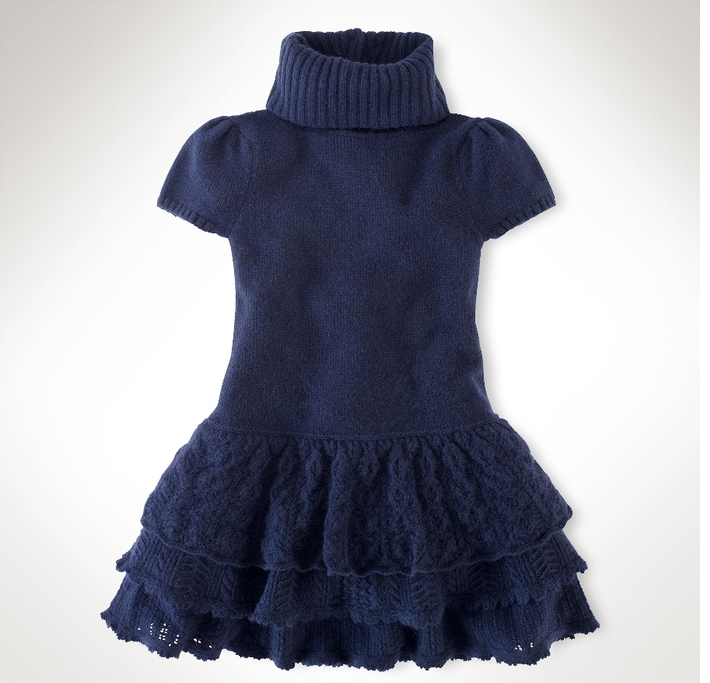 The work will require:
- dark blue yarn;
- knitting needles number 2.
Measurements
The model is designed for a 5 year old child.
Shelf/back
The front and back are just two twins, so you should knit them one by one and each stitch will be repeated, as if in a mirror. For the shelf you need to cast on 90 loops. Knit the fabric in stockinette stitch. It is necessary to knit 30 cm to the armhole. To make the armhole so smooth, you need to make decreases according to the pattern: 1 loop through a row for 10 rows and then 1 loop on each side - 5 rows. Next, make small additions. In reverse order, add 5 loops (add one loop in each row on each side. Knit the front to 17 cm from the beginning of the armhole and bind off the loops.
The neckline will also need smoothing, despite the fact that a high collar will be used for it later. She should also pay special attention. Therefore, 10 rows before closing the hanger, it is worth making a decrease in the central part in the width of 20 loops and then in each row decrease by 3.2 and one loop.
Sleeves
The sleeves are made first with 4 rows of elastic from the pattern in a ratio of 2 * 1, with 2 outer front stripes. Knit a wide sleeve, since then you will need to make a good gather when sewing along its central part. The front fabric follows after the elastic band and you need to knit 25 rows and then begin smooth decreases. First 5 and then 1 loop in every second row for no more than 3 rows. Then close all the loops.
Shuttlecocks
It is convenient to knit the flounces first, and then simply sew them on using assembly.
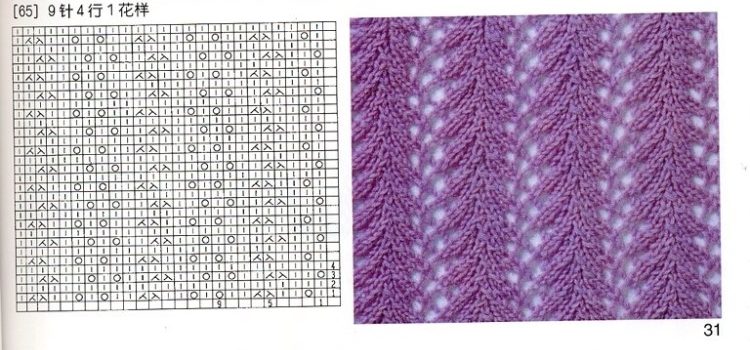
Shuttlecock 1
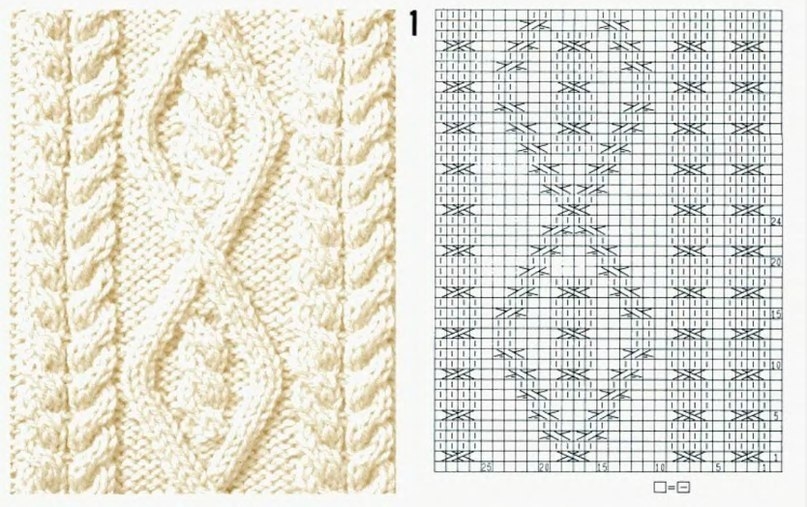
All three flounces are knitted with different fabric patterns and therefore we look at what the pattern is, it’s fashionable to use your favorite openwork with knitting needles.
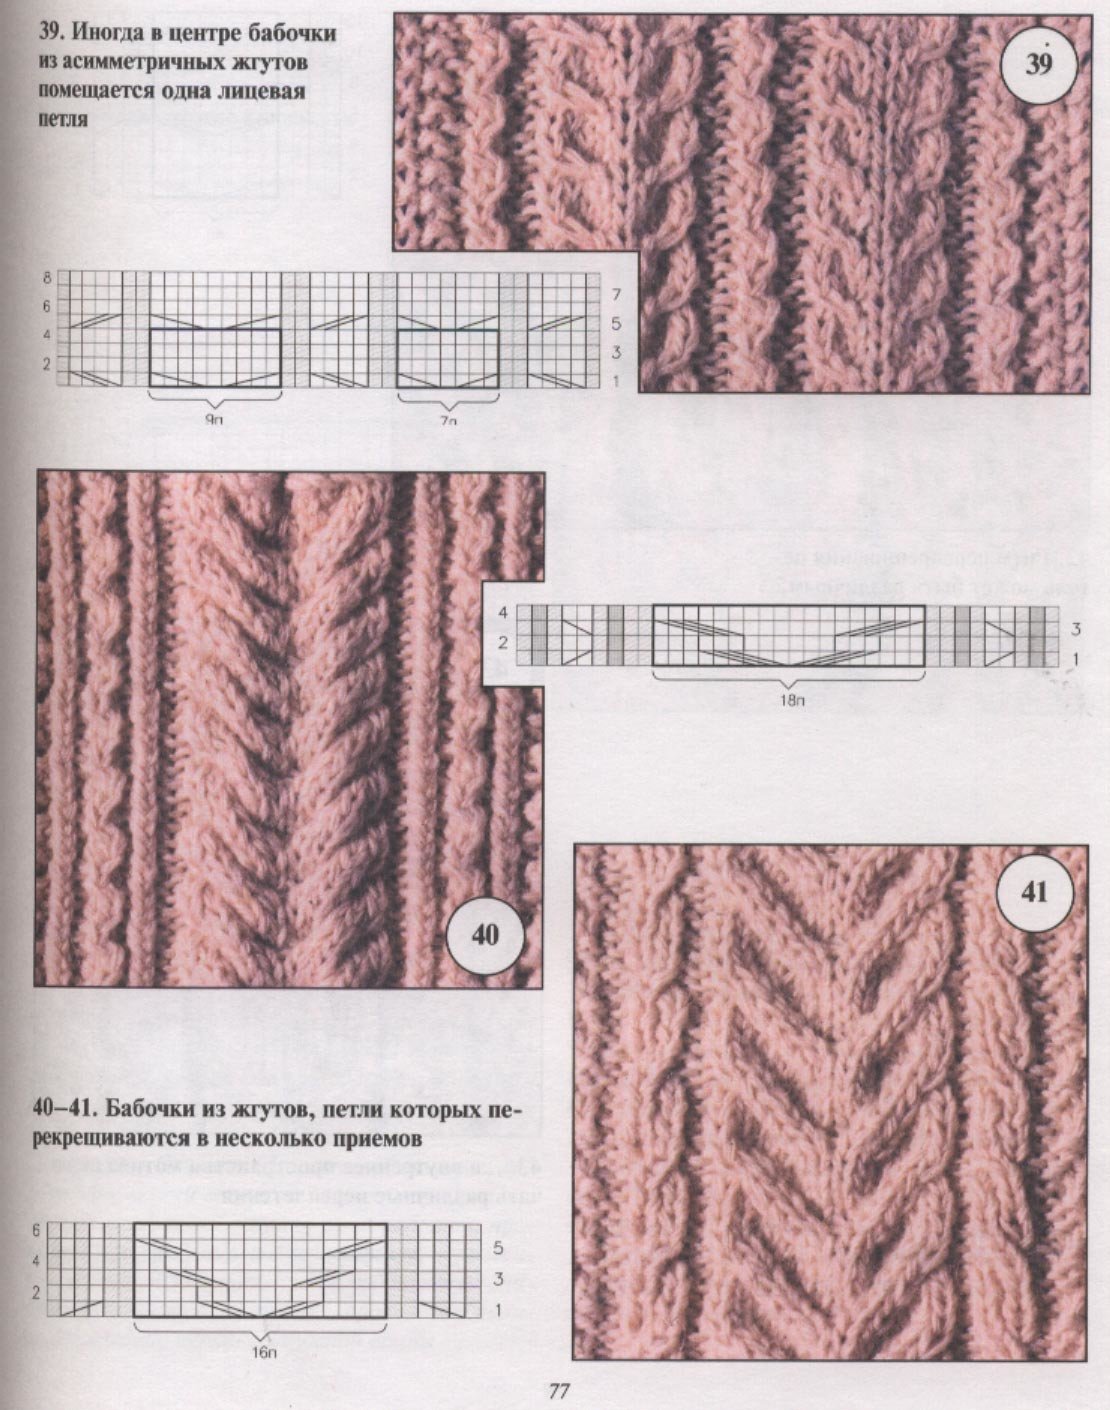
Shuttlecock 2
The average length will be the middle shuttle and the shortest one will be the top one. It is important that an equal distance of 7 cm is maintained between the shuttlecocks.
Shuttlecock 3
The longest fabric will be for the lower shuttlecock. It is important that the flounces should be wider in width than the waist circumference (these are two parts of the front).
Assembly
First sew on the shoulders, then sew on the sleeves. It is very important to sew the sleeves from the very line of the elastic along the sleeves. It turns out. that the sleeve simply sinks into the armhole cutout. It looks very appetizing.
You can sew on the flounces, starting from the bottom, longest one.
The last thing that is done in this model of children's dresses is knitting the collar. It is very cute and created using 2*2 elastic. A good, beautiful and less voluminous elastic band will allow the collar to look very even and not displace the pattern loops, which is very important in a knitted product.
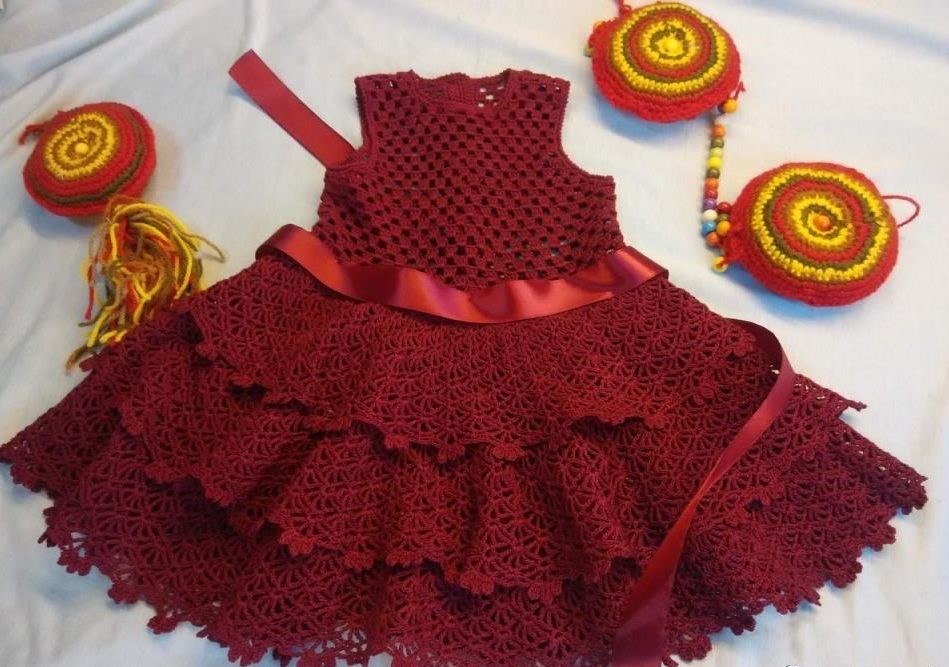 So these interesting models of dresses for girls are ready. Make her feel like a princess again with your knitted outfit.


 0
0