creativecommons.org
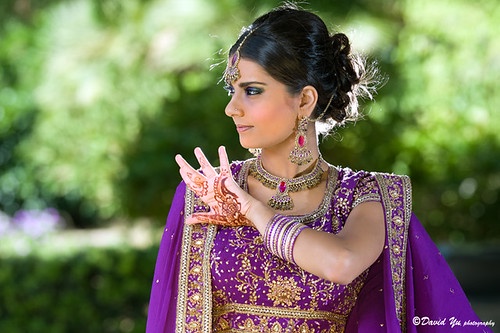
The sari style dress has long been considered the national dress of India. Its history began many centuries ago, around the time when the country’s civilization itself was born. This outfit emphasizes femininity, looks amazing and has the most unusual cut. The sari has nothing in common with the national costumes of other nations. Its main feature is that using seams to create an outfit is strictly prohibited. The only way to secure the fabric according to tradition is to use a special hairpin. Such a pin was attached to the shoulder and held one part of the dress.
In Europe, this method of creating outfits is unusual, but recently famous designers have begun to adopt some elements from the national Indian costume. Indian national dances are also very popular in European countries. Many girls want to make their own saris for performances, themed events or parties.It's not difficult at all - it will take no more than one day to make the most elegant costume for a woman in India.
How to make a sari with your own hands - preparation
Making an Indian dress is much easier than any other national costume. The advantage is that there are no small details, patterns and other elements that seem complex and inaccessible to many. You will need a petticoat and a piece of fabric of at least nine meters.
Over the years, the style of the saree has changed. Initially, the robe consisted of two parts. One of them wrapped around the thighs, the second around the chest. Over time, the national costume has changed. The girls began to use a single piece of material. The unique outfit is not held together by a single seam. Before you sew an Indian sari, you need to prepare everything you need:
- Needle, thread, scissors - for the petticoat and finishing the edges.
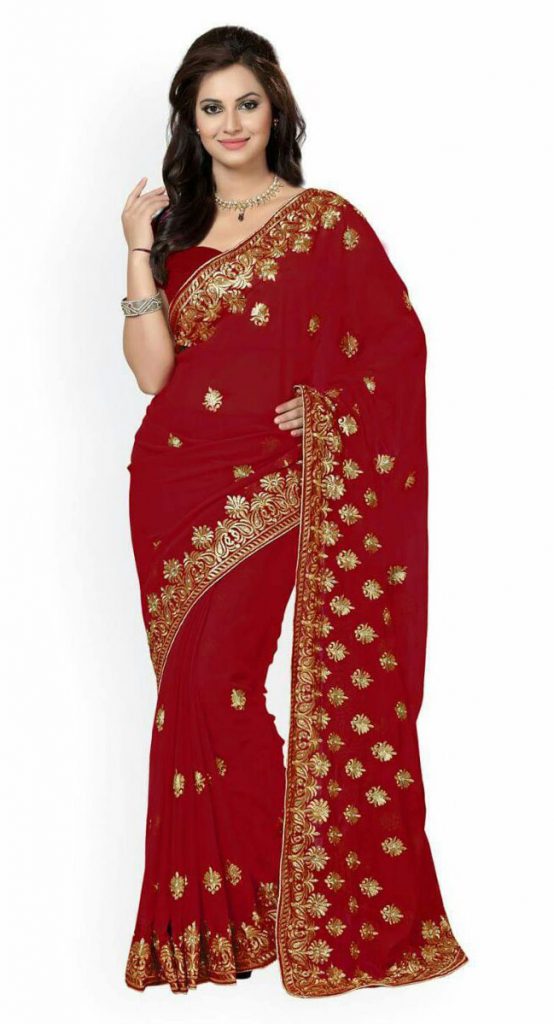
- Textile. The footage depends on the woman’s build and height. Here it is important to carefully choose the material itself. From ancient times to this day in India, a woman's status was judged by her clothes. A native sari can reveal whether a lady is married, her class affiliation and wealth. Experts advise choosing light, natural materials. Chiffon, organza, cotton will look beautiful. The most exquisite and expensive outfits are made from Mysore silk. The natural fabric is pleasant to the body and allows air to pass through, so even in hot weather you will be comfortable in such multi-layered clothing. Under synthetic materials, the skin does not breathe, so the woman will feel uncomfortable. Drapery is also important so that the dress fits beautifully.
- Braid. The right edge and end of the material is decorated with a beautiful, wide braid.To do this, you will need about ten meters of ribbon with fringe, stones, painting or other design.
- Cotton. The material for the petticoat, which is usually worn under the sari, is purchased separately.
How to sew a sari with your own hands - instructions
creativecommons.org
Let's start creating a national Indian costume with a petticoat. You need to take cotton, a pattern for a standard half-sun skirt. In most cases, patterns are designed for knee length or slightly below. We will need to extend it so that it is five centimeters shorter than the sari. The main thing is that it should not be visible under the outfit. We take measurements - waist, hips, length. Redraw the details onto the fabric taking into account the seam allowance. The color of the underskirt should not differ much from the shade of the main outfit. You need to put a cord or elastic at the top to keep the skirt securely in place. Each fold will stand out under the light fabric of the dress, so you need to smooth out the petticoat as carefully as possible. Now let's move on to creating the saree:
- The border on the fabric is not processed, so you need to carefully go over it with a special seam. Otherwise, the threads of the material may fray and the product will quickly lose its appearance. When choosing threads, it is important to consider color. It should match the shade of the sari.
- We bend the edges of the fabric by half a centimeter as carefully as possible. We go over them with an iron. Repeat the fold again and iron again. A double hem allows you to hide a sloppy end and make the edges perfect.
- We retreat fifteen centimeters between the folds and secure the material with pins. We sew along the length of the fabric along the fold.
- When removing pins after stitching, it is important not to damage the fabric. Therefore, each pin must be pulled out at the angle at which it was inserted into the material.When all the pins are removed, you will be left with a regular rectangular shape.
- The braid needs to be sewn to the edge of the sari on one side. If you have embroidery skills, you can buy a velvet or velor strip and embroider it yourself with gold and silver threads.
- We sew the material along the right edge, marking the place of decoration. This part of the fabric will sit on the shoulder and fall nicely.
 0
0