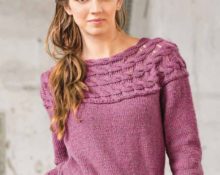
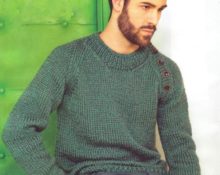
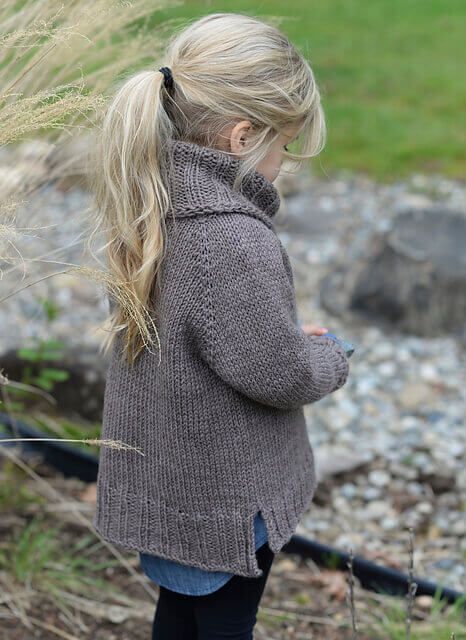
 Practical, warm, comfortable, elegant, convenient... And that's all about the pullover - a universal wardrobe item, necessary at any time of the year for both adults and children. The list of advantages of a thing can be continued: individual, stylish, unique, high quality... This is what they say about a thing made with your own hands. Especially if it is intended for your little fashionista. Even a novice needlewoman can knit a children's pullover for girls. A detailed description and convenient diagrams will help you to facilitate the process of working on the product. A little patience and diligence - and a warm soft sweater will warm your princess on cool days.
Knitting a pullover for a girl
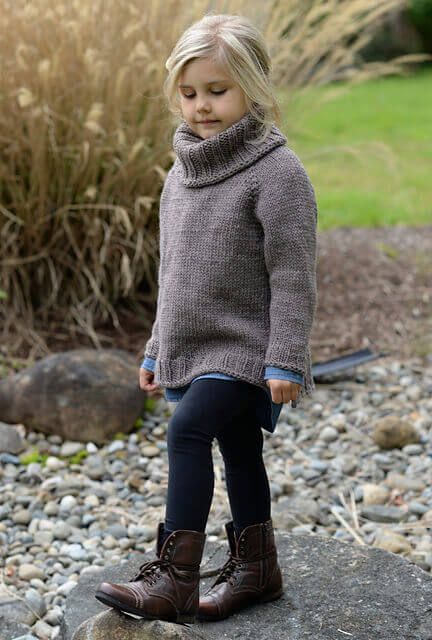 We offer a step-by-step description of a universal model of a stylish children's pullover for girls from 4 to 16 years old, which beginner knitters can handle. It is enough to master the basic - front and back - loops. This model is also suitable for experienced needlewomen: using their imagination, they can decorate the canvas with openwork, braids or patterns.
Selecting materials and tools for a pullover
To knit a baby sweater you will need:
- Woolen or wool blend yarn from 3 to 7 skeins depending on size. The choice of color depends on your preferences. Melange would also look good.
- Knitting needles 4.5 and 5.5 mm - for elastic; circular (4.5 mm) - for the main fabric.
- Thick needle for assembling the finished product.
ATTENTION! If a child is allergic to wool, you can use material made from artificial fibers.
On average, the length of a skein (100 g) should be 160 m.
Model selection, pattern diagram
The pullover is knitted in stockinette stitch: alternating knit and purl rows.
Rib 2x2: 2 knit stitches, 2 purl stitches.
As stated above, experienced knitters can choose the knitting method at their discretion. The proposed model is universal: garter stitch, bouclé, openwork patterns or arans will look great on it.
The product diagram looks like this:
Knitting density (based on the type of yarn - wool/wool blend) is - 19 rubles / 14 sts per 10 cm of stockinette stitch (knitting needles - 5.5 mm). Before starting work, you need to knit a small sample: a 10x10 cm square. This will allow you to calculate the density of your knitting.
Choose the size that suits you: a – 4 years, b – 6 years, c – 8, d – 10–12, e – 14–16.
Stages of knitting a pullover step by step
The pullover is knitted in separate parts, which are sewn together at the end of the work. We offer a step-by-step description of knitting each detail:
Stage 1. Back
Choose the size that suits you:
- Cast on the appropriate number of stitches (54-58 -62-68-74) on 4.5 mm knitting needles and knit 16 rows with a 2x2 rib (knit 2, purl 2).
- Take 5.5 mm knitting needles and knit row 17, decreasing 3-3-3-1-1 stitches according to the selected size (51-55-58-65-73 stitches will remain on the fabric).
- Next, continue knitting the required number of centimeters using the basic method - stockinette stitch: 21 cm (40 rows), 23 cm (44), 29 cm (56), 32 cm (60).
- Then form the raglan: bind off 1 time in the next row - 2 loops and continue in every second row according to the following dimensional chart:
- a: 1 p. twice, then 2 p., 1 p. twice – repeat three times, then 1 p. twice;
- b: 1 p., repeat twice 2 p., then five p., finally two p.;
- c: 2 p., six p. - twice, then two p.;
- d: 2 p, seven p. – repeat twice, then 1 p. and 1 more p.;
- e: 1 p, twice - 2 p. and eight p., then two p.
2x2 rib going into stockinette stitch:
Cast off the remaining stitches on the needles: 15-17-19-21-23 according to the selected size.
Stage 2. Before
Cast on the required number of stitches on 4.5 mm needles and knit 8 cm with a 2x2 elastic band. Next, on 5.5 mm knitting needles we knit the fabric in stockinette stitch, starting to decrease from the 9th row (see above, like at the back). Having knitted the required number of rows/centimeters: 32/60, 36/68, 39/74.45/84.50/94, start knitting the neckline:
- Bind off the center stitches: 5-5-7-7-9.
- Knit one side of the neckline, decreasing in every second row: a) 4 sts, 3 sts, b, c) twice 4 sts, d, e) three times 3 loops.
- Knit the other side of the neckline in the same way.
Close off the remaining loops.
Stage 3. Sleeves
Cast on 29-31-33-35-37 loops and knit first with an elastic band (2x2) 8 cm, then with stockinette stitch, increasing on both sides:
- In every eighth row: a) twice 1 p., b, c) three times 1 p. d) two 1 p., e) ten 1 p.
- In every sixth: a, b) three of 1 p., c) 4 of 1 p.d) seven 1 p.
- In every fourth: e) two 1 loop.
Having knitted the required amount from the elastic cm/rows – 21/40, 25/48, 28/54, 34/64, 38/72, knit raglan: cast off 2 stitches on each side, and then in every second row according to the pattern:
- a: twice 1 p., then once 2 p., two 1 p. - repeat three times;
- b: 1 p., then repeat twice 2 p., five 1 p.;
- c: 2 p., six 1 p. – twice;
- d: 2 p, seven 1 p. – repeat twice;
- e: 1 p, twice - 2 p and eight 1.
At a distance from the elastic band of 35 cm (64 rows), 40.5 cm (76), 45 cm (84), 53 cm (98), 60 cm (112), close the loops on the right and left at the same time. On the right in every second row:
- a: 2 p., 1 p., 2 p.;
- b: 3 p., 2 p., 2 p.;
- c: three times 3 p.;
- d: 4 p., 4 p., 3 p.;
- e: 5 p, 4 p, 4 p.
On the left, close 1 loop 1 time and after two rows another 1 loop.
Knit the left sleeve in a mirror image.
Stage 4. Assembling the product and gate
From the inside out, sew the sleeves to the back and front. Measure the circumference of the child’s neck and calculate the width of the collar: add 10–12 cm to the neck circumference. Cast on the required number of loops and knit with a 2x2 elastic band (4.5 mm knitting needles). The height of the collar is individual, on average 30–40 rows. Once knitted to the required height, leave the loops open.
Sew the sides of the pullover and sew the collar: loop to loop, carefully removing them from the knitting needle. Sew the side of the collar from the wrong side.
ADVICE! Wash the finished knitted product by hand and lightly steam after drying. If desired, you can decorate it with additional accessories.
Rest assured that the little fashionista will be happy to wear a warm and comfortable pullover.


 0
0