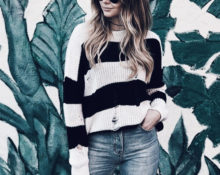
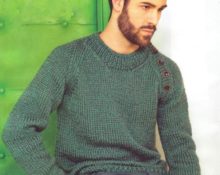
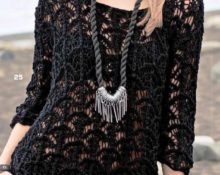
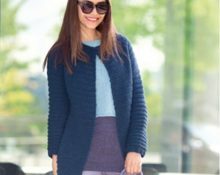
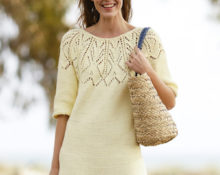
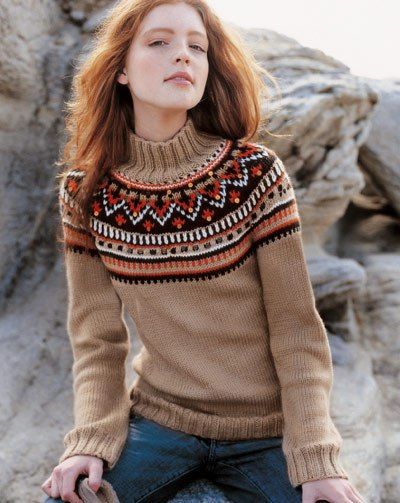
 A pullover is a knitted product that usually does not have a collar or fasteners. You can knit such a thing in a huge number of ways, since almost any thread is suitable for this. It is worth paying special attention to the pullover with a round yoke on top.
A yoke is one of the main ways to set an accent at the top of a product. It can also exist as an independent thing - a shirtfront, and replace a scarf or handkerchief in the cold season.
Take it into service! If you suddenly lose inspiration while working, you can knit only the top part of the model and provide yourself with a wonderful warm decoration. This is one of the main advantages of such sweaters.
We knit a pullover with a round yoke with our own hands
There are two fundamentally different ways to knit a pullover with a round yoke.
- Knitting from the neck. In this case, the product expands downwards by adding loops to knit the pattern specified according to the pattern. Afterwards the sleeves, front and back of the product are knitted.
- Knitting from bottom to top.Separately knitted main parts (back, front and sleeves) need to be combined on circular knitting needles or crocheted together, and only then knit the yoke towards the neckline, removing excess loops.
The pattern and type of product you choose may determine which tools are best to use. Usually, for knitting more airy pullovers, preference is given to crocheting.

Crochet models
Warmer sweaters with a tight knit will work better on knitting needles. By the way, you can always combine these two tools to get all sorts of combinations.

Pullovers knitted with knitting needles
A wide variety of threads are suitable for working with such things, from cotton to wool, including both natural and artificial materials. The choice will depend on the season of wearing new clothes.
With this model you can use all possible tools. Some craftswomen can handle a hook of just one size; there are such videos on the Internet. Someone will alternate knitting needles in 0.25 mm increments to get the perfect elastic band or pattern.
Advice! Many people know that for elastic they usually use knitting needles or a hook of a smaller diameter than those used in the main work. This is necessary to obtain narrower cuffs. But there is another secret to ensure that the collar does not stick out. The last (or first, depending on the direction of knitting) rows of the collar elastic should be knitted with a tool of larger diameter.
Knitting a pullover
We bring to your attention a spectacular wool pullover model.
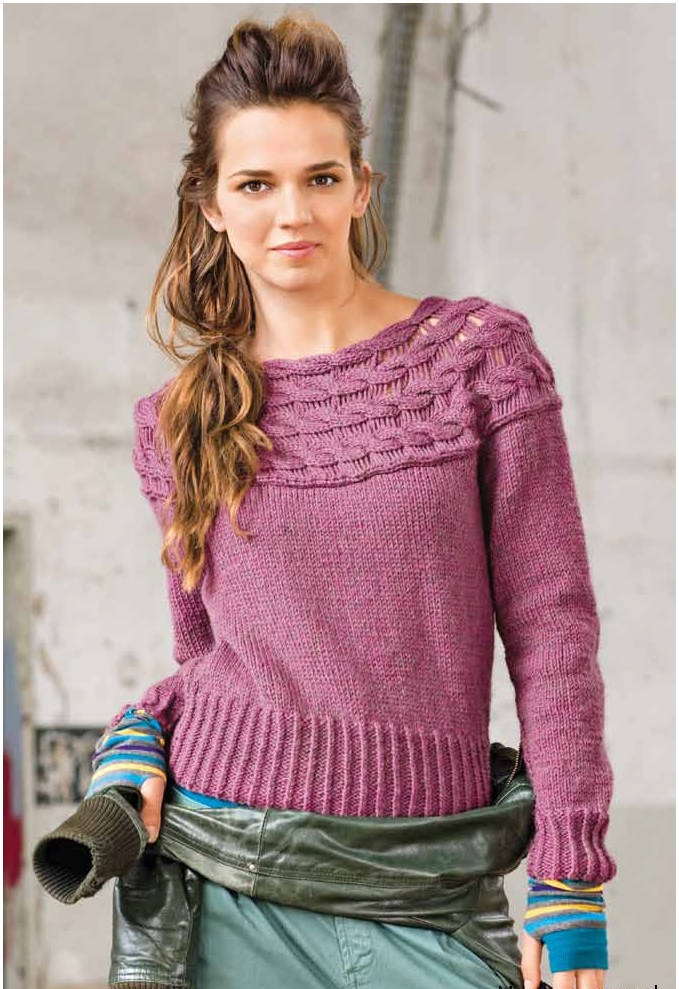
Of course, you can choose absolutely any color of thread and its composition, but to be more consistent with the original, we advise you to follow the recommendations.
Materials and tools
This particular item is made from Aran's purple yarn, which is a 50/50 blend of Peruvian goat and alpaca wool. For size 36/38 you will need:
- 600 g of yarn (for this model 100 g/132 m skeins of wool were used);
- Straight knitting needles sizes 5 and 5.5.
Attention! Often, circular knitting needles are used to knit the neck of items with a round yoke. The peculiarity of the model we have chosen is that there is no need to purchase additional tools.
Knitting stages
By default, we knit the wrong side of the parts according to the pattern (we repeat the type of loop from the previous row, obtained after knitting the front row).
Legend:
- P – loop, R – row.
- KP - edge loop.
- LP – facial loop.
- IP - purl loop.
For the elastic we use needles No. 5 and knit according to the pattern: 1 CP+*1 SP+1 crossed LP+1 SP*+1 CP (repeat part of the pattern between the signs ** for the entire width of the product).
The stockinette stitch is knitted without crossed stitches.
Pattern "Braids"": the number of loops must be a multiple of 7+1 and 2 CP.
Scheme for the pattern: Only the front rows are shown: 1 CP + 1 IP + 4 * “scheme” + 1 CP. Rapport is the repeating loops that make up the pattern (Fig. 1). In our case it is 8 rubles.

Rice. 1 - Repeat scheme and symbols
A square of 10 cm * 10 cm should be obtained from 17 sts and 22 r.
Important! In order not to endlessly re-knit the item, choose a perfectly fitting sweater in your wardrobe and apply the product to it at different stages of work.Please note that all descriptions refer to a specific clothing size. Take measurements on yourself, knit test items and count the number of loops and rows based on this.
Back
- Cast on 80 stitches, then knit 10 cm with an elastic band.
- We knit the fabric in stockinette stitch up to the armpit and the beginning of the raglan sleeve bevels (24.5 cm or 54 rubles). Cast off 3 stitches on both sides in each 2nd row, 1 stitch (5 times).
- With the last fifth decrease of the side loops in the center of the product, we close off 30 stitches, finishing the two resulting parts of the back separately.
- In order to obtain a rounding from the outer edge of the back as in Fig. 2, close off the inner edge first with 10 stitches, then 7.
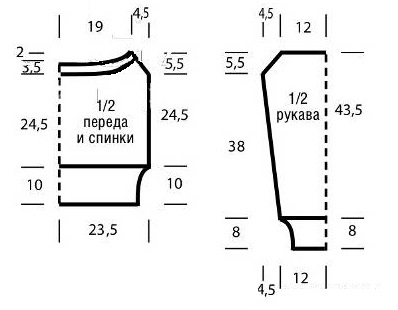 Rice. 2 – Pattern of product parts
Before
Knitted identically to the back, except for the neckline. It will be deeper. Simultaneously with decreasing the first 6 loops for the bevels of the sleeves, we close 20 stitches in the middle and symmetrically in the direction from the center:
- 1 time 6 p.;
- 1 time 5;
- 1 time 4 times;
- 1 to 3;
- 2 times 2.
Raglan sleeves
- We cast on 41 sts and knit 8 cm of elastic. Next, we will knit in stockinette stitch.
- From the end of the elastic, we begin to add 1 stitch on both sides in every 10th row (8 times). It should be 57 sts.
- For raglan bevels, close symmetrically 3 p., then every other row 5 times 1 p. (on the 84th row after 38 cm).
- Close the remaining loops (41 pcs.) after 96 rubles. from the beginning of knitting at a height of 43.5 cm.
Round yoke
- We cast on 31 stitches and knit a row of single stitches, which we will not take into account in the calculations.
- Next is a pattern with braids. To round the part, we knit in shortened reverse and straight rows: turn the work, make a yarn over and continue knitting in the opposite direction.
- In the next row we knit according to the pattern together with yarn overs to avoid the formation of holes.
For a better understanding of the process, we present the numbering of the repeats in Fig. 3.
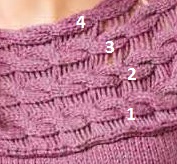
rice. 3 – Braid numbers
Next we present a table indicating in which row after the cast-on edge and after which of the four repeats you need to turn the work and knit backwards.

- This pattern should be repeated 3 more times, adding two more rows (8th and 9th) before the 11th row.
- Next we knit rows 1–8 and again the pattern indicated in the table 4 times.
- At the end, we knit rows 1–9 once, and close off the loops in the last purl row. The stitches marked with an arrow according to the diagram are discarded and unraveled to the cast-on edge.
Assembly
We sew the raglan, as well as the closed and cast-on edge of the yoke. On the right, the yoke is sewn to the neck of the pullover. We finish the work by connecting the sides and sleeves.
Crocheting a pullover with a round yoke
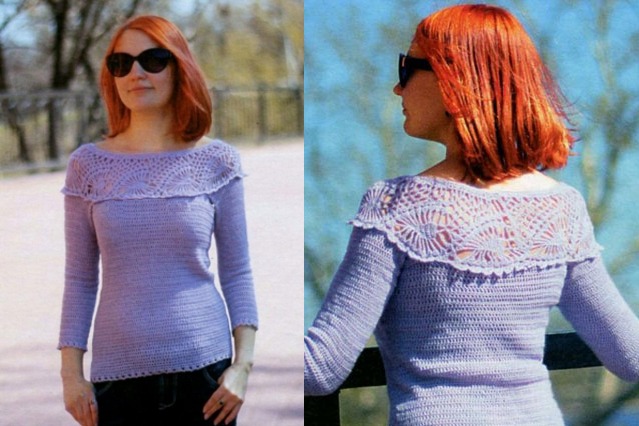
We present to your attention a pullover model in size 38, made using a hook of the same thickness.
Advice! If, when knitting a sample with a pattern, a chain of air loops, also known as a zero row, seems too tight to you, change the hook to a thicker one. Otherwise, use a thinner hook.
Materials and tools
For knitting we will use:
- Hook number 2.
- Threads with a composition of 70%/30% wool/acrylic, 400 m per 100 g. A model of this size will require three skeins.
Basic pattern, i.e. the pattern of the front, back and sleeves without the openwork part.
Double crochet with replacing the first double crochet in each row with 3 lifting chain stitches.
Yoke pattern: We use a scheme with a single repetition of the loops indicated on the diagram. Replace the first loop in each row with the chain loop from the diagram. Repeat rows 1–14 once, then repeat rows 5–14.
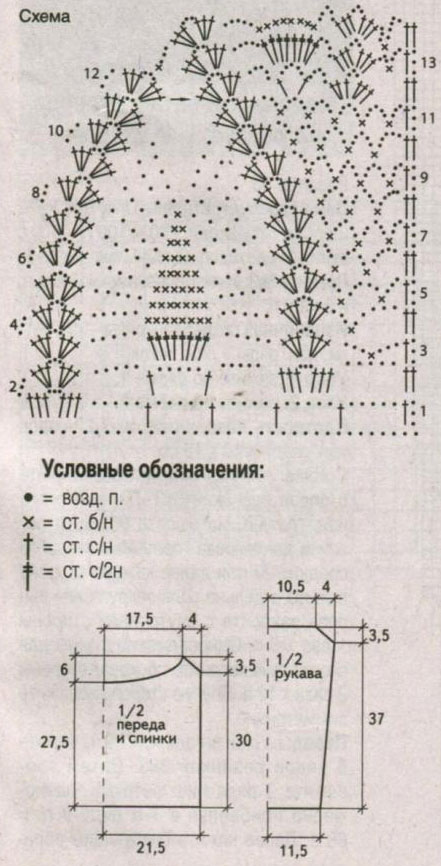
Rice. 4 - Motif scheme
Knitting stages
Here is a description of knitting this simple product.
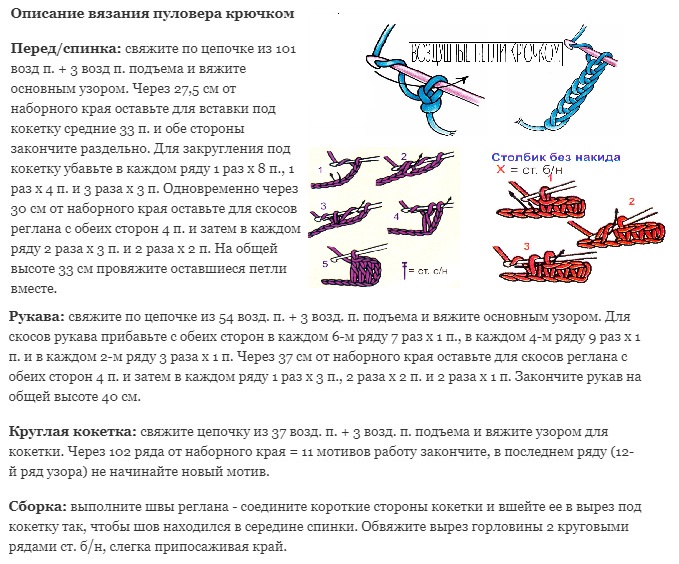
We hope our tips will help you knit a beautiful and original pullover with a yoke that will decorate you and become the envy of your friends.


 0
0