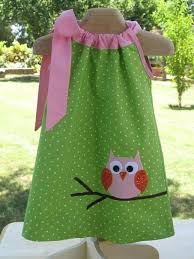
 Every mother dreams that her daughter will be the most beautiful: on the street, at a party and at home. But when trying on outfits in a store, it turns out that one thing is small, another is large, and the third fits perfectly, but the quality leaves much to be desired. If you want your princess to wear beautiful and high-quality things, it's time to take to the sewing machine. Don’t be alarmed if you don’t have good skills - even a beginner can master sewing a sundress.
Review of sundress models for girls
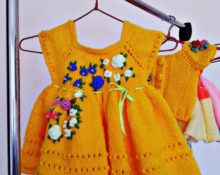
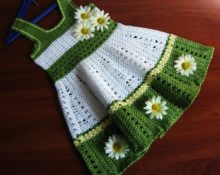
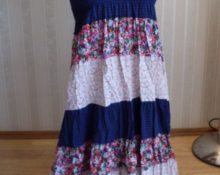
The sundress is a fairly universal item. You can wear it for a walk, take it with you on a trip to the seaside, or wear it to school in the rainy fall. It is appropriate in absolutely any situation and is very popular among the fair sex. There are a large number of models of different styles and purposes, here are some of them:
 A simple and comfortable drawstring model can become your girl's favorite outfit.
- A sundress with cap sleeves will add lightness to the look and is perfect for sunny days.
- There is no shame in wearing a sundress dress “to feast and peace.” If you sew it from cotton, you will get a cool summer option. By choosing a warmer fabric, this style can be safely worn in the cold season, combined with blouses and turtlenecks.
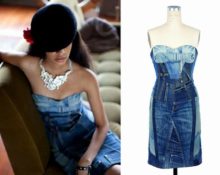
- A denim sundress looks great. Practical and stylish, it will become an indispensable item in your wardrobe.
- For lovers of unusual styles, an asymmetrical style with a strap over one shoulder is suitable.
- The empire silhouette model will create freedom of movement and a cute look.
- A sundress with straps made of light fabric will delight you with its simplicity of execution and spectacular appearance.
- Models such as a-line, sundress and sundress with a flared skirt are suitable for studying.
- A sundress with a full skirt will look romantic and festive.
Styles of children's sundresses
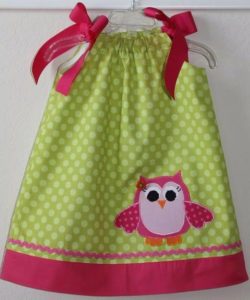 To choose the perfect pattern, you need to know the basic measurements and determine the size of the clothing. If in doubt, check it using the table, find a suitable pattern, or build it yourself. You can stay with the classic version or choose a more modern model. Sundress patterns can be divided into the following types:
- trapezoid;
- empire silhouette;
- straight cut;
- sundress with a flared skirt;
- sundress with pleated skirt;
- sundress dress.
Basic sewing rules
By following the following tips for sewing a product, you can save time on correcting mistakes and get a positive result:
 when buying fabric, pay attention to the composition, giving preference to natural types of fabric or fabric with a small content of synthetic fibers (the child’s skin must breathe);
- before you start cutting, perform a WTO (the fabric may shrink);
- before sewing the product on a machine, baste it and check the fit of the dress;
- to carefully process the bottom of the product, first fold the edge and iron the folds a little;
- To make the inside look beautiful, iron the seams and finish the edges;
- there is no need to iron the elastic thread or elastic band, it can stretch;
- Give the finished item a finished look using WTO.
How to take children's measurements correctly
Correctly taken measurements are half of successful tailoring. This is not difficult to do if your child agrees to stand quietly for a few minutes. If you can’t persuade your child to do such a feat, take the finished product and take measurements from it. How to take basic measurements:
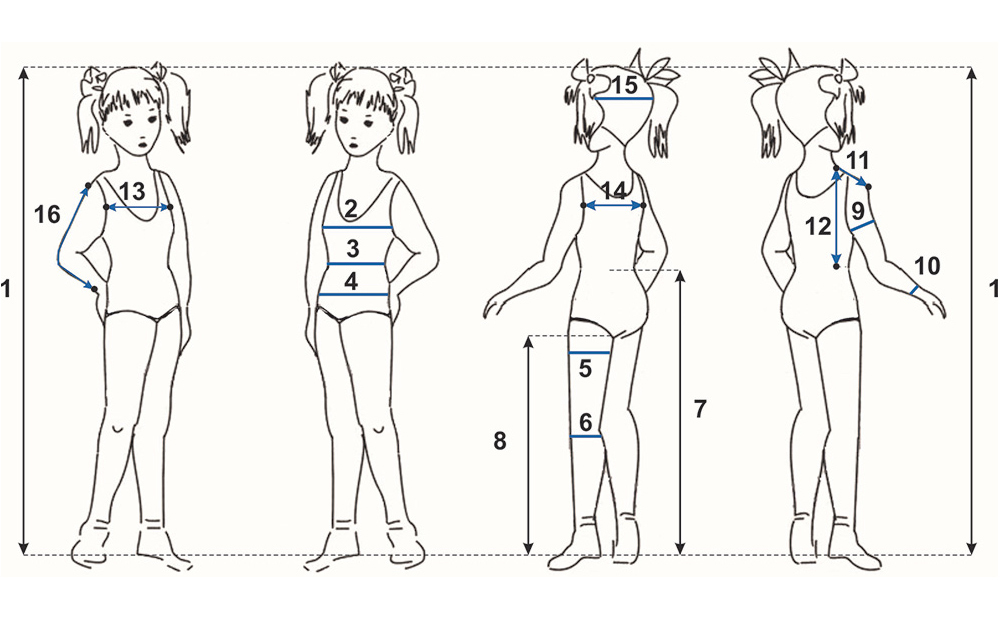
- Let the child stand up straight and natural. When starting to measure, make sure that the centimeter is close to the body, but not too tight.
- Girth. The exhaust gas is measured by the distance between the armpits (in front). OT can be identified by the narrowest point of the waist. In order to find out the OB, the most convex points of the buttocks on the sides are taken into account. OR is measured around the base of the neck.
- Length. DTS – measurements are taken from the 7th cervical vertebra to the waist. Road accident - from the base of the neck at the shoulder to the waist. DP is measured from the base of the neck to the extreme point of the shoulder. The total length of the product is determined from the 7th vertebra to the required point.
- Width. ШП - distance from shoulder to shoulder. ShS - between the armpits (back) through the shoulder blades.
Important! Most children do not have a pronounced waist. Therefore, when defining it, tie (loosely) a ribbon or string at the waist and allow the child to move a little.When the ribbon is in the most comfortable place for the child, you can take the measurement.
Patterns of children's sundresses for beginners
To help beginning seamstresses, there are ready-made patterns of varying levels of complexity. But if you want to sew something that will fit you exactly, you need to be able to build and adjust the pattern yourself.
For a basic children's sundress with a drawstring, you just need to make a drawing of the details, following our advice:
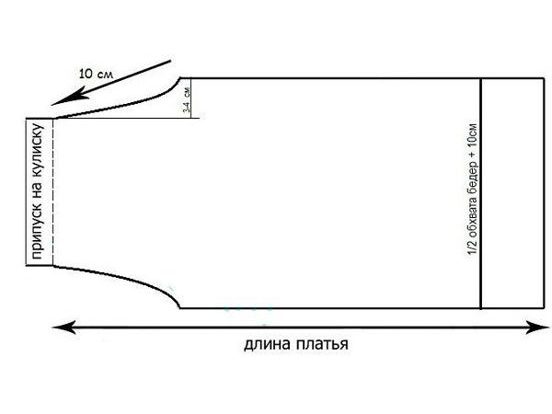
- Measure 3 measurements: chest circumference, hip circumference and overall length of the product.
- Take graph paper or light fabric and draw a line equal to the total width of the product (half the circumference of the hips + 10–12 cm).
- Then set the total length of the product down and add another 10 cm for the future drawstring.
- Make a rounded line (curve at the armpits) along the top edges of the pattern for 7-10 cm.
- The pattern is ready. All that remains is to measure the length of the straps (if provided), draw and cut out rectangles for them. Then stitch the parts and finish the seams.
If you are looking for a dress pattern for the summer, the easiest one to make would be a sundress with straps. Follow these steps:
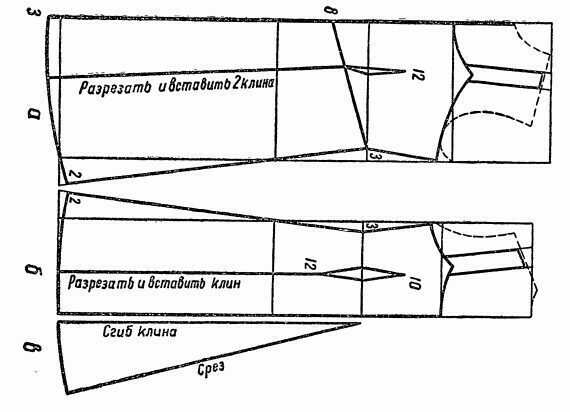
- Calculate the length of the finished product and add 10–12 cm for allowances and hemming of edges. If you want to lower the shuttlecock, then remove from the expected length as much as is needed to make it.
- Measure the width of your chest, divide the resulting figure by 4, then add 3-4 cm for allowances. This will be the width of your shelf. Measure the chest height and draw the details. Be careful when determining the armhole: it is deep on the front and smaller on the back.
- Draw up a pattern on graph paper and calculate the allowances.If you are planning to make a flounce, then make it 1.5 times longer than the lower part of the dress.
Advice! If your sundress has a symmetrical cut, then you can correct inaccuracies in the pattern at the fitting stage. To do this, put the sour cream product on inside out and correct the fit.
How to sew a simple sundress for a girl with your own hands
It’s easy to create an “airy” sundress if you add such a beautiful element as “wings”. To make this model you will need: main fabric, lace and elastic band.
 Determine the length of the product and draw the front and back parts.
- First add a couple of centimeters on both sides for the bottom edge and drawstring.
- Place both shelves facing each other and stitch along the sides.
- Sew lace elements to both shelves.
- Finish the edges of the armhole. Stitch carefully.
- Bend the edge of the neck and insert the elastic. Alternatively (if the lace prevents you from sewing it inside), sew the ribbon on the inside and insert an elastic band under it.
- Process the bottom.
- Decorate the sundress (optional) with lace, brooch or appliqué.
- Carry out a WTO of the finished product.
If you nevertheless opted for a sundress with straps and drew its pattern (as described above), you will get: back and front (1 piece each), straps (2 pieces), back and front facing (1 piece each) ), shuttlecock (optional). Carefully cut out the details. Start sewing:
 Fold the strap in half (lengthwise), so that the front side is on the inside and the wrong side is on the outside. Stitch, repeat the same with the second part. Turn both straps out and iron.
- Place the back and front with the right side in, and the wrong side out and stitch them on both sides (side seams).
- Determine the location of the straps, keep in mind that the straps are closer in the back than in the front. Adjust the length and baste them to the shelves.
- Place the facing along the upper edge of the shelves, sew so that the straps are secured. Fold the facing over to the wrong side, smooth it out and topstitch.
- Connect the ends of the shuttlecock and sew them. Process the bottom. Gather the top edge; you can first do this using tailor’s pins to arrange the material nicely. Sew the flounce to the bottom of the sundress.
- If you do not plan to sew on the flounce, then finish the bottom edge of the sundress with a hem stitch.
Important! When washed, untreated items leave some threads in the washing machine, so process the internal seams using an overlocker or a zigzag stitch. This way you will avoid problems with household appliances and give your dress a beautiful look.
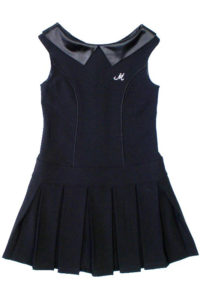
How to sew a school sundress for a girl
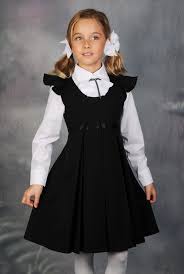 Modern schools are returning to compulsory uniforms for children, which require a certain range of colors. But don’t be upset, because the time when the school uniform was “like a carbon copy” has passed. When starting to sew a school sundress, you need to follow certain rules:
- The length of the product should be average: no higher than the palm of your hand from the knees and no lower than 10 cm from them. The main thing for a child is to feel comfortable - in a dress that is too long or short, he will not be able to play freely during recess.
- Clothing should be made of natural fibers, allow air to pass through to the skin and absorb moisture.
- Before deciding on a color, check with your school for requirements. Basic shades: calm dark blue, brown, gray, jade and burgundy tones.
How to choose the right fabric for a school sundress
The first thing you need to pay attention to when sewing a school uniform is the choice of fabric. Your child will spend 5-7 hours at school throughout the school year and it is simply necessary for the skin to breathe. When choosing fabric, use our tips:
 carefully study the composition, it should be as natural as possible (from 50 to 65%), a small synthetic content will make washing and ironing much easier;
- check if the child has any irritation or allergies to the purchased material;
- for autumn and spring, fabric containing cotton and linen, suiting, as well as satin (for a more festive set) is suitable;
- for the winter period, it is better to choose a fabric that contains wool; you can opt for a thick suit option;
- carefully select the fabric for the lining, since it is constantly in contact with the child’s skin; it is better if it is viscose, polyviscose or other fabric with a partially natural composition.
Pattern of a school sundress for a girl
To make a model of a school dress with a skirt with counter pleats, you need to model the pattern:
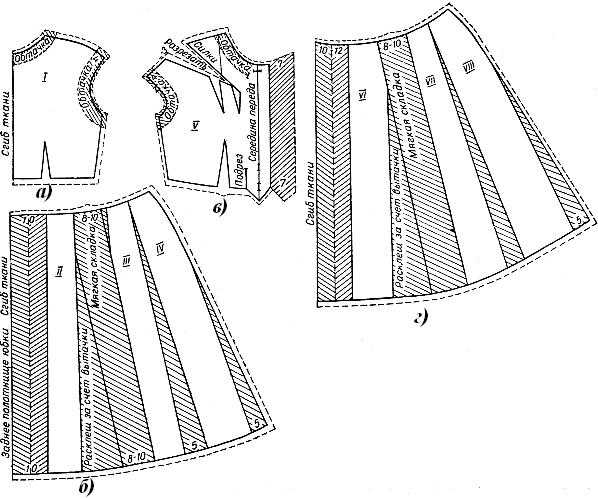
- You need a basic pattern. You can start making it yourself using our pattern. On the pattern, place 7-8 cm down from the bust line. This way you will determine the top of the cutting part of the sundress.
- Now it is necessary to enlarge the armhole, since on the pattern it is not very deep, and we plan to wear blouses under the sundress. From the end point of the armhole, draw down 2 cm. Shorten the shoulder line by 1.5-2 cm along the outer contour on both sides. Now we smoothly draw a new armhole.
- Make the neckline lower. We put down approximately 1 cm, on the shelf itself - 3 cm. At the back we carry out the same action with the line of the shoulders as in the previous paragraph.Now our pattern is similar to a sundress: the straps are narrower and the armhole is larger.
- We are preparing the neck facing according to new measurements, it is supposed to be about 5 cm at the shoulders and up to 10 cm at the center of the back and front.
- We are making a drawing of a skirt. Transfer the outlines onto paper. Determine the depth of the fold - let it be 3 cm. Find the center of the front part and put a dot. Set aside 6 cm from it, then add 6 cm on each side of the pattern.
- Measure the length along the top and draw a rectangle (this is the future cut-off skirt). Once you fold the fabric, it will take on a flared shape. Using the sample, we draw the back, based on the base pattern, and lay down the folds. The pattern is ready.
Cutting the fabric correctly
When starting to cut the product, you must:
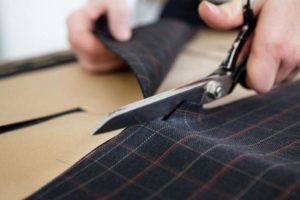
 perform an OBE to avoid stretching, shrinkage or color change of the fabric;
- identify lobar and transverse threads;
- check that all parts are drawn with allowances; if not, draw on the fabric;
- arrange the parts of the skirt and top along the lengthwise lines, prick with needles to secure:
- Carefully cut out the details: skirt panel (2), front (1), back (2), facing (2).
Advice! To determine the direction of the grain thread, stretch the fabric. In the lobar direction, the stretch will be weak, and in the transverse direction, the fabric will be more elastic.
Sew down the details
Sequence of stitching parts:
- First, you need to prepare the skirt: place folds in the middle on both parts. Iron them.
- We sew the front part (front and 1 part of the skirt), then the back and 2 parts of the skirt.
- We fold the blanks face inward and sew up the side seams.
- Let's move on to the fitting.
We do a general fitting
If you have completed all the previous stages of pattern creation, cutting and basting correctly, you can proceed to general fitting:
- put on the product, check the correct fit;
- see if the shelf and back are connected correctly;
- if you see defects in the tailoring, correct them using tailor's pins, re-baste the product and do another fitting;
- A properly sewn product should be free of creases, bubbles and distortions.
Sew the details
The final stage in our work is sewing. We sew the sour cream parts together according to the same pattern as we sewed them down. Now we proceed to the facing, connecting it along the neckline with the top of the product, stitching it by 0.1 cm for a better look. We connect the facing on the sides and stitch it, we process the bottom of the facing with an overlock or zigzag seam. We carefully hem the bottom of the product. We process all the edges from the inside out, trim off excess knots and threads.
How to decorate a children's sundress
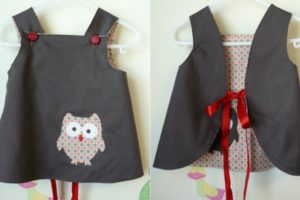 Every girl wants to look special, regardless of whether she is hanging out with friends or solving problems at the blackboard. If desired, you can decorate the sundress with embroidery, appliqué, patch pockets, or make an original belt or brooch. And also sew on additional elements: ruffles, flounces, frills, patch collar. Your work will not go unnoticed!


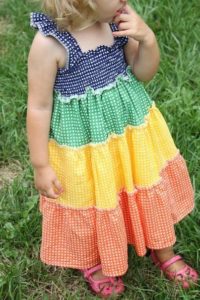 A simple and comfortable drawstring model can become your girl's favorite outfit.
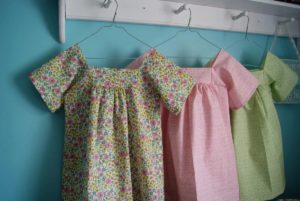 when buying fabric, pay attention to the composition, giving preference to natural types of fabric or fabric with a small content of synthetic fibers (the child’s skin must breathe);
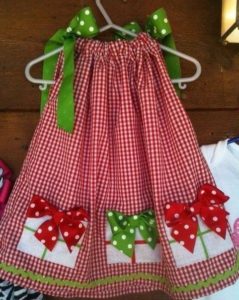 Determine the length of the product and draw the front and back parts.
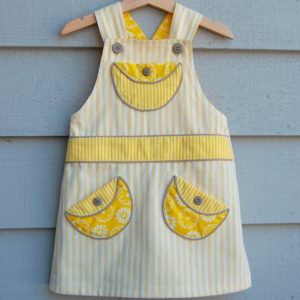 Fold the strap in half (lengthwise), so that the front side is on the inside and the wrong side is on the outside. Stitch, repeat the same with the second part. Turn both straps out and iron.
 carefully study the composition, it should be as natural as possible (from 50 to 65%), a small synthetic content will make washing and ironing much easier;
 perform an OBE to avoid stretching, shrinkage or color change of the fabric;
 0
0