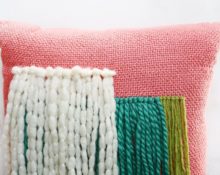
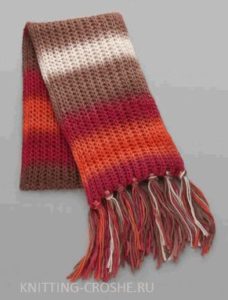
 Fringe is a traditional way of decorating sewing and knitted items. It is made from individual threads or from fibers that are collected in brushes.
This finishing gives the item a finished look and makes the product interesting and attractive.
We'll tell you how to make a fringe on a scarf with your own hands.
Easy way
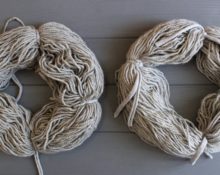
The easiest way to make fringe is from threads. To work you will need yarn, a hook, and scissors.
Procedure
- Cut the yarn into equal pieces. Their length coincides with twice the length of the fringe.
Advice. To prepare the threads faster and easier, you can first wind them tightly and evenly on cardboard. And then cut the yarn on one side.
- Fold each thread in half.
- Using a hook, tie the threads to the product. This is done simply. The part on which the turn has formed is passed through one of the loops on the scarf using a hook. The long ends are inserted into it and the knot is tightened.
- Maintain an even distance between the ties.
Advice. Using yarn of a suitable shade will make the fringe an additional finishing element.
Main condition: the yarn should be the same thickness as the rest of the threads.
With brushes
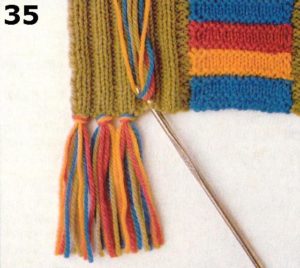
The finish looks very nice, in which not single threads are attached to the scarf, but tassels of them.
The work is done in the same way as with single threads. But now yarn is attached to the product in a bundle of 3-4 pieces. After rolling, the number of fibers in the brush increases.
Thanks to the thickness of the bun, where it is secured, an attractive knot is obtained. To make the scarf look beautiful, leave a small distance between the tassels.
From thick yarn
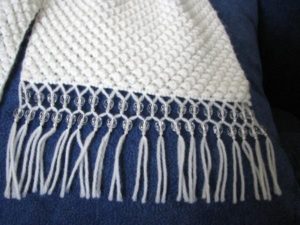
If you knitted from soft yarn, the threads or tassels themselves lay down easily and beautifully. But with thick fibers this look cannot be achieved. They look a little rough. To avoid this, let's do a little mesh simulation.
Work order
- Cut the yarn into pieces. Each segment should be 3 lengths of the future fringe.
- Tie each piece onto a scarf. They should be spaced less frequently than on a simple frill.
- At a distance of 2-3 cm from the edge of the product, we tie the threads in pairs. We start with the second: 2 and 3, 4 and 5, 6 and 7. We continue this way until the last one remains, we do not connect it.
- Again measure 2-3 cm and make knots. But now we connect 1 and 2, 3 and 4 and so on.
- If desired, we perform another row of knots.
Thanks to such an openwork stripe, the fringe no longer seems rough.
In addition, the threads can be decorated with wooden beads, glass beads or tied with small tassels. They will give the product a playful and somewhat frivolous look.
Fringe will not require any special skills from you and will not take much time. But it will make something knitted with your own hands especially impressive.


 0
0