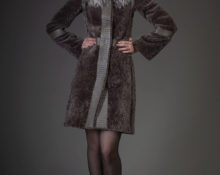
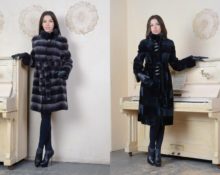
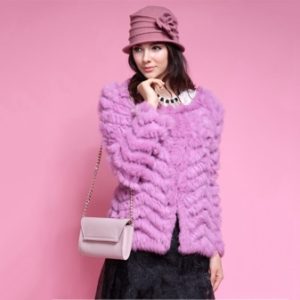
 Rabbit fur is light, soft and pleasant to wear. There is still one drawback - it wears out quickly, the item becomes scuffed and unsightly due to the presence of bald patches. Don’t rush to throw away – such products can be given a second life. You can look through the Internet and find a suitable option for remaking your favorite rabbit fur coat.
What are knitted fur coats?
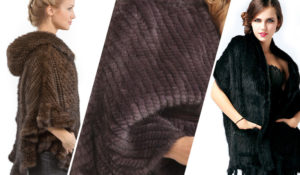 Based on the composition of the material used, fur coats are divided into:
- completely knitted;
- combined - combine fur and knitted fabric.
By manufacturing method:
- crocheted mesh with fur strips woven into it;
- knitted base with fur strips sewn onto it;
- knitted fabric made from threads made by twisting them from fur ribbons.
What you need for work
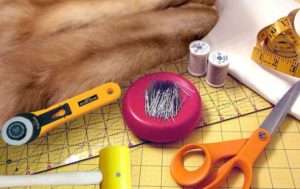 In our case, we choose the simplest method of making a knitted fur coat - weaving fur into a pre-made mesh. To do this we need:
- pattern;
- cotton yarn to match the fur;
- thick hook;
- rabbit fur (pre-wash and dry);
- thick needle and thread for sewing fur strips.
If there is not much fur, we recommend choosing one-sided weaving. It is more economical, although less fluffy, than double-sided.
How to make a knitted rabbit fur coat with your own hands: a step-by-step guide
We offer a guide for making a woven fur coat, oriented towards size 48.
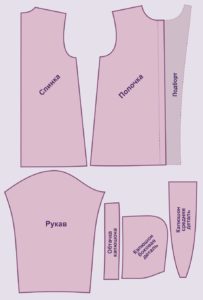 Using the pattern, we crochet the net. The option of knitting on the side is possible, as in our case, whichever is more convenient for you.
Reference!
Abbreviations: “st/n” – double crochet, “st/b/n” – single crochet, “r” – row.
Sleeves:
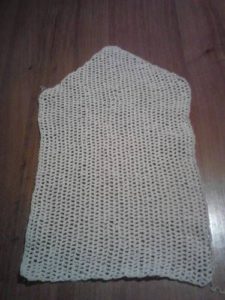
- Cast on 59 stitches. Perform 59 st/s/n - and then do this for 5 r.
- Add to the next 17 r: from the end and from the beginning of the r - 1st/s/n.
- Then there is no need to add two r. Then we decrease in 17 rows (at the end of each p we decrease, but at the beginning we do not knit 1 column). And 5 rows of sc/b/n without decreases.
- We make markings on the back side of the fur – divide into strips 1 cm wide. If the fur pile is long, then you can cut it even narrower. Let's number them. The numbering should be on one side to control the direction of the fur. The stripes are used alternately, but the direction of the fur on them must match.
- Cutting fur ribbons, but not all at once, but as you use it. We do this by weight, otherwise the pile will be cut off.
- We hook a pin to the edge of the strip and thread it into the mesh. The stripes are arranged from top to bottom. We leave the edges of the strips unsewn for now, in case correction is necessary (pull or stretch the part).
- After pulling the strip use a needle to lift the pile from under the mesh threads.
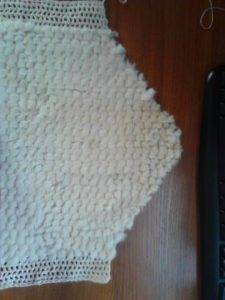 We perform the second sleeve in the same way.
Back:
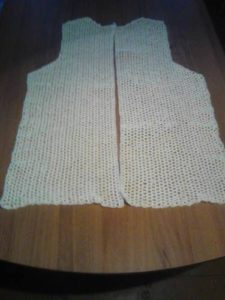
On a note!
We make the back from 2 halves, so that in case of errors in size it is possible to unravel and remake the part.
- Cast on 51 stitches. Work st/s/n row 1.
- For the armhole in the next ten rows, add 1 dc/n at the end of the row.
- For the shoulder, add 21 air loops, of which knit 21 st/s/n.
- Add 1 stitch/s/n at the end of the row on the front side. Again 10 rows.
- We knit the neckline: 5 rows with decreases of 1 st/s/n in the front rows, then 5 rows without decreases.
We do the second half of the back in the same way. We wash the mesh and dry it.
We braid the back with fur ribbons. Sew both back pieces together.
Shelf:
- Cast on 51 stitches. For the armhole, knit 10 r adding 1 dc/n at the end of each row.
- For the shoulder - 21 air loops. Knit 21 st/s/n. Next, add 1 st/s/n in each row at the end, make 10 r.
Neck:
- We do not knit 6 stitches on the shoulder in the last row at the end. Decrease 3 stitches in six rows.
- Sew the strips to the mesh.
- Sew all the parts together using a needle-forward stitch.
Hood:
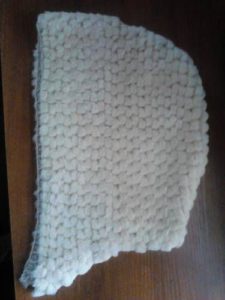
- 51 air loops, and the same number of st/s/n.
- Then 10 rows with decreases of one stitch at the end of the front row and at the beginning of the purl row.
- The eleventh row is unchanged. Decreases on the other hand.
- Okat: decrease in the 12th, 16th and 20th rows - one dc/s/n each.
- We knit the bottom in a straight line without decreasing.
- Decrease the okat in the 22nd row, on the other side of the 22nd row we do not knit 5 stitches.
- Repeat the same in the 24th row. And in the 25th row make 13 dc/s/n.
We braid the hood. Sew it together. We sew on the edge, knitted with a mesh of 80 st/s/n (2 rows are enough), braided with strips of fur, perhaps even of a different color. We also braid the edge with fur. Sew the hood to the fur coat.
Cuffs: cast on 36 st/s/n 7 rows. Braid with fur.
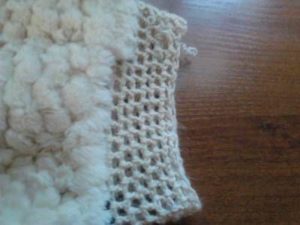
Bottom: 120 st/s/n. Braid with fur ribbons. The number of rows as desired depends on the planned length of the fur coat.
Shelf edges: nremove 74 st/s/n. Braid with fur.
Sew on the lining and fasteners.
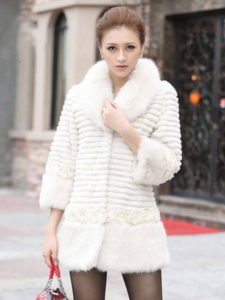 Ready!
Features of making a knitted rabbit fur coat
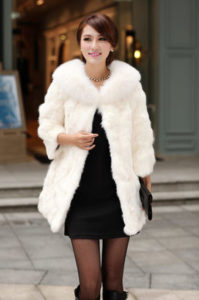 Listen to the advice of experienced needlewomen so that the work goes without incident.
- To prevent the shoulders and armhole from stretching, it is recommended to sew a thin braid along their edges.
- A fur strip sewn to its edge will help hide the uneven edges of the hood.
- Trim or braid will also help to gather the seam between the hood and the finished product and prevent it from stretching.
- To ensure that the fur coat is the right size, it is advisable to make a sample before starting work. Due to the fact that the base is knitted, it may stretch and be larger than the planned size.
- Well, for convenience, don’t forget about the inside pocket; think about this when making the lining.
And now you can make such a beautiful and versatile thing with your own hands. Good luck in job!


 0
0