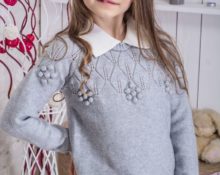
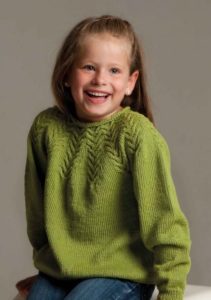
 Our little, charming fashionistas always want to look beautiful. Mothers want their children to be warm and comfortable. And only this thing is capable of pleasing both sides - this sweatshirt. Warm and fashionable it has a very rich history.
The first sweatshirt model owes its birth to Benjamin Russell. He created it for one of the players on the US university football team. There was this case in the 1920s of the twentieth century.
These products quickly spread among athletes. Later in the 1960s, people in everyday life, not only in the world of sports, appreciated the comfortable product.
Selection of yarn and knitting needles
A little clarification will help you choose yarn for a sweatshirt. This little thing literally means “sweater” and “shirt”. Putting these things together must mean something in between.
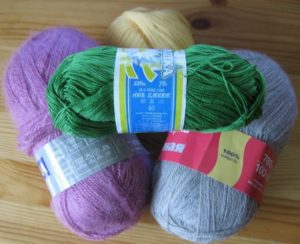 The “sweatshirt” should not be hot, but it should be warmer than the shirt. Therefore, you need to knit it from yarn with a small wool content, which gives warmth.
Most often the sweatshirt is made of one thread. A lot of bright things can serve as decoration for a children's sweatshirt., in this the master’s imagination will be limited only by common sense.
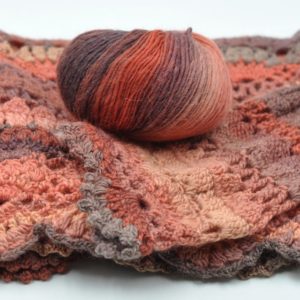 Select knitting needles depending on the thickness of the yarn.
Important! Very often, the yarn label indicates the number of knitting needles that are suitable for knitting.
It is worth paying attention to the model. If it is raglan, then it is more convenient to do the work on knitting needles connected with fishing line (round).
Step-by-step instructions for knitting a sweatshirt for a girl
Creating things with your own hands is not so difficult, especially since there are general rules for some models. For example, there are several types of sweatshirt sleeves. Learn more about how to knit each element.
Cast on the first stitches on 2 needles (fold together):
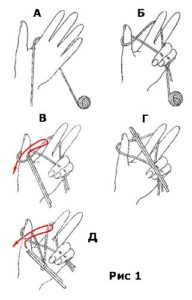
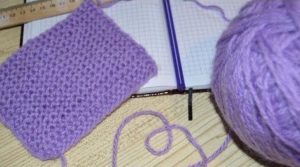
Then we knit a 10-12 cm sample; it is better to immediately select a pattern and try it on the yarn. After washing, the yarn may shrink.
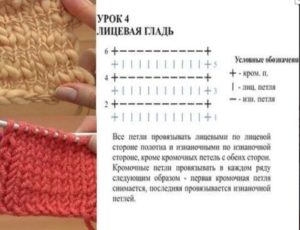
Knitting the back
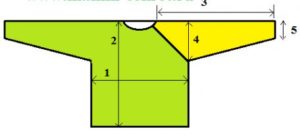
Very often a sweatshirt for a girl is knitted with raglan. Therefore, the pattern will look like this.
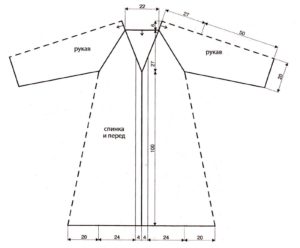 These patterns can be knitted from the bottom. In this case, all the details are knitted to the level of the armhole (in this case, to the raglan). Afterwards everything comes together and the knitting is directed to the collar in a circle. At the same time, reductions are carried out according to special schemes.
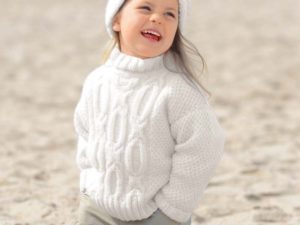 In the second case, the model knits from above. The pattern is no different here. Everything is done together from the very beginning. Sleeves and back and front are gathered together. Only now it’s worth making additions in places specifically indicated on the diagram. The same thing is done up to the armhole level.
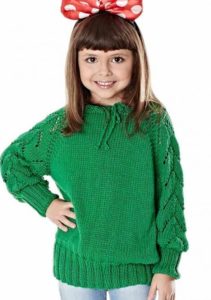 At the armhole level, all the details diverge. The back and front front can exist together or be knitted separately. Sleeves can also be knitted on circular or regular knitting needles and then simply sewn together.
Very rarely the following pattern is used for a sweatshirt.
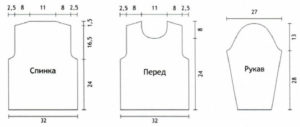 This model looks neat and cute. But it will require more time and effort. It is necessary to make neat cutouts for the armhole and neckline. This pattern is knitted from the bottom.
A similar model is the one with a square armhole cutout. It is much simpler to perform, so we recommend it for beginner craftswomen.
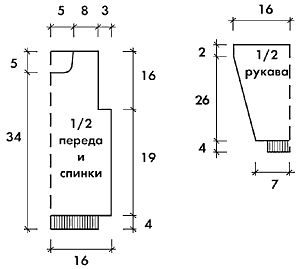 It is very easy to knit the sleeves - they do not have a bevel, and an equal number of loops are closed for the armhole on the front front and back. Most often no more than 7. This indicator will depend on the age of the child, the model and thickness of the thread.
Before
The front detail of the sweatshirt is not too different from the back. The same number of loops is used for it, it is of a similar height.
 Similar cutouts for armholes. The main difference is the neckline. It is usually deeper than on the back.
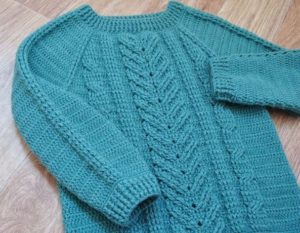
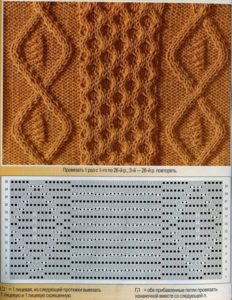
On a sweatshirt, you can place the pattern only in front; vertical braids, diamonds, etc. look more beautiful.
Sleeves
If this is a raglan model, then the sleeves can start both from the shoulder and from the cuff. They are characterized by an increase in the number of loops, closer to the shoulder. And decreasing loops, closer to the cuff. Everything will depend on the model. If the items have straight sleeves, they will not require any additions or decreases in stitches.
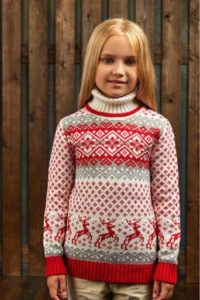 The smoothing for the armholes in some sleeves is done so that they fit perfectly into the back neckline and front front.
 There are also very light sleeve models - the so-called square ones. They are very easy to knit and are usually intended for very young children. First, the elastic band is made at the sleeve, then comes the main pattern with ongoing increases, after the desired height is reached, decreases are made.
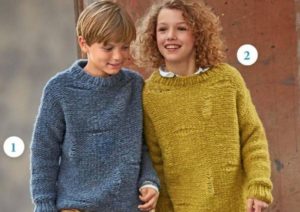 In this case, there is no bevel or decrease in one row and you get an even sleeve break.
Important! If the sleeve is square, then it is necessary to make a square bevel for it at the back and front shelf. To do this, you need to close an equal number of loops once for the armhole on the back and front front - for children, 4-7 loops are usually closed (depending on the thickness of the yarn and the age of the child).
Assembly of finished parts
Using the raglan technique, the sweatshirt does not require assembly. But other models have similar assembly steps:
- Shoulder seams are made (if necessary, then loops are picked up along the edge of the neckline using circular knitting needles and a collar is made).
- The sleeves are sewn in.
- Side seams on sleeves.
- Side seams that connect the back and front.
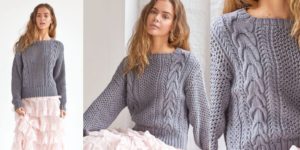
Important! The neckline for a sweatshirt can be low or high. A high neck often has lacing to adjust the elastic band of the collar. This neckline needs to be knitted with circular knitting needles a few centimeters higher than usual to make a pocket for the lace.
Sweatshirt decoration
These few steps will help you create a unique model for a girl. Depending on the interests of the child, you can decorate the knitted item: with lace, rhinestones, crochet, etc.
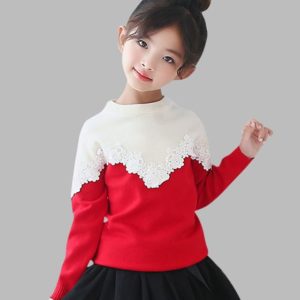 For example, a lover of fairy tales will be happy to appreciate a princess or other fairy-tale character on the front shelf of a sweatshirt. It’s so easy to make your favorite and stylish things for your own child or as a gift to other young princesses.
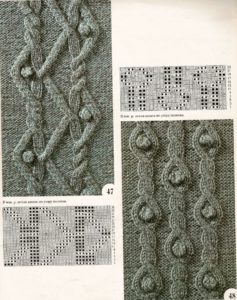
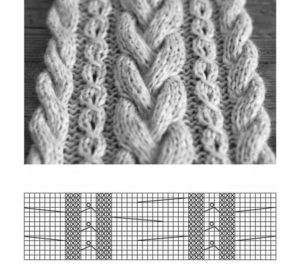
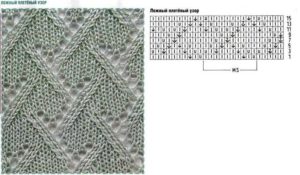
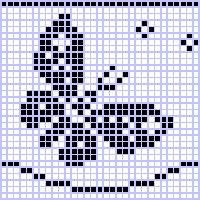
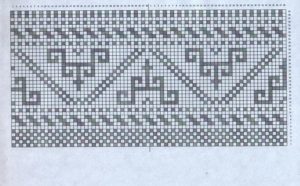
Knitting patterns:


 1
1

