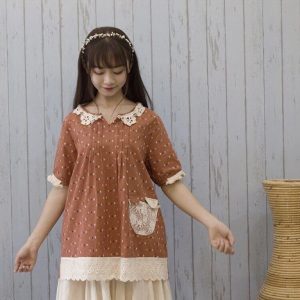
The tunic is a unique item that can be worn every day (to work, walking or shopping). It will suit any figure. A tunic can hide any imperfections. You can sew a tunic at home; it is not as difficult as it seems at first glance.
Boho tunic
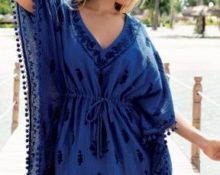
We will sew a “boho” tunic. She is able to emphasize the elegance and tenderness of every female representative.
Before you start sewing a tunic, you need to pay attention to the style, parameters and color.
This model looks great with any jeans, wide-leg trousers and leggings. The tunic can be shortened or below the knees.
Some women prefer to wear a tunic in dress form, while others like cropped styles.
Model features:
- Tunics may have different designs for the lower part.
- It can be round, tapered or asymmetrical.
- The upper part of the robe can be decorated with pleats, lace, beautiful embroidery and inserts.
- You can try stitching the edges with waves of lace, it looks very elegant.
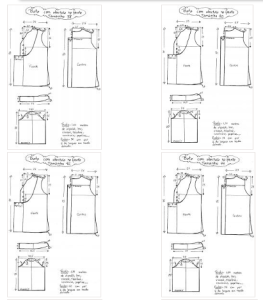
Pattern

Well, now let's move on directly to the pattern process. You can select the fabric in advance and buy it in the store. Linen, synthetics, knitted material or viscose are suitable. We will make a pattern for sizes 36-56.
Each pattern will indicate the material consumption. If you want, you can not cut the length or lengthen it slightly, you will get a beautiful dress in the form of a tunic.
The product can be decorated as desired. You can use sequins, embroidery, ready-made designs.
The pattern includes the following features:
- front part parts with cut-off yoke (2 pcs.);
- front yoke (2 pcs.);
- back (2);
- cut off back and sleeve (4 parts in total);
- cuffs (4 cm wide, with allowance);
- collars (4 parts, width 2 cm with allowance);
- collar zone strip (4 stripes with a width of 1.5 cm).
Step-by-step description of the process:
- First you need to sew small parts and process the cuffs, collar and placket.
- Next we are designing a rounded yoke with embroidery. You need to take two parts of the yoke and fold them with the front parts and grind them off.
- The plank is basted to both parts.
- The lower part of the sleeve must be secured by hand with the gathering carefully distributed along the lower part of the sleeve.
- Assembly must take place on the back. Sew the longest part of the cut line, distribute it along the entire length. Fold the yoke and back together, sew on both sides. Do the same steps with the other half.
- Adjust the backrest so that the front side is facing you. Sew the hangers, iron each of them with an iron.
- Next, sew the collar to the neckline.
Ending
Now you need to apply a side seam and iron the opening part.Align the center point of the sleeve area with the shoulder seams.
The seams do not need to be pressed, just press. Finish the bottom and tuck the rest inward.
Attention! Be careful, do not pull the fabric too much, it may tear. Sew along the front of the tunic.
Iron the bottom of the product.
The tunic is ready! Iron it on both sides and hang it in your closet. A tunic can be worn on the beach in the summer, if the item is made of warm fabric, it can be worn in the cold season instead of a sweater.
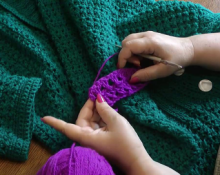
A knitted tunic with insulated leggings will look beautiful.
Don’t forget to purchase everything you need before sewing (machine, thread, fabric, accessories for jewelry). It is better to give preference to high-quality material purchased in a specialized store.


 0
0


Where's the pattern?