 It happens that when choosing outerwear in a store, people find an option that is ideal in size, color, price and quality. But it has one drawback - the sleeves are too long. In this case, it is not at all necessary to refuse the purchase or immediately take the item to the studio. You can remove the length yourself.
How to shorten the sleeves on a windbreaker
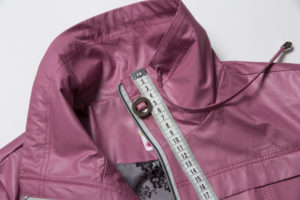 You can shorten your sleeves in several ways. One of them is to tuck. This is one of the simplest options; it does not require any cutting and sewing skills.
The product can also be trimmed or hemmed. This is not difficult to do if you understand the technique.
Shortening the sleeves of a windbreaker: a step-by-step guide
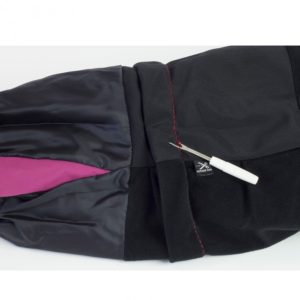 Shortening takes place in several stages. First of all, in order to feel comfortable at work, you need to prepare all the tools in advance.
You will need:
- scissors;
- sewing machine;
- pins;
- chalk;
- ruler;
- threads;
- iron.
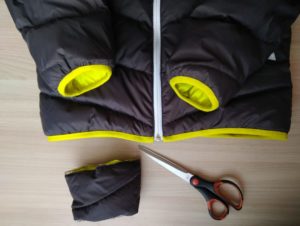 After the instruments are prepared, it is necessary to take measurements.To determine how much to shorten the product, put on a windbreaker, button it up and stand straight. Measure the required length and mark with pins. Then raise your arm, bend it at the elbow and in front of you. If you feel comfortable in any position, then the length is measured correctly and you can proceed directly to sewing.
The work proceeds as follows:
- Before you start working, you need to turn the windbreaker inside out and straighten it out. Use chalk to mark how much you need to shorten the sleeve.
- Cut off excess material. Finally, machine stitch the bottom of the sleeve.
This is how you can easily and quickly remove unnecessary length. It is worth noting that this method is suitable for windbreakers without cuffs or lining.
IMPORTANT! Don't forget to take seam allowances into account. Usually it is 1-1.5 cm.
How to shorten the sleeves of a windbreaker without cutting off excess material
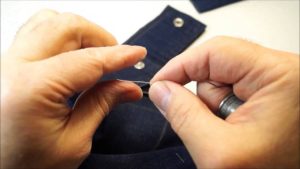 This method is more suitable for parents who buy clothes for their children to grow into. After all, they change quickly, and children's clothes are not cheap. Therefore, mothers often have to roll up their sleeves, taking a couple of sizes larger than jackets. This is not always convenient and aesthetically pleasing.
The best option in such a situation would be to “take away” the lining with the ability to return the old length if necessary. It's easy to do:
- Turn the windbreaker inside out. From the cuff, measure the desired length and mark with chalk.
- Draw a chalk line around the entire perimeter of the sleeve. Make a fold and align the cuff seam with the line. Sew carefully with thread.
Ready. This seam is not visible from the front side, and if desired, you can easily return it to its original length.
How to shorten the sleeves of a lined windbreaker
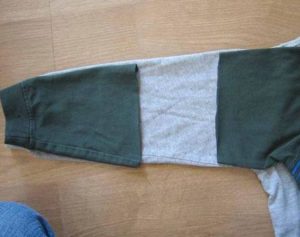 Do the following:
- Turn the windbreaker inside out. Carefully open the top seam into the lining.Turn the sleeves inside out through the slits and press them away from the lining along the hem. Iron the fabric with a warm iron.
- Place the product on a flat surface, align the cuts. For convenience, they can be pinned together. Use chalk and a ruler to mark the length that needs to be removed. Trim off any excess fabric. Repeat the same steps with the lining.
- On the front side, mark the stitching line for the lining with chalk.
- Turn the windbreaker inside out and baste the fabric of the top and lining with a stitch 0.5 cm wide. Next, from the front side along the marked hem, bend the bottom and baste so that the seam under the lining goes up.
- From the wrong side, sew the hem to the top fabric. Remove the basting thread and stitch the hole made earlier on the front seam.
IMPORTANT! Be careful not to twist the lining fabric. To avoid this, pin the elbow and front seams of the lining to the elbow and front seams of the top fabric.


 0
0


