 The weather outside has become noticeably colder, but it’s still too early to take your winter jacket out of the closet, which means it’s time to get a new windbreaker that will reliably protect you from bad weather and will look very nice on you. The assortment of stores cannot satisfy your desires, or you just want to save money and not overpay for a brand, then we will help you make such a jacket with your own hands.
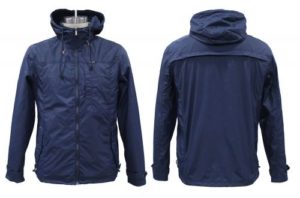
Review of models of men's windbreaker jackets
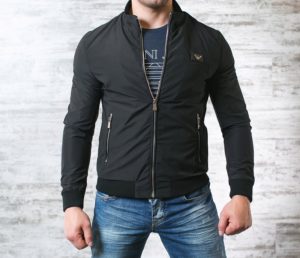
In modern fashion, there is a large selection of models of such jackets, differing in their characteristics. Among the fashionable and popular images are the following:
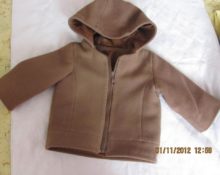
 Classic windbreaker.
- Sports style, for training and professional sports.
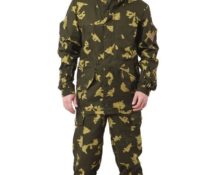
- Military style. Suitable for people who want to stand out.
- With a narrowed waist.
- Made from denim.
 Classic windbreaker.
These and many other models are in great demand and are very popular among young people around the world. We will look at the classic version of this product.
How to make a pattern for a men's windbreaker
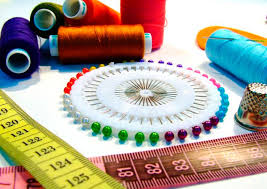 To create a pattern, you don’t need any special skills; with our step-by-step plan, you can figure it out yourself and make a blank for your future jacket. To create a pattern you will need the following tools and materials:
- graph paper for drawing;
- pencil and measuring tape;
- scissors;
- fabric on which the drawing will be transferred
- the dimensions that you will receive when taking measurements (height; chest, waist, shoulders; biceps, forearm and wrist girth; arm length).
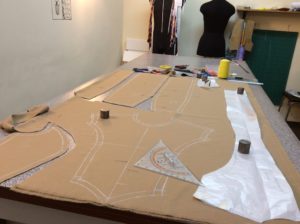
You can start drawing a schematic image of the future jacket on paper. Try to imagine the end result, and make your own adjustments to the product as the work progresses.
Building a pattern for a men's windbreaker with a hood
In order to fully talk about how to make a pattern, we will take a model of a jacket with a hood. It is practically no different from the classic version. Here we just add an additional pattern for the hood, which is later sewn to the main part of the jacket.
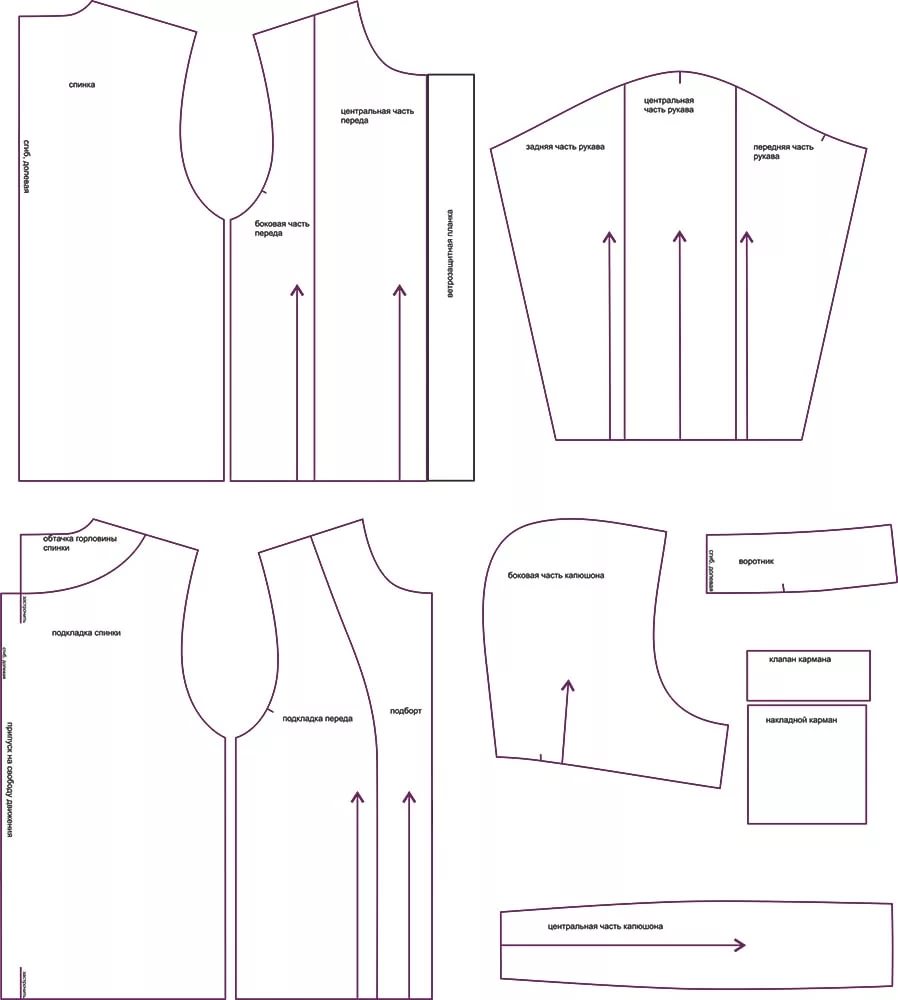
The main parts that will make up our workpiece:
- Main part. Outwardly similar to the silhouette of a T-shirt or vest. It is necessary to make the back part one-piece, and the front part to be made of two symmetrical parts, since a zipper will be sewn in at the front.
- Two sleeve details. If you have an old unnecessary jacket, then use the unfolded (unfold the seams along the length and disconnect from the base) sleeve as a sample.
- Pockets according to your preference, you can make them triangular, square or semicircular.
- Pattern for the hood made from two symmetrical parts that are sewn together. The length is equal to half the circumference at the collar.
How to sew a men's windbreaker with your own hands using a pattern
 After you have prepared the pattern and planned the future look of your jacket, you can start sewing.
IMPORTANT! Take extra material for the sleeves and bottom. If the size turns out to be a little larger, then the windbreaker can be sewn in by making invisible seams. If there is a shortage of material, you will have to do everything again.
To sew together the parts and get a finished windbreaker jacket you will need:
- needles of different thicknesses and threads for a sewing machine;
- blanks for pockets;
- fabric that must be prepared in advance;
- elastic bands for sleeves and the bottom of the product;
- buttons;
- zipper for the main part and pockets;
- decorative elements, prints or special stripes on pockets and sleeves.
 Let's start sewing! First we sew the front and back main parts together. Then we make seams on the sleeves along the entire length, connecting the edges of each of the blanks to form the finished part. When all the elements are completed, we begin sewing the jacket.
- Sew the sleeves around the circumference to the base. All seams should be inside.
- After this, stitch the hood to the back upper surface along the perimeter of the collar.
- Sew a zipper in the front.
- If desired, you can insert elastic bands at the waist and cuffs into the model. To do this, cover the elastic bands of the required length with fabric and stitch it with two seams (top and bottom).
IMPORTANT! Check the quality of the elastic; it must have good tension and compression force, otherwise it will quickly lose its properties when sewing.
Treat yourself and your family to a new wardrobe item that is very relevant in cool weather.
 0
0