An ordinary skirt is not difficult to sew. Any girl can cope with this task. But there are not the easiest moments in processing a product. Many questions and misunderstandings arise when sewing a belt. However, after reading the necessary instructions and studying photo examples, this process will not seem tedious and time-consuming, because There are different ways that can significantly facilitate this task.
How to sew a belt to a skirt
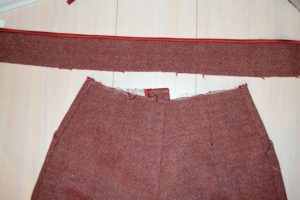
In order to correctly and accurately sew a belt to a skirt, you must follow a certain procedure. There are no little things that can be missed in this process. Let's take a step-by-step look at the main stages of the preparatory process:
- First you need to make the correct pattern. The belt in this example will be fastened with a button. Using a measuring tape, measure the top cut of the product and add 2 cm to the resulting number for processing the seams and 3 cm for the protruding tip to which the button will be sewn. So, if the cut of the skirt is 70 cm, then you should draw a strip 75 cm long;
- Next, we calculate the width of the element.For example, if you need a width of 4 cm, then the total width of the entire part should be about 10 cm, where 2 cm in this case means allowances for further processing of the product;
- It is important to strengthen the element with a lining before connecting it to the product itself. You can use non-woven fabric or other duplicating composition as a lining. It is worth choosing a composition that matches the texture of the fabric. This fabric can be of different colors, so it is better to choose a lining that matches the product. For dark and dense fabrics, a black or gray lining is suitable, and for light ones it is better to give preference to white;
- We cut a strip of dublerin according to the same parameters as the belt part. Next, glue this part to the fabric. This is easy to do in a simple way: take the lining with the adhesive side and place it on the wrong side of the strip. Cover the top with damp gauze and glue the lining material using an iron;
- Next, you should dry the duplicating fabric. It is worth remembering this point: if you start work right away, the lining material may come off. Therefore, it is important not to rush into continuing the work. It is more effective to cut the belt in advance so that it is nearby at the right time;
- The belt also needs to be folded in half and ironed thoroughly. The lower cut of the inner part is treated with an overlocker or a beautiful ribbon or trim is sewn on.
Then we proceed to sewing the strip in the following sequence:
- We baste the part to the upper cut, starting from the side seam, where the zipper is sewn;
- We baste the halves from the front, folding the skirt and belt right sides together;
- We retreat one centimeter from the edge of the part. Don't forget about this important centimeter - this is the seam allowance for a short cut;
- After basting, the end should protrude by 4 centimeters. And don’t forget that from this number, you need to leave 1 cm for processing. Pins can be used as auxiliary material. This is how professional seamstresses sew products;
- We sew the elements together on a sewing machine. We remove the basting threads and be sure to iron the seam, bending it to the top of the waistband;
- Then you need to carefully connect the side sections, carefully connecting the horizontal seam of the stitching of the part on both parts;
- We fold the part with the right sides inward and make connecting seams vertically at the location of the fastener. Next, turn the product inside out and iron the seams;
- Sew on a button and make a loop. The loop can be either slotted or made from a small flagellum of fabric.
Attention! The fabric does not need to be ironed for a long time. One strong pressure for a couple of seconds is enough. Thus, we glue all the dublerin to the material.
A quick way to sew a belt to a skirt
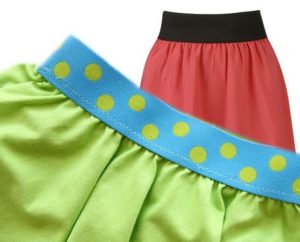
An easier way to attach a belt is with an elastic band. It can be either open or closed. For a quick product, it is better to take a soft decorative elastic band. Such a belt will be guaranteed to be beautiful and neat. Let's consider the main stages of work:
- First you need to prepare the elastic band and find out the length of the strip. To do this, it is enough to know only your waist size. However, the elastic band should be 3-5 cm shorter, because it will stretch during sewing;
- Next, we connect the side sections of the elastic band. We sew first along the wrong side, and then along the front part;
- We insert the elastic into the skirt. It is necessary that the elastic is evenly distributed along the upper section of the skirt.First, we connect the elastic at the side seam with the side cut of the skirt using a pin;
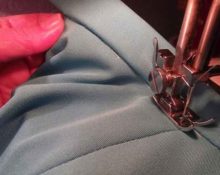
- Let's start sewing the elastic on the machine. You should sew in sections, constantly stretching the elastic and straightening the fabric.
You can also make a part with a closed elastic band. The main advantage of using a drawstring is that you can take almost any elastic band, even the wrong color. And if you leave a small hole in the drawstring, then the elastic can be tightened as necessary, thereby obtaining the desired size of the product. Follow these steps:
- We cut out a strip. Its width should be approximately 1 cm greater than the width of the elastic band. It is also necessary to include seam allowances. The length should be equal to the waist circumference;
- Fold the resulting strip in half and iron it;
- Next, we connect the side sections of the belt, leaving a small hole there. In the future we will thread an elastic band into it;
- Next, we connect the skirt and belt right sides together using pins and sew them on a machine;
- We take the elastic band and insert it into the drawstring. Next, we connect the side cuts of the cutter using a machine;
- Straighten the resulting belt. To secure the elastic more firmly, you can make securing stitches along the front side of the belt. This stitch will allow the elastic to lie evenly, without turning over or twisting;
- This way you can make several seams perpendicular to the elastic at a certain distance from each other.
Reference! Skirts with elastic bands are often made for children, because... They are stretchy and very comfortable to wear.
Basics of Sewing a Belt to a Zipper Skirt
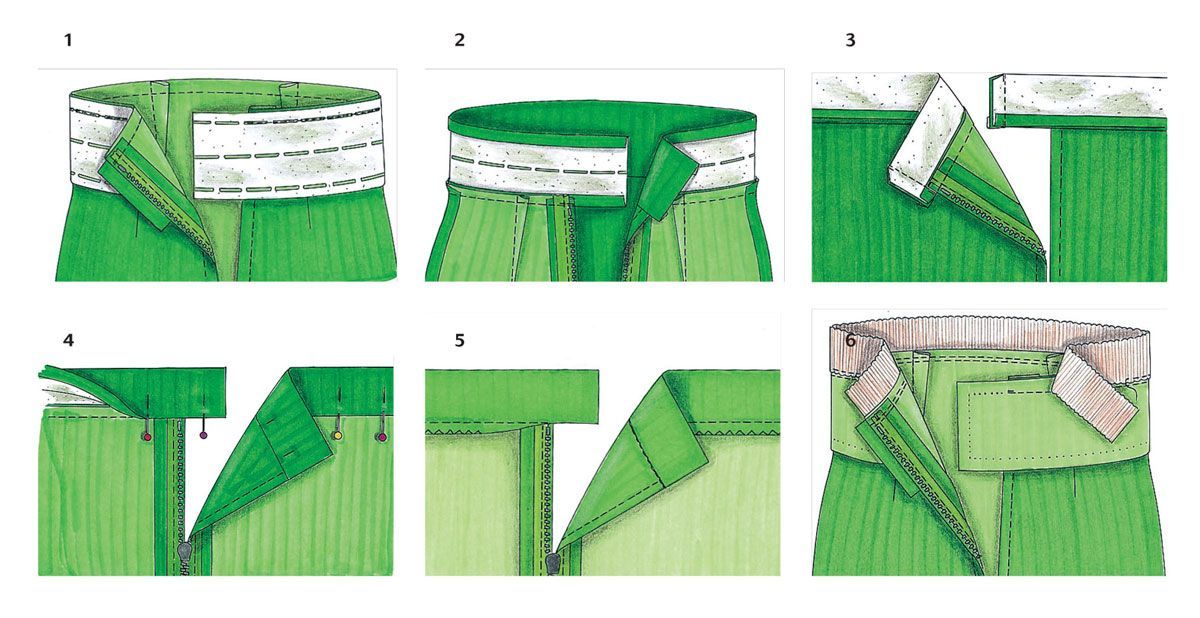
Let's look at the process of sewing a belt that will be fastened with a zipper. The difficulty is that the zipper needs to be sewn both to the belt and to the main product. Let's get started in the following sequence:
- The pattern of such a strip will differ very slightly from a belt with a button. To its length it is necessary to add allowances for sewing on a zipper of about 1.5 cm. A tail for sewing on a button is not needed in this example;
- Next, we chop and process the bottom edge of the element: duplicate and process the bottom edge with an overlocker;
- We sew the strip according to the pattern discussed above and proceed to sewing in the zipper;
- To do this, distribute the zipper along the belt and skirt. We pin it first with pins, and then we baste it and stitch it on a machine;
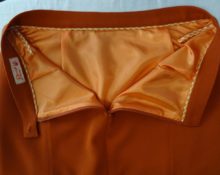
- Next, we fold the part of the fabric with the zipper and sew the edge on the machine as close as possible to the zipper;
- To ensure that the corner where the zipper closes is even, the excess fabric from the allowance must be cut off;
- Then the strip is turned inside out and a securing stitch is made along the front side of the product. To do this, you need to align the sections of the belt and pin it to the skirt;
- A stitch is made along the front side of the product, trying to get exactly into the seam of the connection between the belt and the skirt;
- At the end of the work, iron the entire product completely.
Important! For sewing on hidden zippers, there are special feet that greatly simplify this process.
Thus, among the various methods of sewing on a belt, you can find the most convenient one. Beginning craftswomen are recommended to sew products on simple belts and then, increasing the level of their professionalism, move on to more complex options.


 0
0