 Before you start sewing leather, it’s better to first sort out all the nuances, because contrary to popular belief, sewing from leather is not difficult, even for a beginner.
Leather is a very beautiful natural material that always looks perfect and does not lose its original appearance when worn.
Advice! It is better to sew leather products from proven patterns. Otherwise, if changes need to be made, the appearance of the skin will already be damaged.
What style of skirt is easier to sew from leather with your own hands?
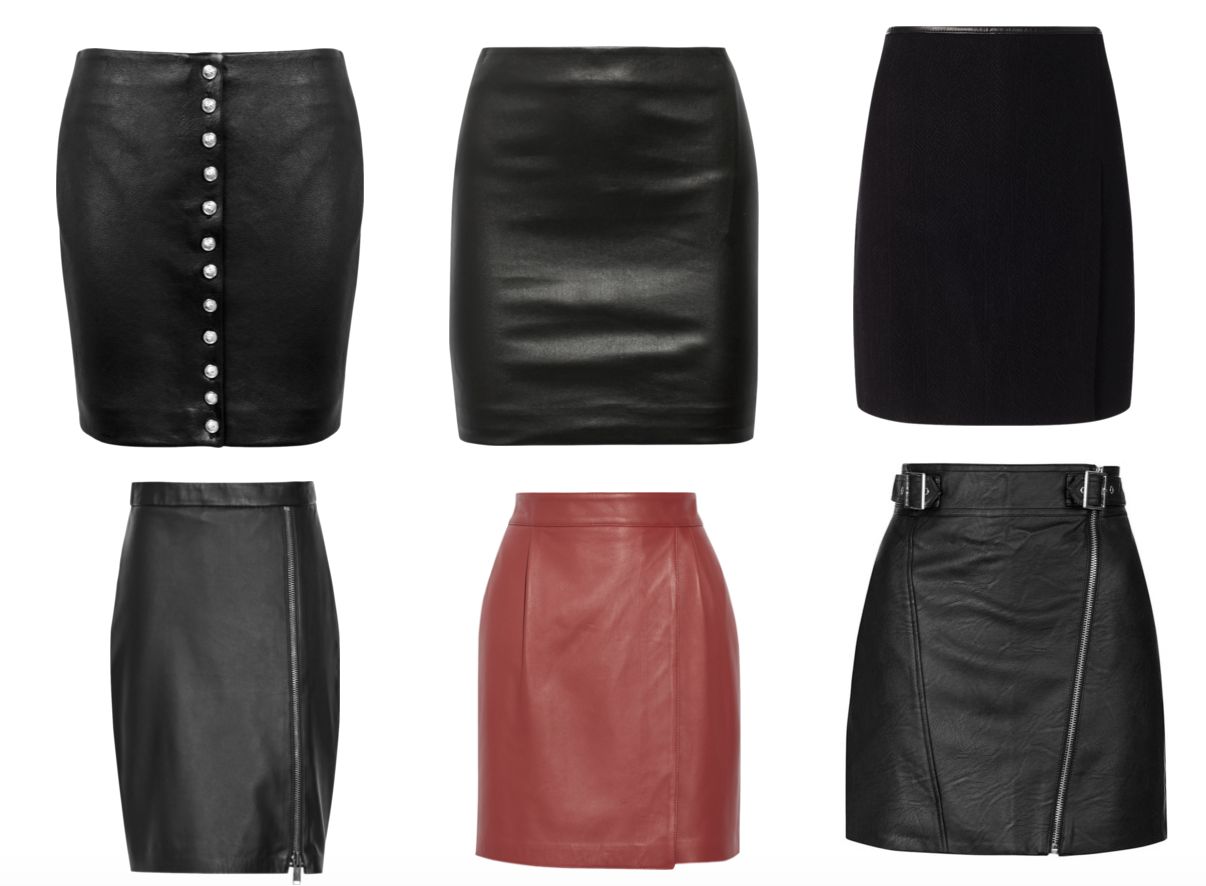
There are a great variety of skirt styles, it all depends on the level of skill. The easiest option for those who are starting to sew is a faux leather skirt made of 8 wedges.
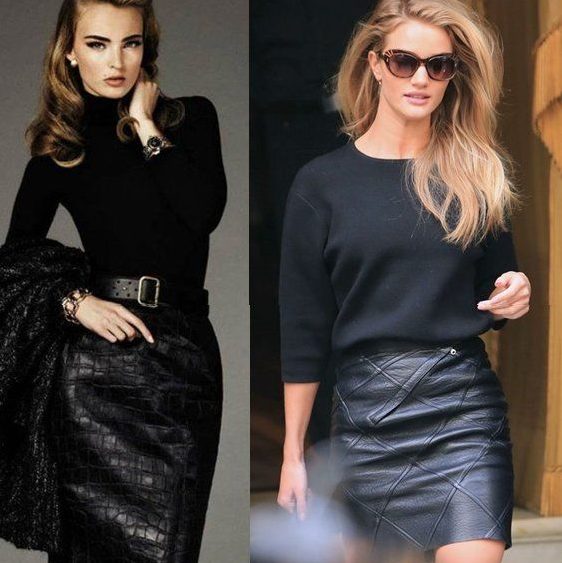 Also, of course, a miniskirt is quite simple to sew (you will find the step-by-step construction of 2 patterns below). Let's take a closer look at how to sew a leather skirt?
The amount of material required for sewing a leather skirt
Required:
- footage 1.6 m, width 140 cm;
- lining – 1.6 m with a width of 145 cm;
- zipper 20 cm long;
- gasket for the future belt.
Allowances are 1.5 cm, the belt is 8 cm wide and OT + 6 cm long.
Important! Faux leather is not inferior in quality to natural leather, the costs will be lower, and sewing will be easier if this is your first independent skirt.
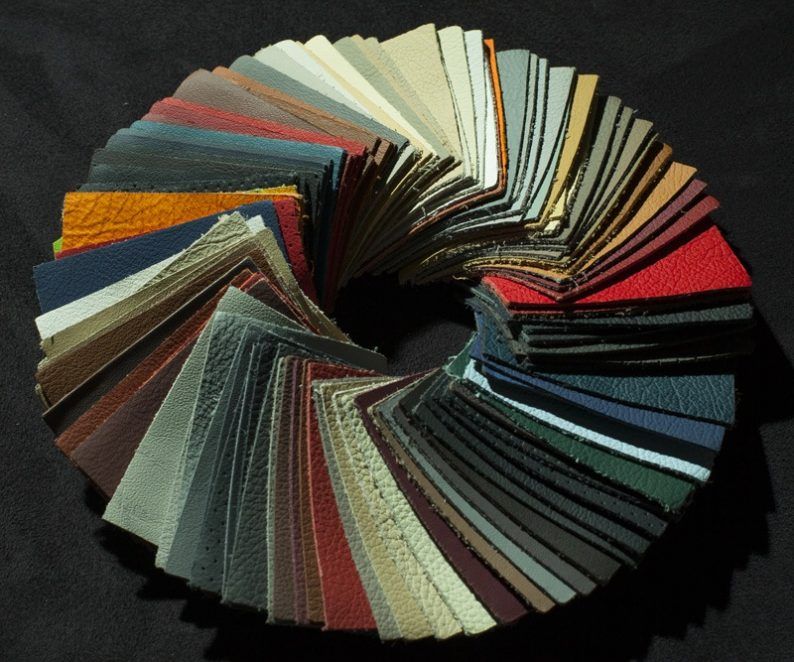 Tools and materials needed for sewing:
- required amount of leather material;
- lining fabric;
- scissors;
- sewing machine;
- accessories, decor;
- leather glue.
Simple pattern for a leather skirt

This pattern is basic, the difficulty level is suitable for a beginner.
From the edge of the paper we retreat 4 cm and draw an angle of 90 degrees with the vertex K. From it we retreat downwards by the length of the future skirt and mark the next point D, from which we draw a horizontal line to the right. From point K we measure 18 cm down and place point B. Then from it we draw a horizontal line to the right. Now let's decide on the width. To do this, from point B, mark 1⁄2 of the hip circumference to the right, plus you should not forget to add a few centimeters for a loose fit.
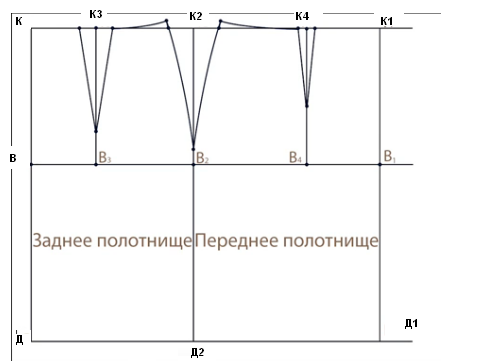 We mark point B1, then draw a vertical line through it and mark points K1 and D1 at the intersections. Along the hip line we retreat from point B (1⁄2 hip circumference minus 1 cm), here we mark B2. A perpendicular is drawn through it and points K2 and D2 are placed.
We calculate the sum of all our darts.
In order to calculate the sum of all our darts, you need to subtract 1⁄2 of the hip circumference from 1⁄2 of the waist circumference
(POB - POT = 44-31 = 13 cm).
 To calculate the side dart you need the total sum of all darts (13 cm) divided by 2, you get 6.5, for the back dart 13 cm divide by 3 (4.3 cm) and for the front dart 13 cm divide by 6 (2.2 cm). Let's calculate the position of the back dart BB3 = 4*BB2=8.4. The distance between B1 and B2 must be multiplied by 0.4 and mark point B3. Let's draw a perpendicular from this point and put K3 at the intersection.Next, we calculate the position of the upper dart, multiply the distance between B1 and B2 by 0.4 (B1B4=0.4*B1B2) 0.4*23=9.2. We retreat to the left from point B1 and place point B4.
Further from the given point K2 to the left and to the right we mark 1⁄2 of our side dart (13 cm each). From B2 we move up 1.5 cm and connect these points.
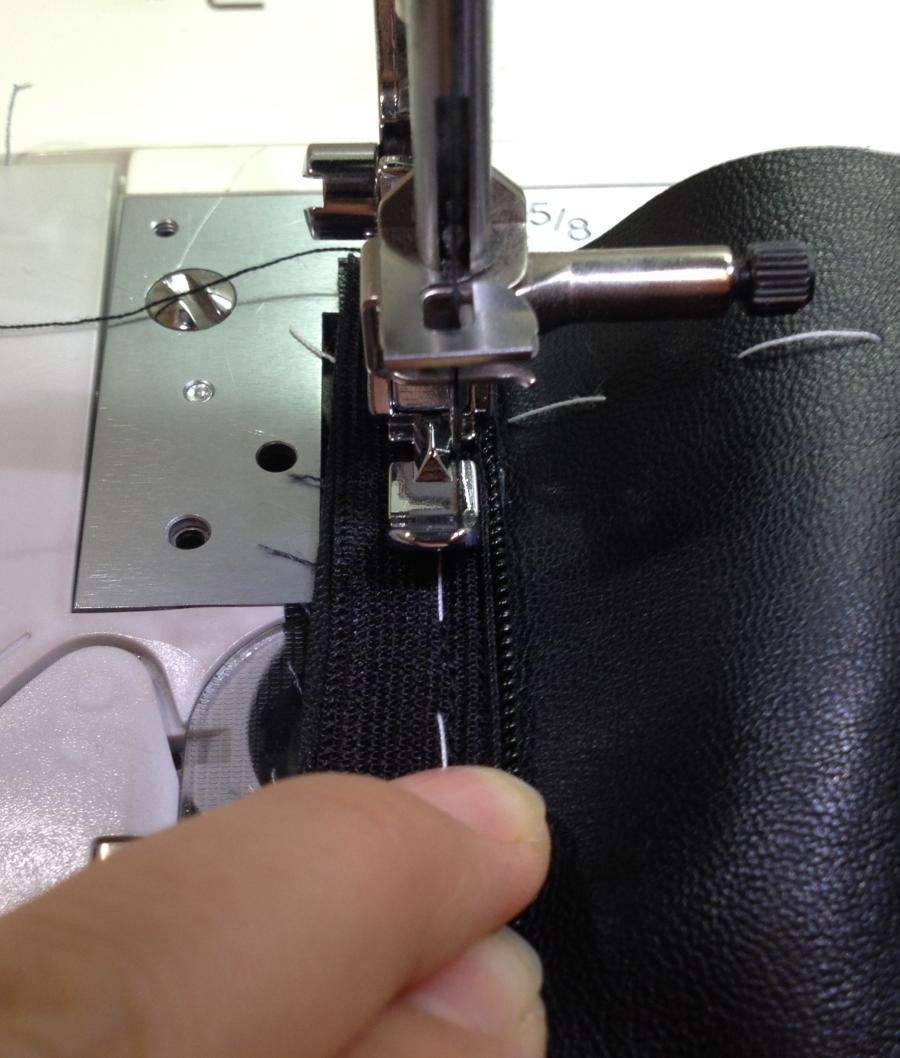
Sew in a zipper
Now the back dart: from K3 to the left and to the right we set aside 1⁄2 of the back dart solution. From point B3 we retreat 3-5 cm upward, mark the point, connect. Further from K4 to the left and right we set aside 1⁄2 of the front dart solution and from point B4 we retreat upward by 7-8 cm and connect. To lengthen the side cut, continue the lines of the side dart. If the sum of all darts is more than 14 cm, add 1.5 cm, and if less than 14 cm, then 1 cm. Now we smoothly shape the cuts and the basic pattern is ready.
Leather skirt model made of 8 wedges
Let's look at a leather skirt, which doesn't require a pattern; 4 measurements will be enough. This skirt consists of 8 wedges, so a drawing of the wedge will suffice.
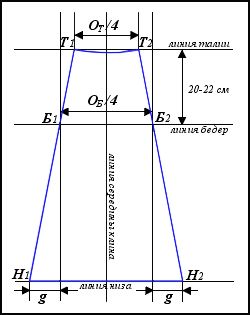 For example, let's take size 46, skirt length 75 cm.
- OT (waist circumference) is 72 cm, you need to add 2 cm to it. The leather skirt model contains 8 wedges, so the number 74 must be divided by 8. Result: 9.25 cm.
- OB (hip circumference) is 98 cm, to this value you need to add 4 cm. Here we also divide the total number 102 into 8 wedges.
Total: 12.75.
Important! The increase in OB can be increased at your discretion.
- At the next stage, you need to mark a vertical line, which is equal to 75 cm. From mark A we lay off a segment AB equal to 20 cm.
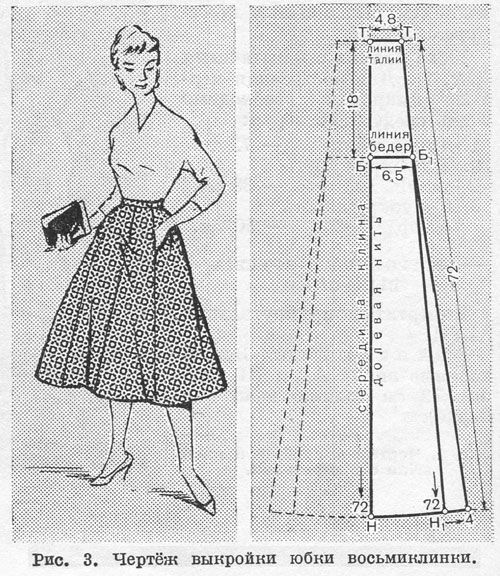 From A and B on both sides, 1⁄2 of the following parameters are laid down: A1 A2 - 9.25 cm and B1 B2 - 12.75 cm. We connect A1B1 and A2B2 with segments, extend them to the bottom and get marks C1 and C2.
From a given point A, 0.3 cm is laid down - this is point A3 and a smooth line of the future waist is drawn. The bottom line D1 D2 is drawn as a smooth line with a bend.
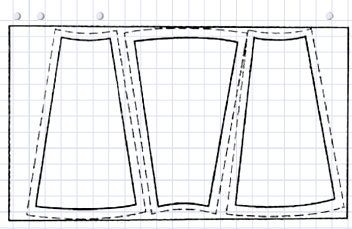 The process of sewing a skirt in stages:
- The wedges are ground together, and a zipper is sewn into the back seam.
- Next, you need to adjust the allowances at the bottom and attach them using special glue for such material.
- The lining parts are stitched down, while the zipper seam remains open.
- The lining is folded right sides together with the skirt.
- The allowances on the lining are adjusted and hemmed, preferably by hand.
- The belt is sewn into the seam at the waist, and a hook can also be sewn to the belt.
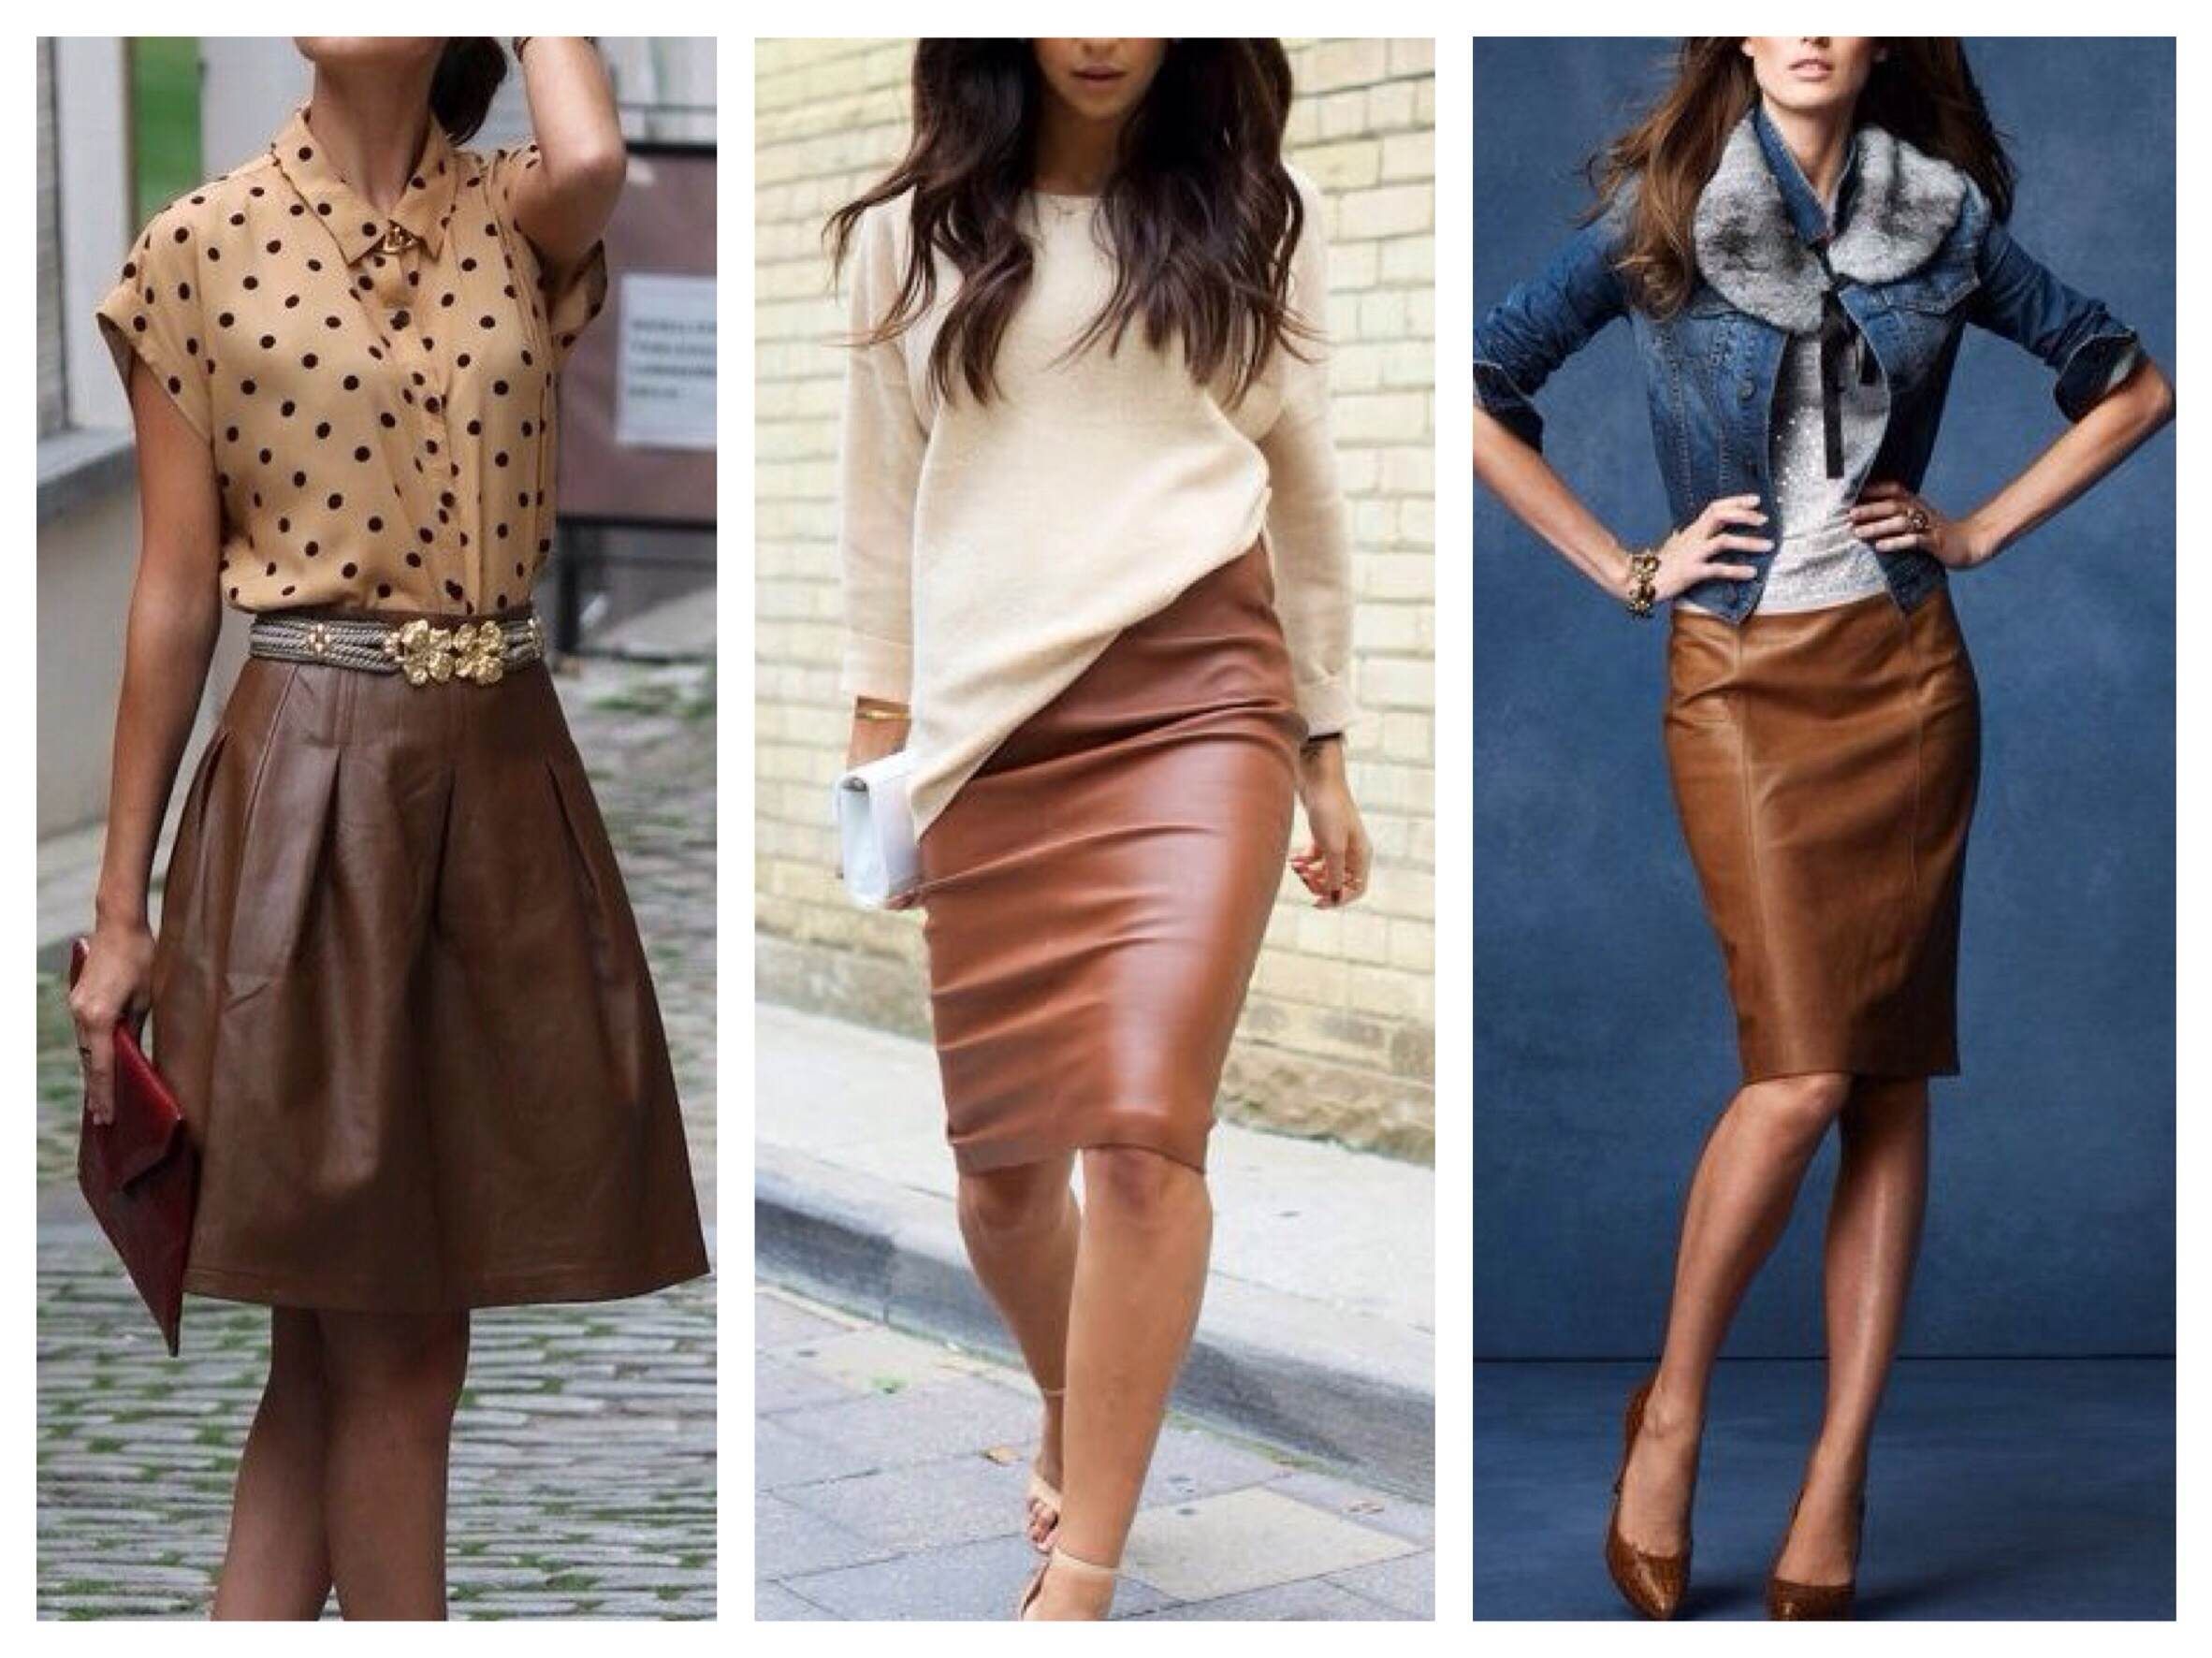
 A skirt is a bright, beautiful, memorable thing; it can complement absolutely any outfit. It’s still worth starting with simple models, when it starts to work out and the fear of ruining such an unusual fabric passes, then you can take on more complex options.


 0
0