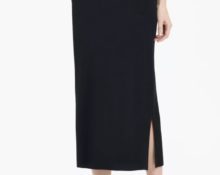
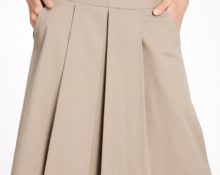
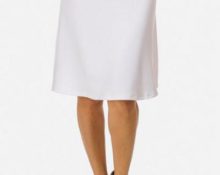
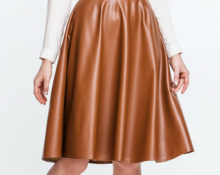
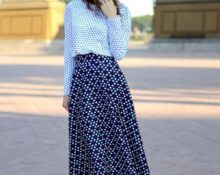
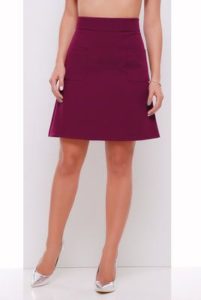
 The A-line skirt is one of the most popular and sought-after models for women. With this style you can create many different and spectacular looks. These products are very simple in constructing patterns and sewing, so you can make them with your own hands even without the proper experience.
Constructing a pattern
An A-line skirt is a versatile wardrobe item. This model fits snugly at the waist and flares out at the bottom.
What measurements are needed
To draw a drawing, take a measuring tape and measure semi-circumference of hips and waist, and desired length products. It is also necessary to determine the allowances for freedom of movement. It is recommended to take from 0.5 to 1 cm for the waist, and from 1 to 2 cm for the hips. These figures are based on the desired fit of the product to the body, and also depend on the style of the skirt and the texture of the material.
IMPORTANT! If the material stretches well and you plan to sew a product that fits along the waistline, then it is better to take minimal increases, about 0.5 cm.
Pattern base
For work, you can take a ready-made pattern for the base of the skirt.
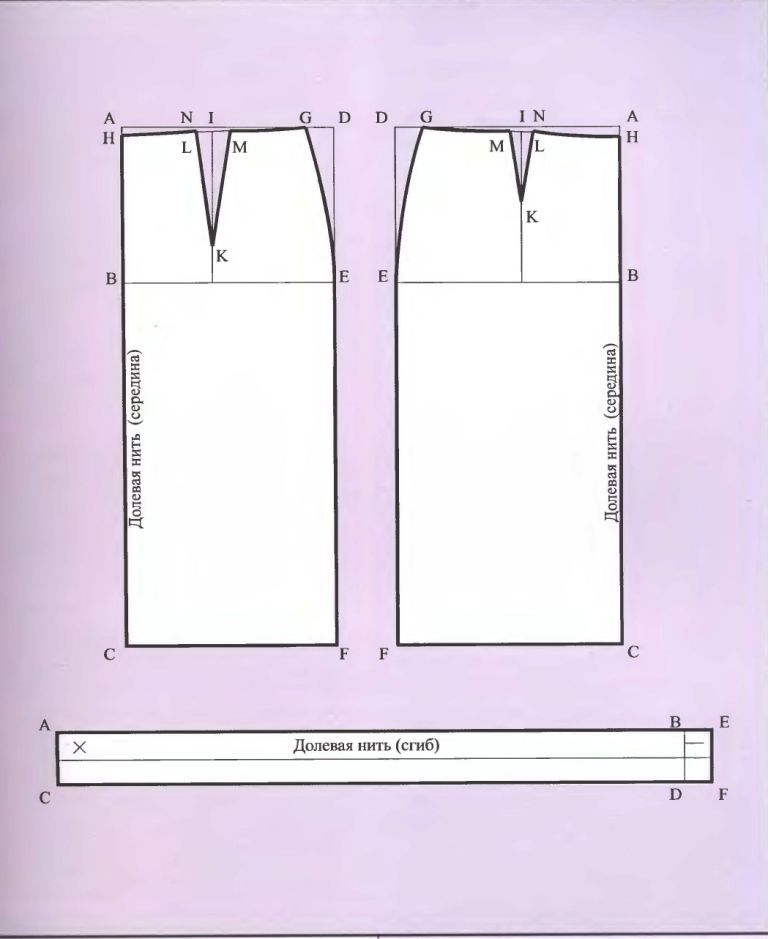
You can also create a basic pattern yourself.
The drawing is based on the pattern of a regular skirt with two seams. You need to take a large sheet of paper or a roll of unnecessary wallpaper, a pencil, a ruler and perform the following sequence of actions.
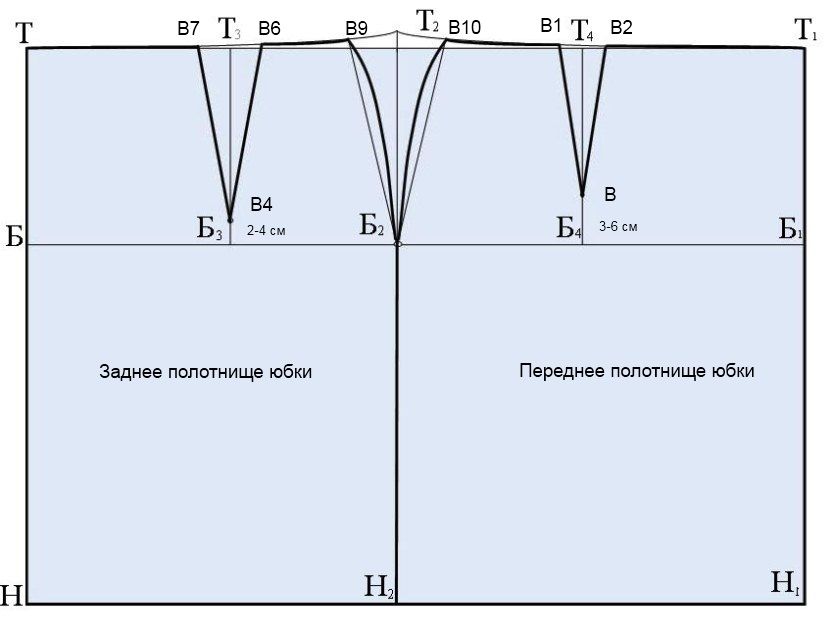
- First, let's draw a 90-degree angle, the top of which will be designated by the letter “T”. The long segment to the right will be the waist line. From the T mark we set aside the desired length of the skirt.
- Further it is necessary to mark the line of the hips. Using a ruler, measure from the letter T down 20 cm and put the letter “B”. We draw a horizontal line from it.
- Then we find point “B1”. It is equal to the half-waist circumference with the addition of an increase for freedom of fit. From this letter we draw a vertical line, getting the marks “T1” and “H1”.
- We fix where the side seam will be. To do this, divide the width of the product in half and subtract 1 cm. The resulting figure should be set aside from point B to the right. Let's designate it as B2 and draw a vertical line through it until it intersects with the waist and bottom segments.
- Further it is necessary to determine the total solution of darts. It is equal to the difference between the half-circumference of the hips and the waist with increases.
- We calculate the position of the back dart by multiplying the length of segment BB2 by a factor of 0.4. The back fold solution is determined by multiplying the resulting number by a factor of 0.35.
- We find the position of the dart of the front part of the product by multiplying the length of the segment B1B2 by a factor of 0.4. The back dart opening is determined by multiplying the resulting number by a factor of 0.15.
- We distribute the remaining amount of the dart solution to the side seams.
ATTENTION! The number and volume of darts depends on the type of figure.
It is recommended to first use the formulas, and then make a mock-up and adjust the darts after fitting.
A-line skirt pattern modeling
The construction of a trapezoidal shape comes down to expanding the drawing of a straight skirt. This can be done by setting aside 3 to 7 cm from the side cut along the bottom line on each side.
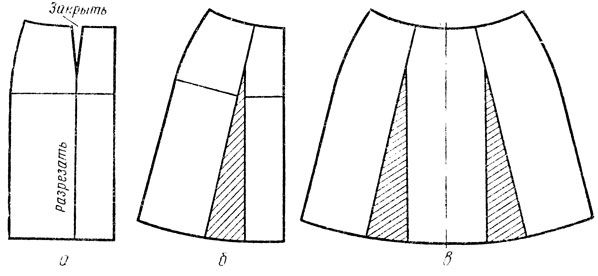
For a more beautiful fit of the product, you need to close the darts at the waist. First, cut the pattern from the darts to the bottom and close the darts. The expansion at the bottom should be uniform, while the wider dart at the back may not close completely. That's why there may be two small darts left at the back. The bottom of both elements should be almost the same.
How to sew an A-line skirt
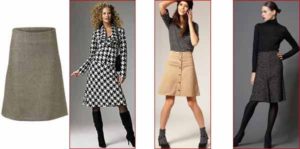
When the pattern is drawn, you need to prepare the fabric, chalk, pattern and scissors.
Uncover
Let's consider the preparatory process step by step.
- After the fabric is ironed, it is folded in half with right sides right and the pattern is laid on it. Wherein the middle of the front should be adjacent to the fold of the material. If possible, it is better to cut out the entire back part of the skirt. In this case, the fastener can be placed in the side seam.
- We outline the resulting drawings with a piece of chalk and add a couple of centimeters for processing. It is advisable to leave 2–4 cm for hemming the bottom, and up to 1 cm for processing the top.
- We cut out the belt depending on the product model. It must also be drawn out in advance. Usually its width is determined by the preferences of the master, and the length is equal to the waist circumference plus 4–5 cm for fastening and seam processing. You can also use decorative elastic as a belt.
Completing of the work
Next, you can start sewing the product. Follow a certain sequence of actions.
Step-by-step instructions for sewing an A-line skirt for beginners.
- First you should sew darts on the skirt. They are ironed towards the middle.
- Further connect the front and back parts of the pattern to each other and sew the parts along the side seams. They need to be ironed onto the back.
- Then you can start processing the belt. It must be glued with a duplicating fabric and, having been joined in half, ironed thoroughly. This will make it more accurate.
- The belt is connected to the skirt along the waist using pins. There should be a free end for the fastener.
- The belt is sewn on by machine, and the allowance is folded up and ironed.
- Next, fold half of the belt onto the front of the skirt and sew its ends together.
- The belt folded in half is secured with pins and stitched on the front side of the product. at a distance of 1 mm from it.
- Bottom treatment can be done using adhesive fabric or make a regular hem and sew on a machine.
The long and short models differ not in the sewing process, but only in the length of the side seam, which is many times longer. Therefore, it takes a little more time to sew the product.
How to sew an A-line skirt with elastic
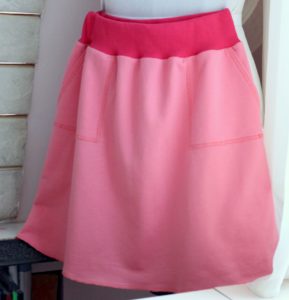
One of the simplest and most accessible styles for sewing are things with elastic bands. You can find spectacular decorative rubber bands on sale. They are soft and easy to sew on. To sew a trapezoid with elastic, follow these simple steps:
- The length of the elastic is determined only by the waist circumference. The elastic band should be a couple of cm shorter, because during sewing it stretches.
- We connect the sides, stitching first along the wrong side, and then securing the seam along the face.
- We thread the elastic around the circumference of the skirt so that it is distributed as evenly as possible. We connect the elements vertically using pins.
- Next we sew the seam on the machine.You should sew in separate sections, adjusting the tension of the elastic and straightening the fabric from below.
Useful tips
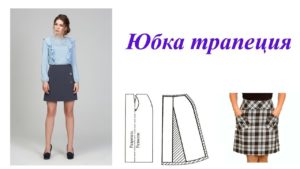
Let's list some nuances that are worth paying attention to.
- When constructing a pattern, more experienced designers and seamstresses can draw only the upper part of the pattern on paper, and then continue to draw the drawing on the fabric using a piece of soap or chalk. This is especially convenient for long products.
ADVICE! Beginning craftsmen should not skimp on tracing paper or paper and make a complete drawing even for long and wide styles.
- A trapezoidal skirt can be sewn even without a belt. To do this, it is necessary to process the top of the product with a facing. From the waistline down, you need to set aside up to 4 cm, cut the resulting part and connect the darts. Next, transfer the pattern to the material and make seam allowances.
With the help of A-line skirts, you can create many looks in both business style and evening fashion. This style suits absolutely all girls. And you can sew a fashionable new thing quite quickly, following the advice of experienced craftsmen.


 0
0