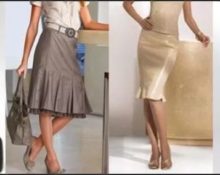
 There are many beautiful and fashionable types of clothing for beautiful ladies. All of them allow you to create a unique and expressive image. Stylists and fashion designers are working to come up with something new and add variety to the women's wardrobe. Fashion does not stand still, and people's tastes change along with it.
In our article we will talk about one of the many elements of women's clothing. Let's talk about skirts. Various styles, bright colors and a large selection of styles allow you to choose the right model for a girl of any age.
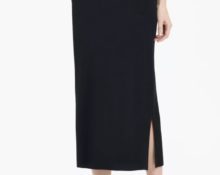
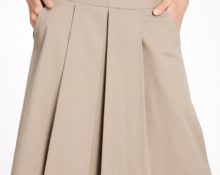
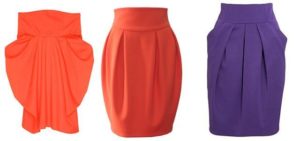
One such look is a skirt that resembles the shape of a tulip flower. The narrowed upper and lower parts, the widened base give grace and sophistication to a woman’s appearance.
You can buy such a thing in stores, but we suggest learning how to make it yourself. The process will not take you much effort and you will be pleased with the result. We'll tell you how to sew a fashionable skirt with your own hands.
Constructing a pattern
To create any item, the first step is to create a pattern for the future product.
IMPORTANT! For the tulip skirt, we will take the straight skirt pattern as a basis. It will be the frame for our product.
Required measurements
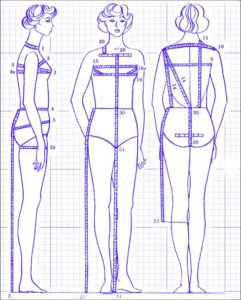
To correctly construct a drawing, it is necessary to take measurements. For a skirt, it is important to know three main parameters.
- Waist circumference measured with a measuring tape at protruding points at waist level.
- Hip circumference.
- Length of the desired skirt.
If you additionally want to make a tapered hem, you need to know leg circumference at the bottom edge future skirt. The parameter is necessary to insert an elastic band that provides proper comfort of movement.
IMPORTANT! Take all measurements carefully; to allow extra 1-2 cm for fabric hems.
If you have unwanted old skirts, you can copy the pattern from them. To do this, unravel the fabric at the seams and trace the resulting details on graph paper. To quickly find out your measurements, you can look at the tag on the pants or skirt you are currently wearing.
How to make a pattern
After you have taken all the basic measurements and decided on the image of the future model, you can begin to create a pattern. As mentioned above, we will take as a basis the pattern of a straight skirt of a classic style.
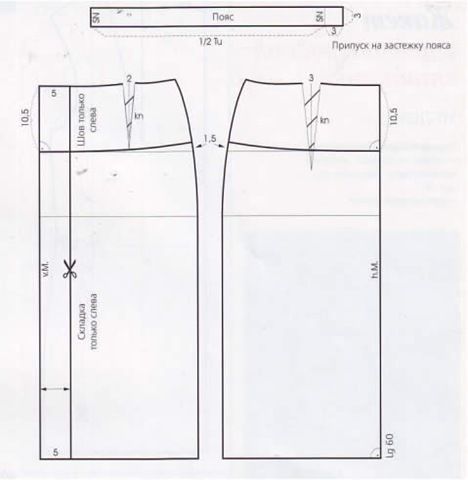
For convenience, we offer step-by-step manufacturing instructions.
- Transfer the image using your dimensions onto special paper.
- Adjust the drawing to create a tulip skirt. To make it look more like a tulip, you can slightly narrow the side edges of the workpiece.
- You can adjust the waist height according to your wishes; to do this, increase or decrease the corresponding sides.
- Draw lines from the top of the product to the bottom along the front and back parts, evenly dividing the parts. These will serve as incision sites.
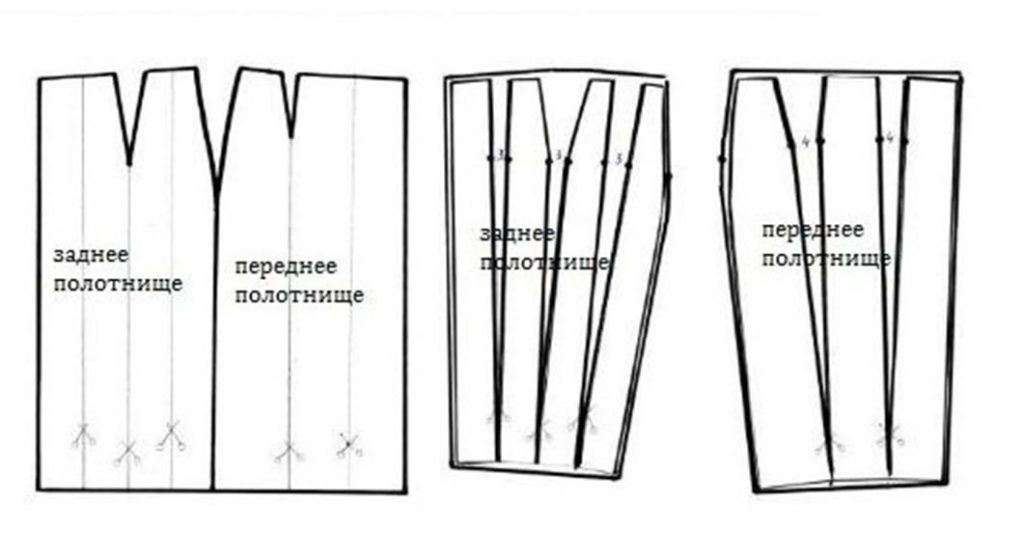
This is the easiest way to construct and sew for beginning needlewomen. Anyone can handle it, even those without special skills. There are many other options, but they are only suitable for experienced seamstresses.
Sew a tulip skirt
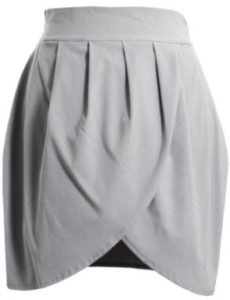
The pattern is completed, which means it’s time to begin the main and most difficult stage of the work. Let's start sewing using our blanks. All actions are carried out in stages, there is no need to rush. It is worth sewing the details very carefully and carefully so that the skirt does not warp or become too short or narrow due to large seam allowances.
Decide in advance on some points that will largely determine the course of your further production.
Materials and tools for work
To carry out all the work you will need the following kit.
- The fabric is the right size depending on the height, girth and length of the skirt.
- Threads to match the color of the main material, needles.
- Scissors or a stationery knife.
- Sewing machine.
- Elastic bands for narrowing the bottom and top of the skirt.
- Zipper for fastening.
- Pins for securing folds.
- A bar of soap with a pointed end or chalk for markings.
- Iron.
Additional materials may also be required for decoration and decoration. Choose your own decorating method. You can use bows, rhinestones, multi-colored inserts.
Operating procedure
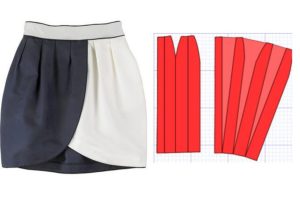
After all the preparatory stages, we proceed directly to the manufacturing process. We present to you a step-by-step plan, based on which you can replenish your wardrobe with a new beautiful thing.
- Prepare the fabric for work by ironing it on both sides.
- Transfer the drawing to the material, adding 1 cm to the waist, 2 cm to the sides and 3 cm to the bottom.
- After this, cut out the component parts.
- Sew the parts together along the side seams.
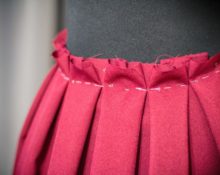
- Make the required number of folds according to the diagram. To do this, secure them with pins, and then sew a stitch on a machine.
- Sew the zipper in the back or along the side line.
- Gently hem the bottom and insert elastic into it if desired.
- Make the belt the desired width.
IMPORTANT: At each stage, iron the seams and try on the product yourself so that the final item meets your expectations.
If everything went well, you can wear your new skirt with pride. Decorate it to your liking and make a unique design.


 0
0