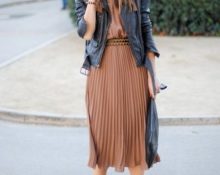
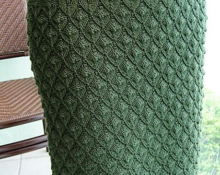
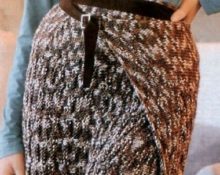
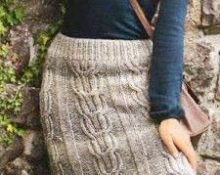
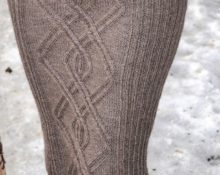
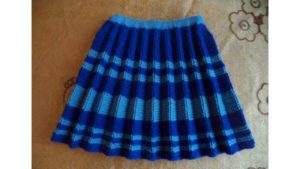
 Among the many different designs of knitted skirts, the version with pleats especially stands out. Unlike the sewing method in knitting, this part has a couple of pleating variations. One is traditional, and the second is visual, which is achieved by combining different designs.
A knitted skirt will not only decorate a young fashionista, but will also serve as a wonderful addition to the strict wardrobe of a business woman.
It is noteworthy that the workflow for creating this item is not particularly complicated, and even a novice craftswoman can cope with it.
What you need for work
Before you start knitting this garment, you need to complete a few preliminary steps.
- Take measurements.
- Decide on the model.
- Purchase the necessary tools and materials.
Taking measurements
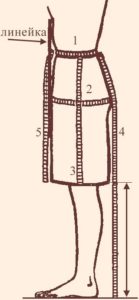
To create a pattern and calculate the required amount of yarn, the following parameters are needed:
- waist circumference;
- hip volume;
- length of the product.
Pattern
After the necessary measurements, you should create a pattern for the future product.There are several basic design options, which depend on how the pleating effect is achieved.
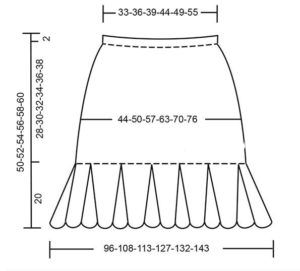
For the visual version, the basic pattern of the product is used.
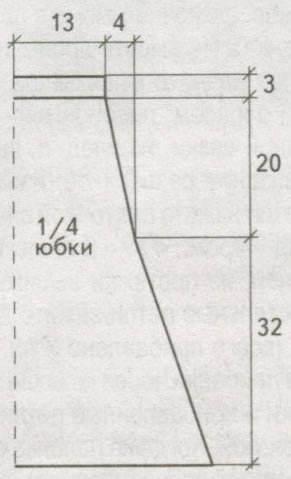
Wedge-shaped folds are made according to the following drawing.
For traditional pleating, use this pattern.
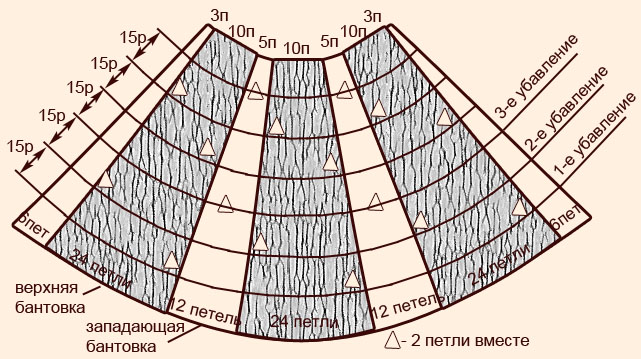
Attention! When creating a pattern, do not forget to increase on both sides for a loose fit.
Yarn selection and calculation
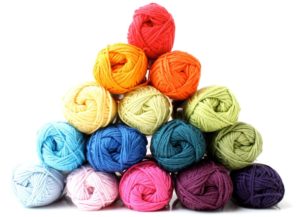
Next, you need to decide on the necessary material. His choice will depend on the following factors.
- Seasonality of things. Cotton, linen, viscose and silk are used for summer, and alpaca, angora, wool and mohair for winter.
- Number of planned folds. The more of them there are, the more plastic the canvas should be. Therefore, the thickness of the thread used must be appropriate.
- Colors. It is better to give preference to solid colors, since a too variegated option can “clog” the structure of knitting.
Reference! If you want to make something that can be worn no matter the weather, use acrylic yarn.
- You can accurately calculate the required amount of material only by knitting a sample pattern and making the necessary calculations. You can also buy an approximate quantity, focusing on its average consumption.
Choosing knitting needles
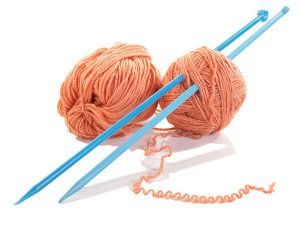
Choosing the right tool is a very important step in the workflow. This is often an individual indicator. This is especially true for the material from which the knitting needles are made. Today, for work, you can choose knitting needles, in the manufacture of which the following material was used:
- metal;
- plastic;
- bamboo.
The number of knitting needles depends on the thickness of the selected yarn. To select, simply fold the thread into two layers and compare it with the thickness of the tool.
Knitting a skirt with pleats
As mentioned above, creating a pleated skirt for women entirely depends on the chosen method of forming this element. For a visual effect, it is enough to make the product according to a regular pattern, while using the pattern to form divergent visual folds.
How to knit a women's skirt with pleats
To knit a model with wedge-shaped inserts, it is enough to use pattern No. 2, making changes to its dimensions.
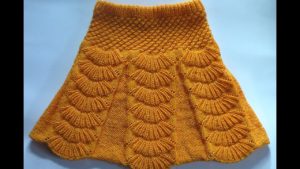
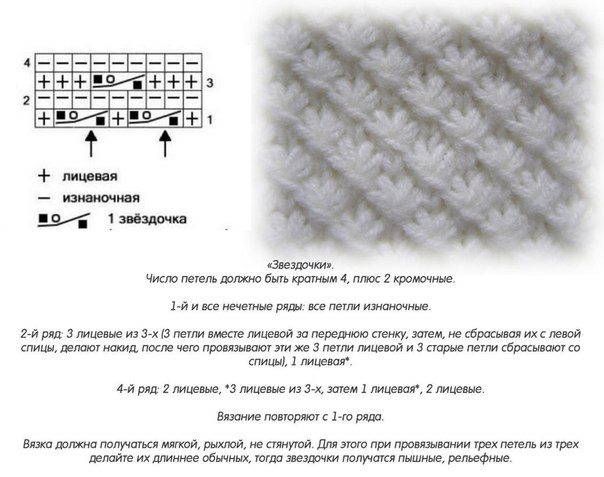
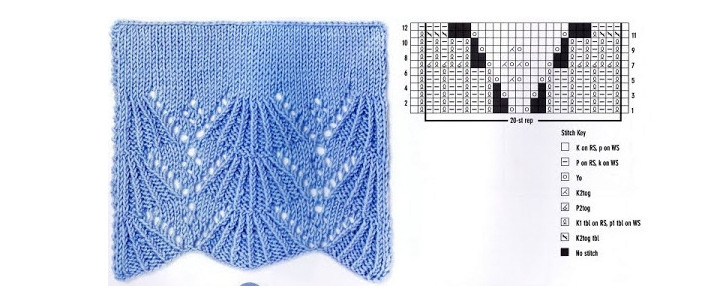
For this embodiment, the skirt fabric is worked in a circle from top to bottom. In this case, the upper part is knitted with a pattern according to the “Stars” pattern. Then wedge-shaped inserts are knitted evenly. They are made with a purl stitch in a fabric made according to the “Peacock Tail” pattern.
"Star" scheme
Pattern "Peacock tail"
Knitting a pleated skirt for a girl
The children's model will turn out to be interesting and of high quality if knitted according to the following option, which is made using the basic pattern No. 3.
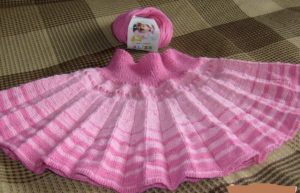
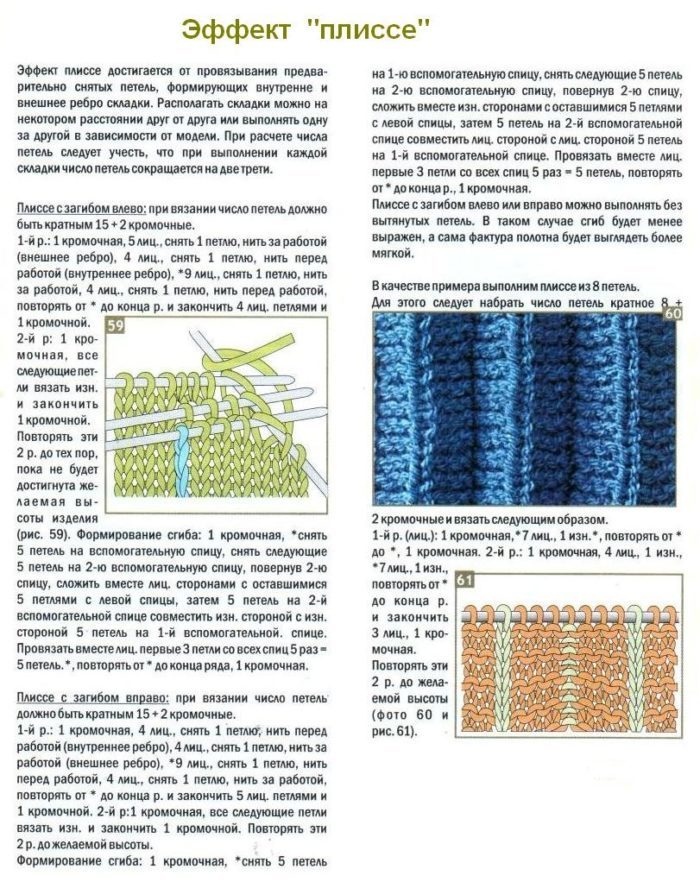
To form folds, the pleated knitting effect is used, which is described below. In this case, the fabric should smoothly expand as shown in the pattern.
Useful tips
In conclusion, we present several recommendations for making and caring for knitted items.
- Be sure to make a pattern and perform a knitting pattern before knitting. Attaching the part to be completed to the pattern will help avoid bandaging if an error has crept into the calculations.
- After manufacturing, perform a WTO of the product. Moreover, dry it by spreading it on a horizontal, flat surface.
- If you have thin yarn available, you can get greater thickness by folding it several times. Please note that with this action the yarn meter remains unchanged.
Good luck with your work and smooth stitches!


 0
0