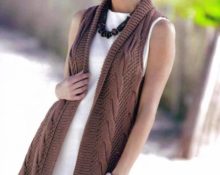
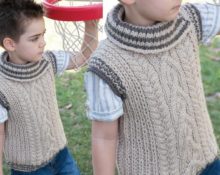
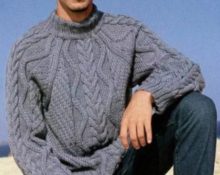
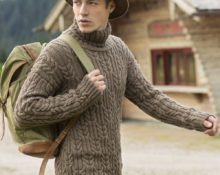
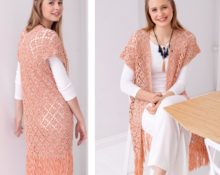
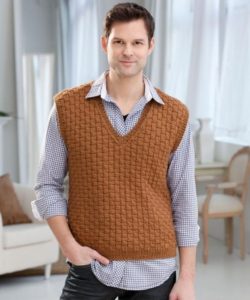
 Despite the fact that men are considered the stronger sex, they need female warmth and care. A loving woman, be it a mother or a wife, must not only prepare food and give medicine during illness, but also take care of his wardrobe. And especially for the availability of items needed at different times of the year. One of these items is a knitted vest. This is exactly what we will talk about.
Men's knitted vests are used at any age. We will tell you how to knit a beautiful and practical vest for men with your own hands, using diagrams and photos.
Product options
This is probably the easiest garment to knit. It consists of only two parts:
- before;
- back.
The male variety has strict contours. Knitted versions mainly use simple weaves. These clothes can be paired with trousers, sweatpants, jeans and shorts. The main advantage is that the vest perfectly replaces a sweater, leaving greater freedom of movement, but warming up just as well as it does.
This thing can be performed in several variations:
- whole;
- buttoned;
- with a zipper;
- with a hood.
What do you need for work?

One of the main elements in knitting is the preparatory stage. It includes:
- model selection;
- taking measurements;
- pattern making;
- acquisition of materials and tools.
The model is selected based on the personal preferences of the future owner.
To create a pattern, you will need to measure the circumference of the waist, hips and shoulders, and also measure the length of the product. Based on the resulting dimensions, a pattern is constructed.
Advice! Instead of a pattern, you can use a finished item: a sweater or vest.
The choice of yarn depends on the seasonality of the future product. For the cold season, choose mohair, wool, alpaca, angora. And for warm ones it is better to use linen and cotton. If you want to get a universal model, purchase acrylic yarn.
The knitting needles are selected according to the thickness of the thread. The volume of the knitting needle and the thread folded in half should be the same.
Classic men's vest
The classic knitted variation of this item is universal, most often it is worn under formal trousers. It is distinguished by its simple lines and unpretentious pattern. Often this item is made in a single color. Let's look at this option in detail using an example.
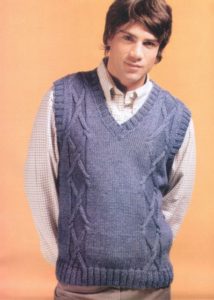
To create this size 48 model you will need:
- wool yarn (300 m/100 g) - 450 g;
- knitting needles No. 4 and 4.5.
Take measurements and create a pattern based on them. You can also use the basic pattern.
Basic pattern
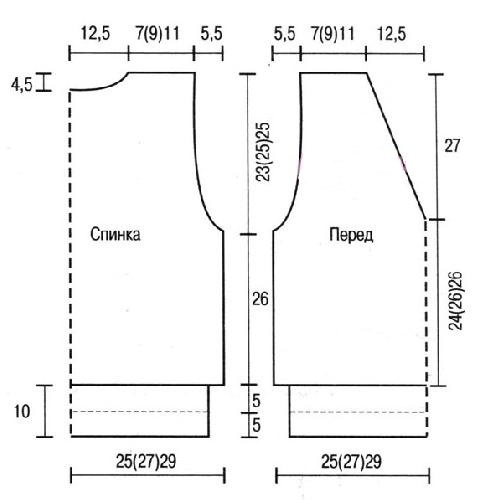
Attention! When building parts, add 1.5 cm on each side for seams and loose fitting.
Next, knit a diamond pattern and stockinette stitch for the sample. Use it to perform knitting calculations.
Diamond pattern
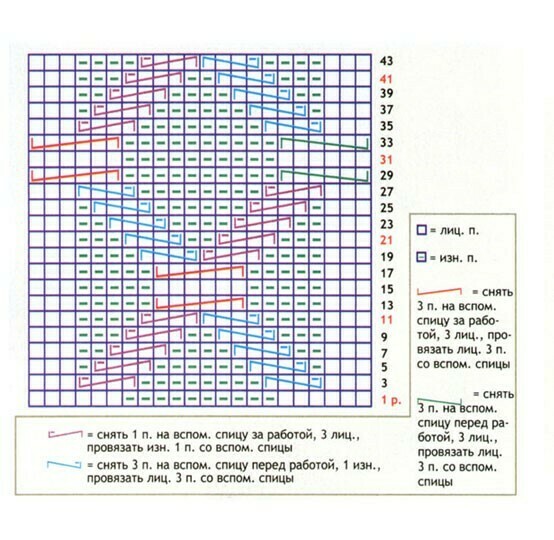
In the example given, the knitting density is 10x10 cm = 26 r. x 20 p.
Back
To knit this part, use the description below.
- Cast on 102 sts on size 4 needles.
- Knit with an elastic band 2x2 6 cm.
- Switch to knitting needles size 4.5.
- Next, the canvas is completed in accordance with the diagrams. Knitting order: knit 14 stitches. satin stitch, 22 sts according to the diamond pattern, 30 sts. satin stitch, 22 sts according to the diamond pattern, 14 sts. iron.
- Carry out 39 cm of fabric in a similar manner.
- When forming shoulder openings, close 1 p. 4 p.
- Next, perform decreases sequentially: 1 p. x 3 p., 1 r. x 2 p., 3 r. x 1 p.
- Finish the part 67 cm from the start of work. Mark the middle 28 points. This will be the neckline.
WTO the parts and, having given shape, lay them out to dry on a flat horizontal surface.
Before
This part is performed similarly to the rear one, but with minor differences.
- Complete 39 cm of canvas.
- Decrease to form armholes, casting off 5 stitches on each side.
- Then sequentially close 1 p. x 3 p., 1 r. x 2 p. and 2 r. x 1 p.
- Having knitted 43 cm, divide the knitting into two equal parts.
- Form the neckline by decreasing: in every second row 6 r. x 1 p., in every fourth 8 p. x 1 p.
- At a height of 67 cm, bind off the remaining 25 sts.
- Make the other side a mirror image.
- Carry out a WTO of the product.
Assembling the vest
After WTO and drying of the parts, it is necessary to assemble them. To do this, follow this order.
- Sew one shoulder seam on either side.
- Thread the edges of one side of the front and back neckline onto size 4 needles, cast on 84 stitches.
- Knit 7 r. rubber band 2x2
- Finish knitting by closing the loops according to the pattern.
- Along the second edge of the neckline, cast on knitting needles No. 4 52 sts and knit with an elastic band 2x2 7 r.
- Close the loops according to the drawing.
- Sew the second shoulder seam.
- Raise along the edge of the shoulder flange using knitting needles No. 4, 122 sts.
- Complete 7 p. rubber band 2x2.
- Close the loops according to the drawing.
- I'll arrange the second one in the same way.
- Sew side seams.
- Hide the ends of the thread.
Knitting a men's vest with a pattern
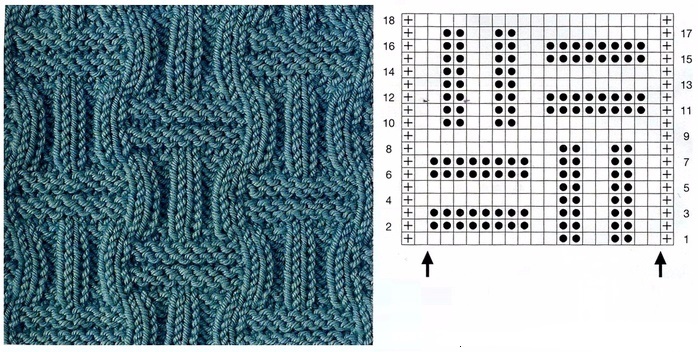
For needlewomen who have experience in making patterns of varying difficulty, you can choose more complex options. These can be openwork variations that are great for warm weather. As well as various arans, creating a dense fabric that perfectly warms in the cold season.
We'll tell you how to knit such a model for a man.
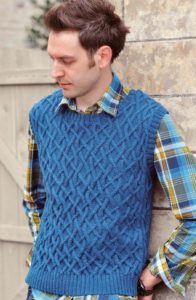
First, purchase yarn (better suited with parameters 350 m/100 g) and knitting needles. Then take your measurements and make a pattern. You can also use the basic drawing below, making adjustments to your dimensions.
Pattern

Pattern diagram
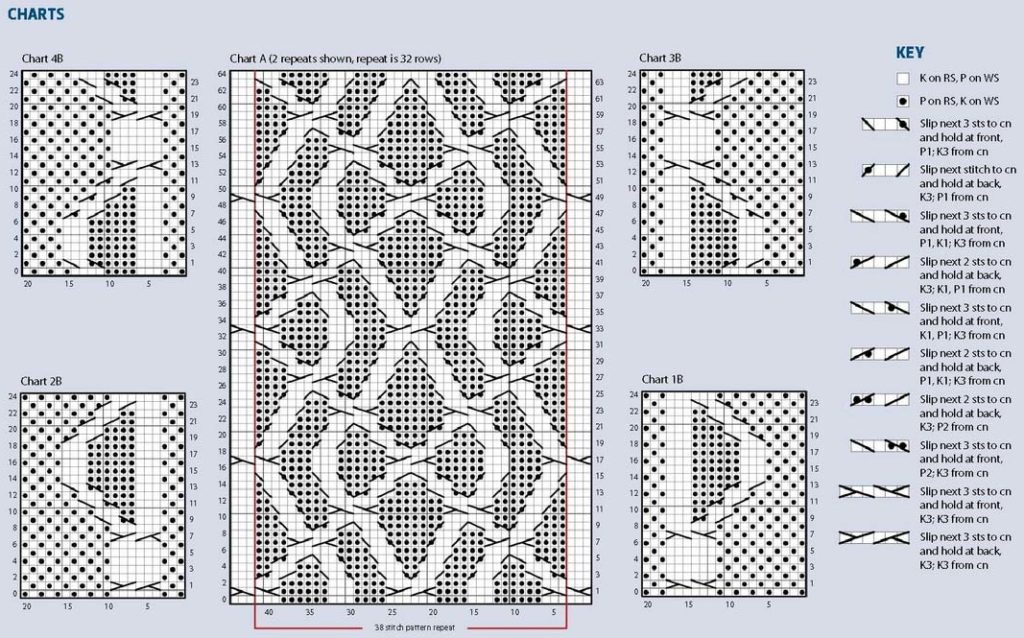
Attention! When starting to knit, calculate the exact location of the pattern. To do this, make a pattern on graph paper and draw a diagram on it.
Completing of the work
Further work is performed in accordance with the following description.
- For the back, cast on the estimated number of loops and tie 4 cm with a 2x2 elastic band.
- Next, knit the fabric in a pattern according to the pattern.
- Make decreases to form the armhole and neckline.
- Close the loops at a sufficient height.
- Knit the front piece in the same way.
- Sew shoulder seams.
- Tie the neckline 7 r. rubber band 2x2.
- Tie the armholes in the same way.
- Sew side seams.
Vest with buttons
A men's vest is often knitted with a fastener. The difference between this variation is the division of the front part into two parts and the implementation of fastener elements.
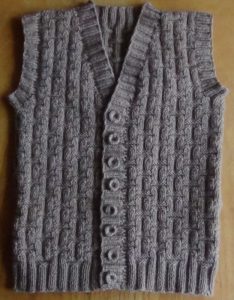
Scheme
To pattern a vest, you can use any basic drawing, dividing the front piece into two halves.
Completing of the work
- Cast on the estimated number of loops for the back and knit with a 2x2 elastic band about 5 cm.
- Next, knit the fabric in a pattern according to the pattern.
- Perform decreases for armholes.
- Make a reduction to form the neckline.
- For the front part, cast on the estimated number of loops for one half and knit about 5 cm with a 2x2 elastic band. Continue working with the pattern according to the diagram.
- At a sufficient height, make reductions for the armhole and the formation of the neckline.
- Make the second part in a mirror image.
Assembly
- Sew shoulder seams.
- Along the edge of the shelves and the neckline, cast on the estimated number of loops and knit 3 cm with a 2x2 elastic band. At the same time, on the left side, knit the holes for the fastener.
- Tie the edge of the floodplain 3 cm with a 2x2 elastic band.
- Sew side seams.
- Sew buttons.
Please your beloved man with a warm new thing made by yourself. Have a nice creative process and smooth stitches!


 0
0