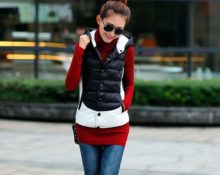
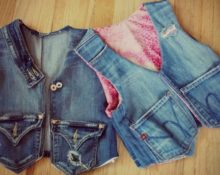
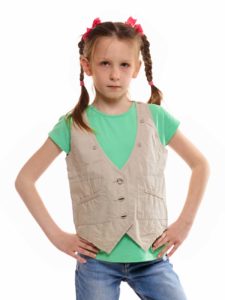
 A vest is a favorite wardrobe item that is loved by both adults and children. The vest can be worn to school in cool weather for warmth or made an effective addition to an outfit for a celebration.
A huge advantage of the vest is that you can make it yourself. The vest pattern is so simple that even a novice needlewoman who has no special skills can handle it.
Today we invite you to make a vest for your child yourself.
What you need for sewing
In order to sew a school or everyday vest for a girl with our own hands, we will need the following:
- fabric for the top and material for the lining;
- sewing machine;
- scissors for cutting;
- paper to make a pattern;
- threads, needles;
- buttons or other fasteners.
ADVICE. Don't forget about decorative elements. Rhinestones, buttons, stones, and appliqués work well.
Building a basic pattern
In order to get a high-quality school, sports, or holiday vest, you need to make a blank that will match the size of the child.
The measurements taken are transferred to the drawing. To begin with, draw the chest circumference, then mark half the back, armhole and half the front. In the upper part of the workpiece there is a cutout for the neckline and shoulder seams.
How to build a mesh
In order to create a pattern, we need accurate child data.
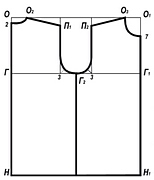
- Back neck. 5 cm + 0.5 cm are deposited to the right. 2 cm are deposited upward for any size. After that, the neck is outlined.
- Shoulder line. 1.5 cm is laid down and the shoulder line is drawn according to the measurement.
- Back opening. The workpiece is divided into three parts and the armhole line is drawn as indicated in the drawing.
- On the front part, you need to make a slope on the shoulder - 1 cm.
- It is necessary to make darts on the sides. Don't forget to allow seam allowances.
Modeling tank tops
Based on the resulting pattern, you can make a blank for any model, for example, a practical school vest. If desired, it is easy to change the shape of the neck, make it round, rectangular or curly.
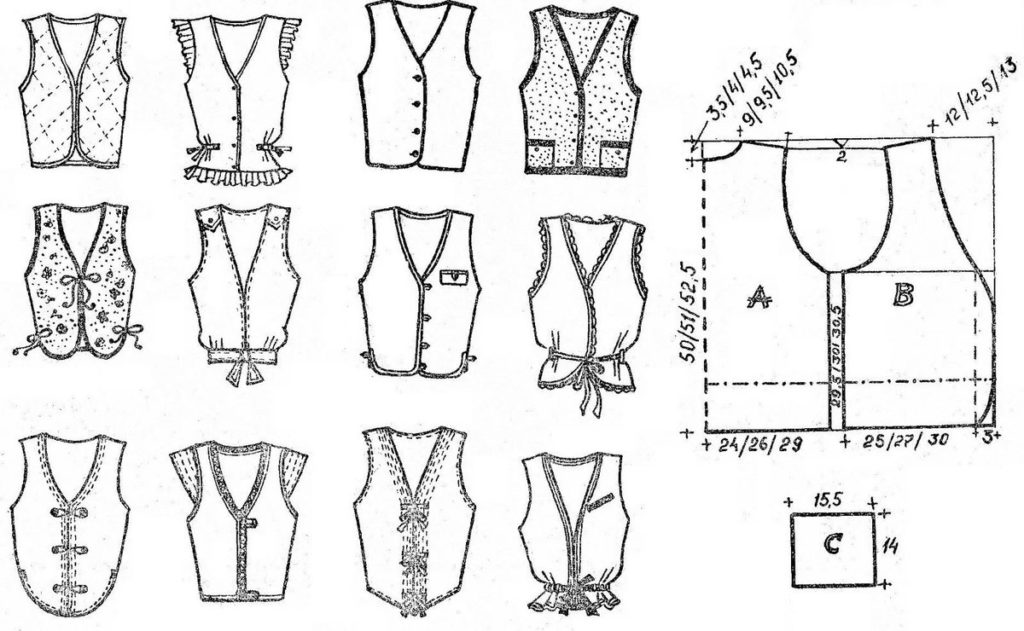
The products also differ in darts. They can be either traditional or embossed.
If the difference between the bust and waist circumference is insignificant, then there is no need to make darts. You can put an elastic band along the back to make the product fit better.
After completing the pattern, you need to compare the child’s waistline and the one obtained from the pattern and add a couple more cm to the looseness of the fit. If the workpiece turns out to be a little smaller, then it is necessary to reduce the size of the darts.
The bottom line is another opportunity to change the model.It can be elongated or shortened, simple or figured, and have pointed or rounded corners on the shelves.
Fantasize with a paper drawing, and in the end you will get an interesting thing that you will be happy to wear!
How to cut correctly
If you plan to sew a vest with insulation, then 2 cm for a loose fit will not be enough. For other models, this gap is enough.
School vest pattern
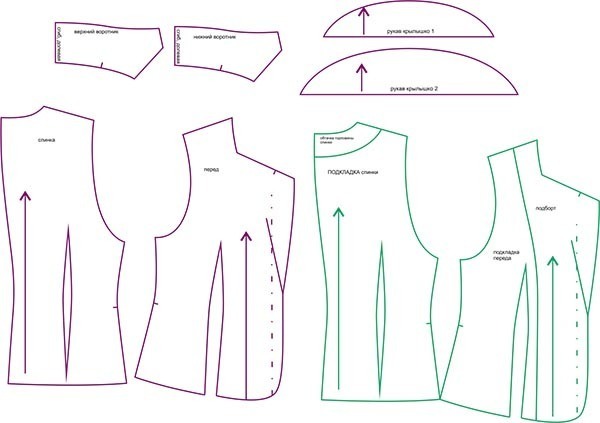
Using our pattern you can cut out the lining, main fabric and insulation.
Stages of work
Attention! All pockets are made before sewing on the lining. Decorative elements are sewn on last.
- Raised seams are made, then they are thoroughly ironed.
- If there are pockets, they are made in a frame and also ironed.
- Next, the shoulder and side seams are made and carefully smoothed.
- After this, the lining is sewn together. First of all, the lining is attached to the neckline and collars.
- After this, the product is stitched along the bottom edge. Turns right side out.
- Next, the armholes are processed. Loops are sewn, a lock or buttons are sewn.
Finishing
A vest is not only a very convenient wardrobe item, but also an excellent addition to your look. Depending on the style, it can be worn on a blouse, T-shirt or shirt, or on a dress. In order to make a beautiful product, do not forget about such an important point as decor.
Embroidery
Embroidery can be an excellent decoration for a vest for a girl., made with your own hands. It can be done either along the entire back or on the sides of the product.
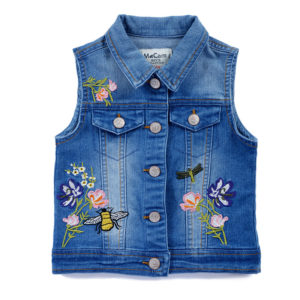
You choose colors and patterns at your discretion. First you need to decide for what occasions the product is being manufactured.For example, for school, discreet plain embroidery will be enough. And for a walk and visiting clubs, you can make a very bright little thing. Such wardrobe elements look stylish, and no one in the group or class will have the same clothes.
Beads, beads, sequins
You can also decorate the vest with beads and sequins. First you need to choose a design that will look beautiful on children's clothing.
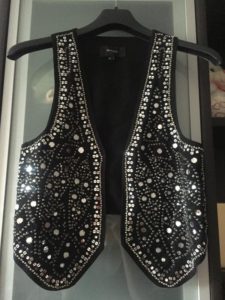
ADVICE. The simplest option may be a simple flower or butterfly with a small number of colors.
A vest made of dense material can be decorated with massive beads. Or choose a design and embroider a pattern from multi-colored beads.
This is an option for mothers who have a lot of time, because the work is quite painstaking. But the result is worth it!
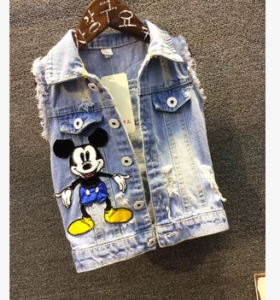
All children love cartoons, and the child will definitely be happy if mom embroiders her favorite character on her vest. For a children's vest, you need to find your favorite character on the Internet, make a sketch from which you can embroider a beautiful picture. This vest will look stylish on a child.
Application
You can decorate the sides of the vest with fabric flowers of different colors. A suitable material would be leatherette or leather in bright colors..
To do this, you need to cut out simple flowers from the canvas. Each flower is sewn in the middle. This decoration looks quite bright and unusual.
ADVICE. For a school vest, it is appropriate to use the emblem or number of the educational institution as decoration.
Features of constructing a fur vest pattern for a girl
Over the past few years, fur vests have been very popular.There is absolutely no need to spend a lot of money to buy a new thing for your daughter, because you can make it yourself.
A vest made from fur with your own hands is, of course, an outfit that will be in a single copy. She will not leave anyone indifferent!
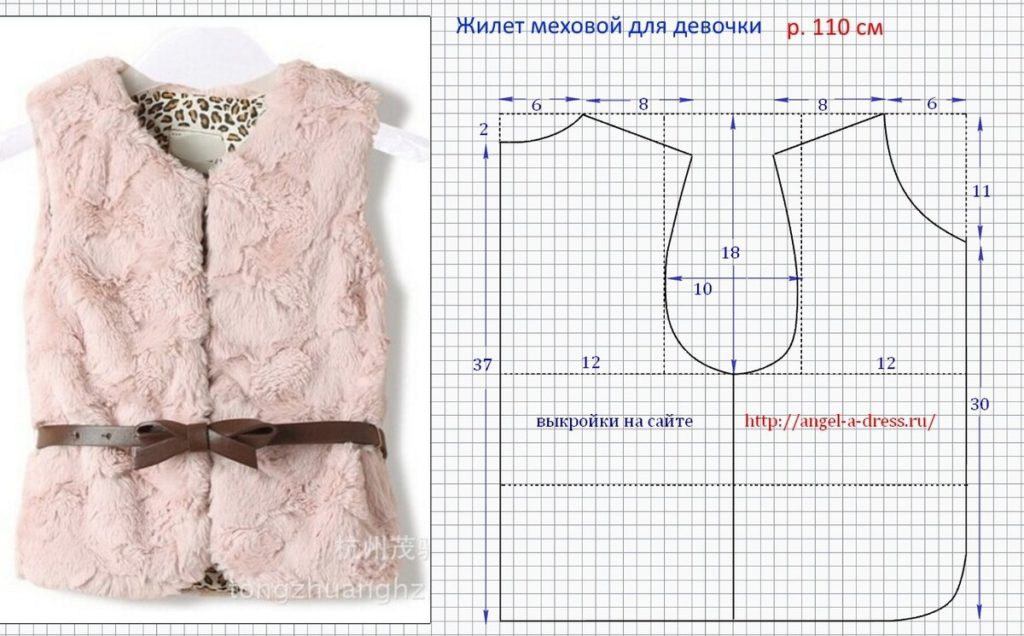
An old fur coat is suitable for making a fur product, but you can also purchase a piece of faux fur in a store. On store shelves there is a large amount of multi-colored faux fur at an affordable price. Such a vest will cost several times less than buying it ready-made in a store.
This fabric is easy to wash and there are no difficulties during sewing.
Buy the material with a reserve, because the fabric is voluminous and you will need a little more of it than to make a vest from ordinary fabric. Using this pattern you can also make a quilted vest for your child.
- Please note that the shelves do not have a calculated distance for the fastener. ZThe vest can be fastened with hooks, a lock, or simply tied to a belt. If you want to sew on buttons, then allow an allowance of 2 cm on both sides for the fastener.
- Cutting out a fur vest, allow a seam allowance of 1.5 cm.
- When cutting out the lining, allow a 1 cm seam allowance..
- Don't line your fur vest too thickly.. Maintain the plasticity and lightness of the product, and then it will look much more impressive.
Even a novice needlewoman can make a vest for a girl if she follows the recommendations and is patient. I wish you creative success!


 0
0