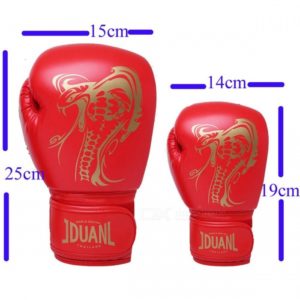
Boxing gloves are a necessary attribute for an athlete. They protect the skin of the hands from abrasions of the fighter himself and protect his opponent from injuries during competitions and fights. The first gloves were used in boxing competitions in 1895 in England.
Is it possible to make them yourself?
 For those who do not have the opportunity to purchase them for regular or home workouts, we will tell you how to do them with your own hands from scrap materials at home. With minimal knowledge of sewing skills, you can create real sports equipment.
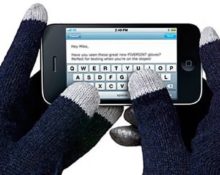
When working, it is better to give preference to natural leather, as it has excellent wear resistance and excellent breathability.. Gloves should fit tightly around the hand without squeezing it. Because cotton or elastane bandages are wrapped underneath them to prevent dislocations and sprains.
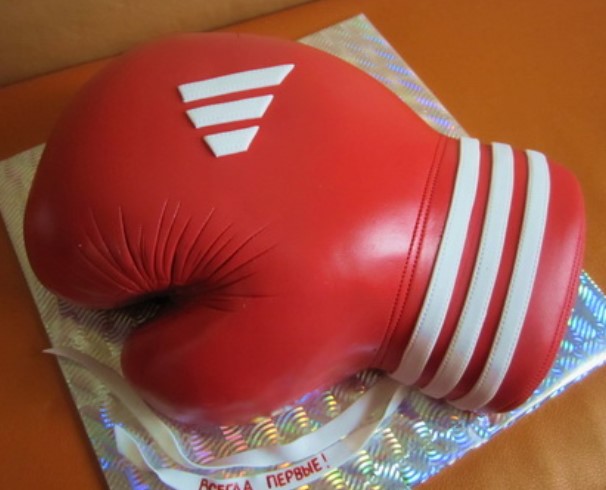
If you need a souvenir in the form of such gloves, they can be made from ordinary polymer clay, and for a cake - from mastic:
What is needed to make leather gloves?
- natural or synthetic leather, polyurethane, mixed fabrics (available in stock);
- sewing machine;
- threads;
- scissors;
- synthetic winterizer or foam rubber;
- marker;
- a piece of cotton fabric;
- cardboard patterns;
- rubber;
- Velcro fastener;
- lining twill.
How to make a pattern?
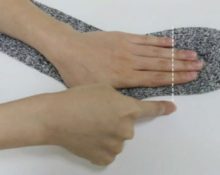
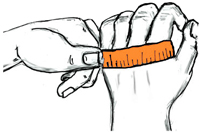
First you need to take measurements: width, palm length and wrist circumference. On cardboard, draw a pattern of all the necessary parts (you can trace your hand with a pencil, taking into account the loose fit):
 top of glove:
- bottom;
- the lower and upper parts of the thumbs;
- fastener cuff;
- strips for edging;
- facing cuts.
 top of glove:
Important! When making patterns, do not forget to add approximately 7-10 mm on each side for seam allowances.
The process of creating gloves step by step
 We make blanks for each part, 2 pieces in a mirror image.
- We bend the edges of the cuff by 0.5 cm and fold it in half and sew it together. Before reaching the edge, we grind the stitching part of the Velcro and at the same time sew off the second side.
- Sew a finger to the top part. We turn it inside out and add a finishing stitch of 5 mm.
- We fix the seal on the wrong side at the level of the finger. Adjust the soft part of the Velcro.
- We mark cuts on the palms, apply a lining of cotton fabric and sew a stitch. In the center we create a cut with a curve at the bottom to adjust the fastener. We sew on an elastic band that will secure the glove on the hand. We sew the finger part together with the lining, turn it inside out and add a finishing stitch.
- We place strips of leather on the upper sections of the gloves and sew them simultaneously along the edges and the cuts.We turn the facing inside out, skip a decorative stitch, edging the cuts. Don't forget to secure the seams at the ends.
- We cut off excess leather along the facing line. We skip a line under our fingers. Cut out a piece of sealing about 1 cm and sew it between the palm part and the lining at the inner fold.
- Sew the fingers to the bottom of the lining. We assemble the finished parts of the upper and lower lining. We connect only them without touching the skin.
- Now we begin assembling all the received parts. Place the top and bottom right sides together. We attach the Velcro fastener to the cuff with the Velcro facing down. We place the edge along the top part, first gathering it with a thread or making small tucks using tweezers. We do not grab the lining.
- Place a strip of leather or braid over the roller and secure it. This will be the bridge between the finger and the palm.
- Having reached the wrist, place the second half of the Velcro closure down.
- Turn the gloves right side out and straighten them. Now you need to stuff them with foam rubber wrapped in lining fabric. We place it inside between the upper part of the finger and the lining. We do the same with the back of the hand.
- We make a fastening stitch under the Velcro so that the lining does not pull up. Sew the piping to the cut. Our gloves are ready.
 We make blanks for each part, 2 pieces in a mirror image.
 0
0