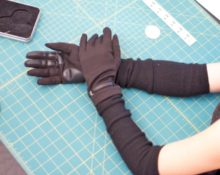
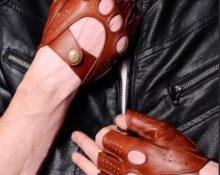
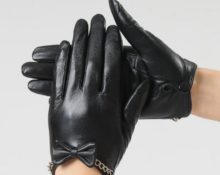
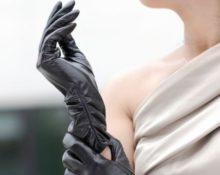
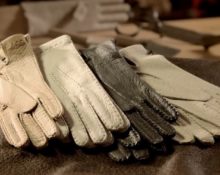
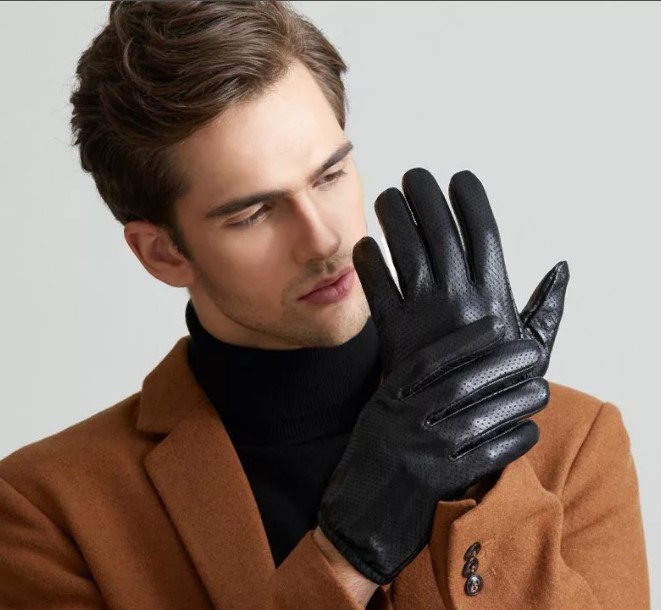
 Gloves are universal, depending on the material, they can complement a coat, tracksuit or evening dress. Gloves are made from various materials - from lace to thick leather, but in any design they should be comfortable. These leather products are worn by both men and women, creating an elegant addition to a stylish look.
What kind of leather is suitable for gloves?
There is even a special term “glove leather”. It is elastic, durable and thin, but holds its shape perfectly. As a rule, glove leather obtains these properties through a special dressing process that differs from that for belts, bags, and shoes.
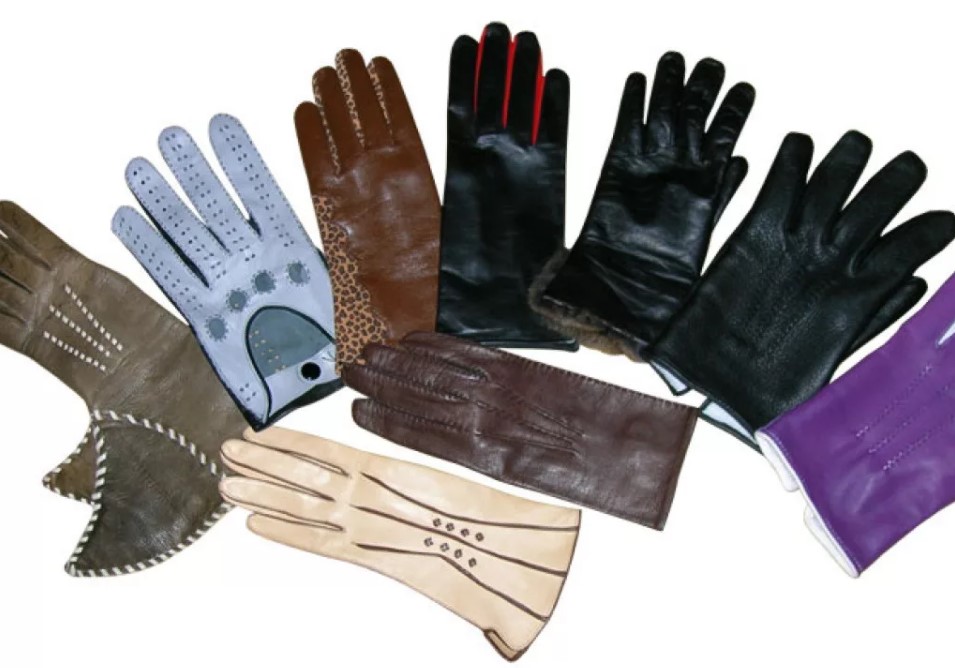 Main types:
- Lamb leather. Soft, highly elastic. Used when sewing expensive products.
- Goatskin. Often found, thicker and rougher than the previous type, but much cheaper.
- Deerskin. Thick but soft type of material, interesting pattern, warm skin.
- Pigskin. Cheap, but quite rough. Used for sewing winter gloves with fur.
- Suede. Capricious material, thin and velvety. Made from various types of leather. Luxury class evening gloves are made from the finest suede.
Tools
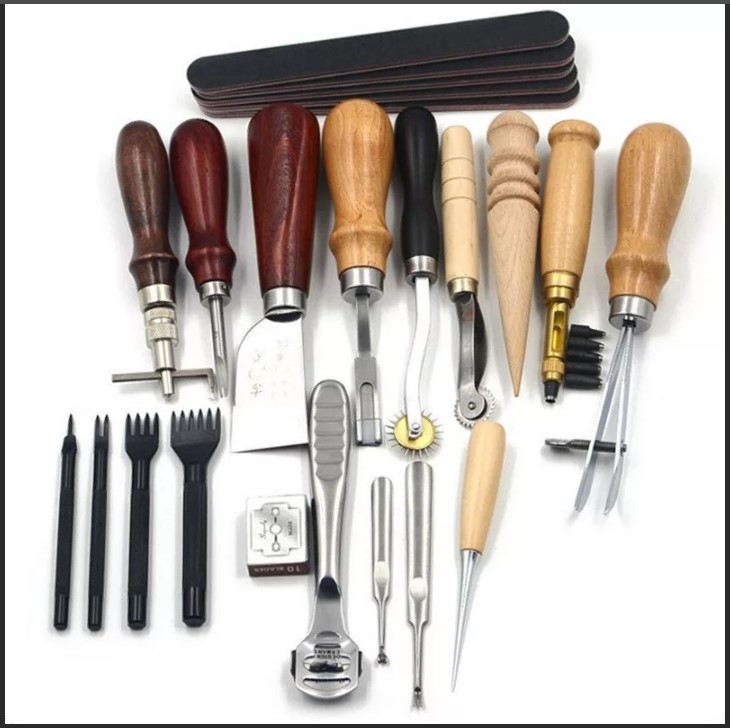 If your sewing machine can sew leather, then the gloves will be indistinguishable from those produced in a factory. Most older machines are capable of stitching glove leather. It is advisable to purchase a special Teflon foot for leather, as well as a triangular sewing needle.
We will need:
- sharp knife;
- a wheel with needles for marking holes;
- thin awl;
- glue;
- sewing needle;
- matching or contrasting threads;
- ruler.
Important! All the holes made remain on the skin, therefore, it is not swept away and is not fixed with pins if absolutely necessary.
How to sew leather gloves with your own hands?
The patterns for men's and women's gloves are similar; it is important to take the measurements correctly.
Glove pattern
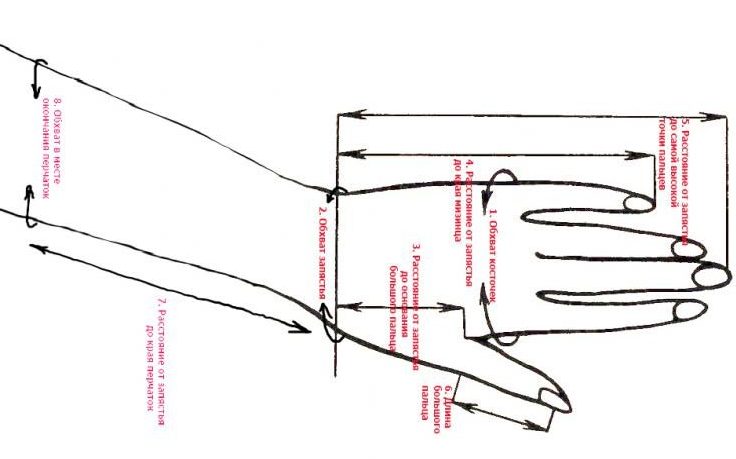
Step-by-step construction of a pattern:
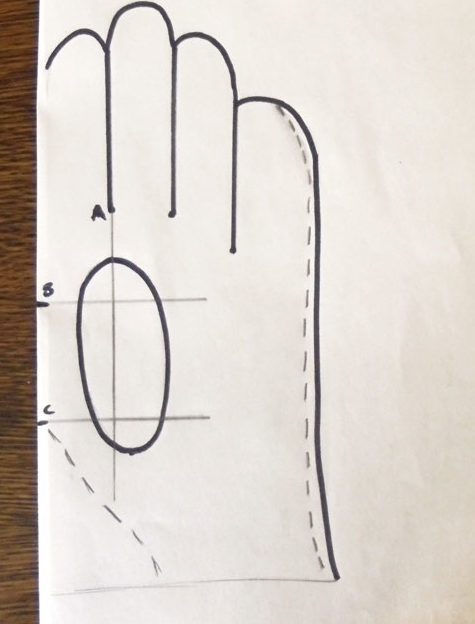
- We place the hand on the paper so that the fingers are closed and the thumb is positioned as freely as possible.
- We outline the outline of the hand.
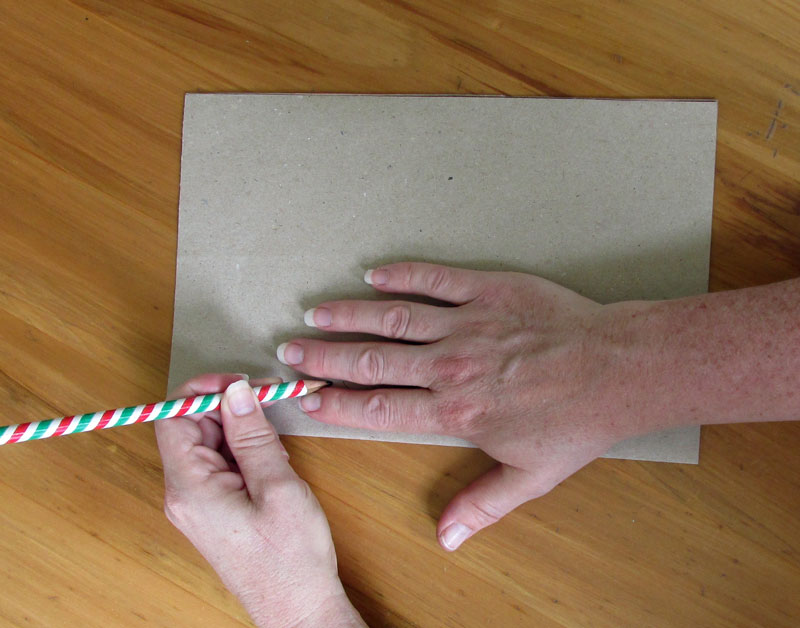
- The point where your index finger meets your thumb should be in the middle of your paper.
- We mark the junctions of the bases of the fingers with dots.
- Place a ruler between your fingers, then draw straight lines from these points to the tips. All lines must be parallel.
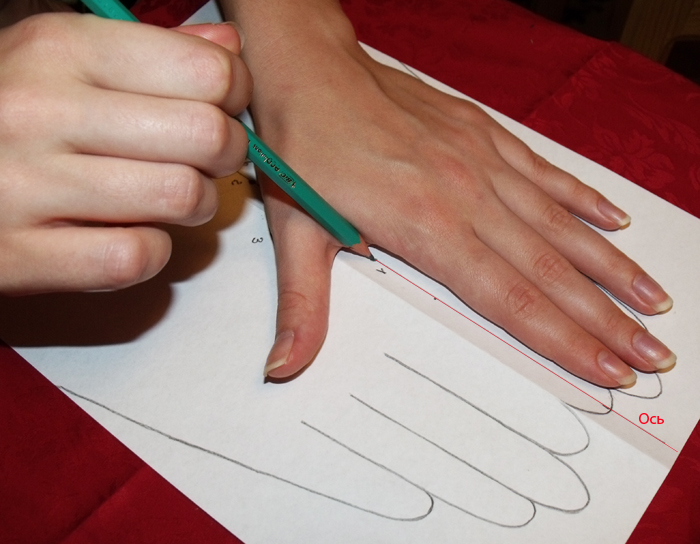
Add 5 cm to the length of the pattern.
- Carefully outline the resulting drawing.
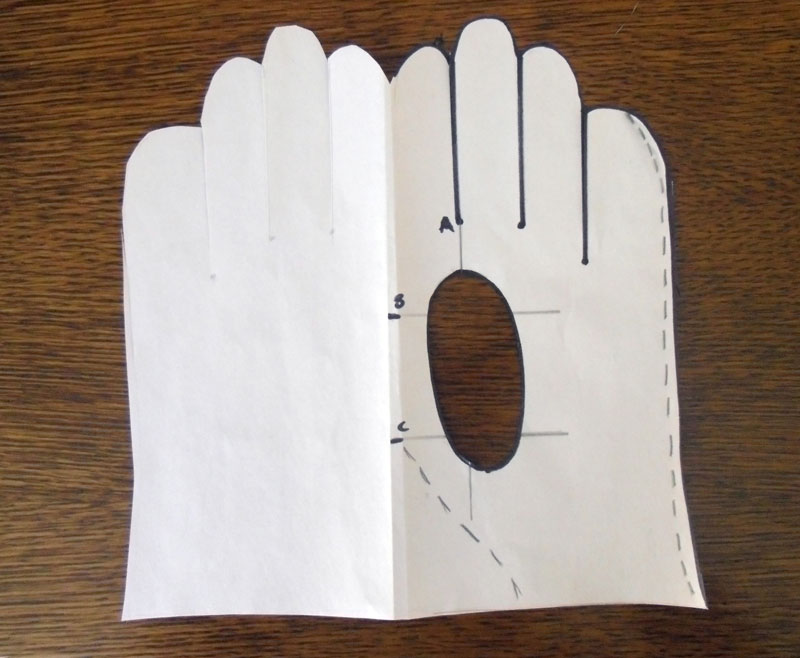
- Fold the paper in half so that the edge of the index finger is the edge of the fold. We lose the part with the thumb.
- We cut out the blank on both sides of the sheet at once.
- We get a one-piece glove blank.
- We make a slot for the thumb.
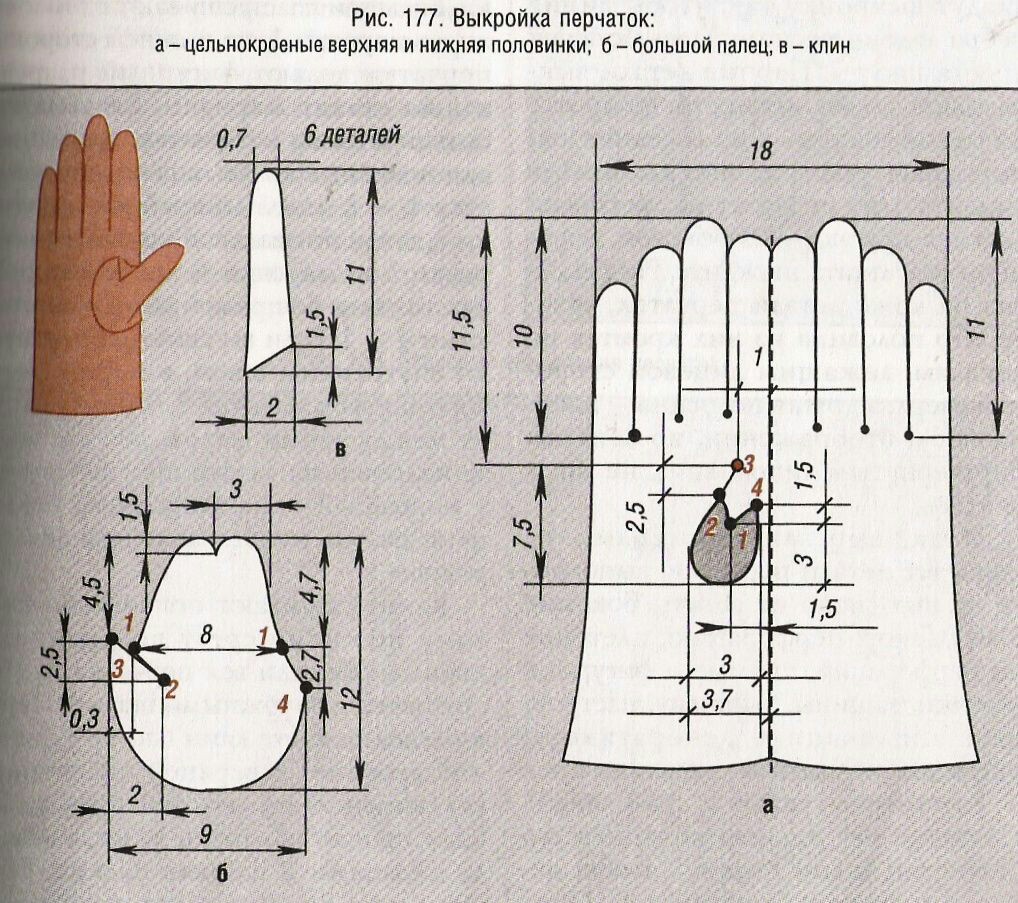
- To obtain an accurate pattern of the thumb, it is better to wrap it separately in paper and make all the necessary adjustments.
- To obtain a hole, apply the pattern to the brush, then determine its position. The shape can be oval, or, as in the pattern with dimensions, complex.
- In the case of a complex shape, do not forget to add the necessary area to the thumb drawing.
- We make the sides (gussets) of the fingers; to do this, we trace their contours on paper. First one hand, then the other.
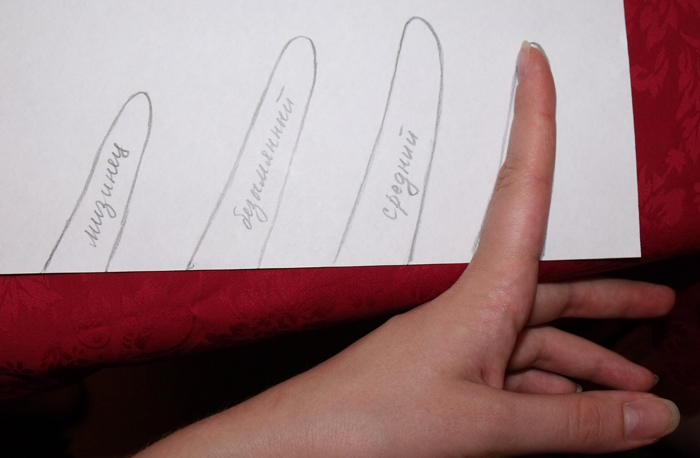
- We connect the gusset of the index finger with the middle finger, the middle finger with the ring finger, and so on.
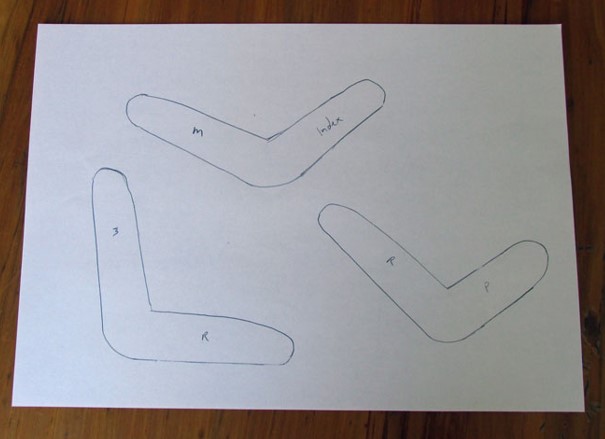
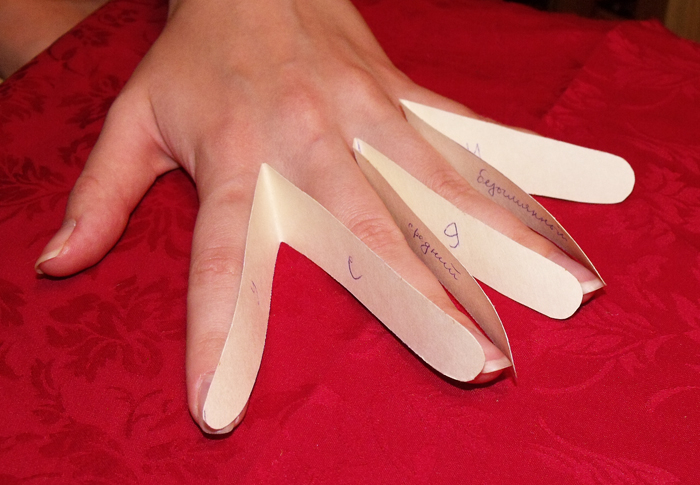
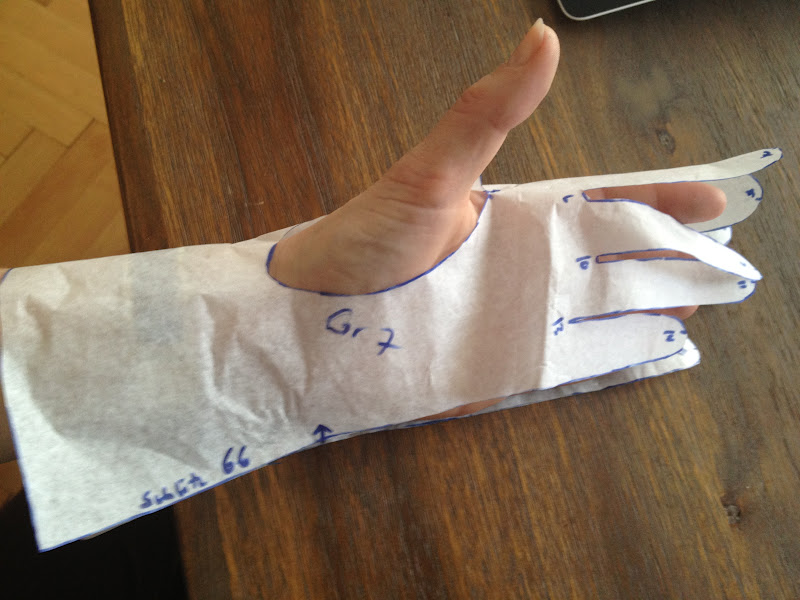
Let's try on the resulting pattern.
Uncover
It is important to avoid natural holes in the leather, as well as edges and abrasions, as the quality and density of these areas is worse.
- We lay out the parts on the skin and shallow them.
- Cut it out.
- Do not forget that the gloves are paired, which means that all details must be duplicated and mirrored.
Important! Decide how you will sew the product - on the front side or the back, it depends on how you will fold the parts.
Sewing
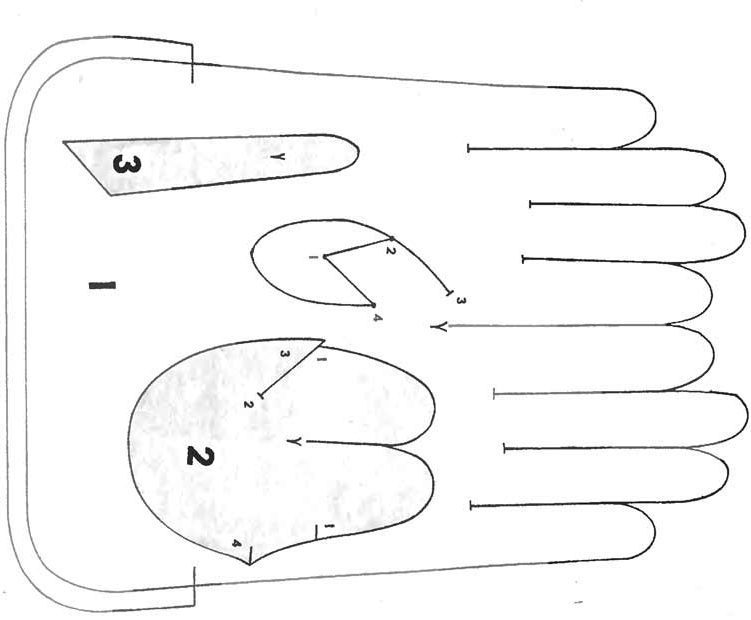
It is assumed that sewing is done from the wrong side on the machine.
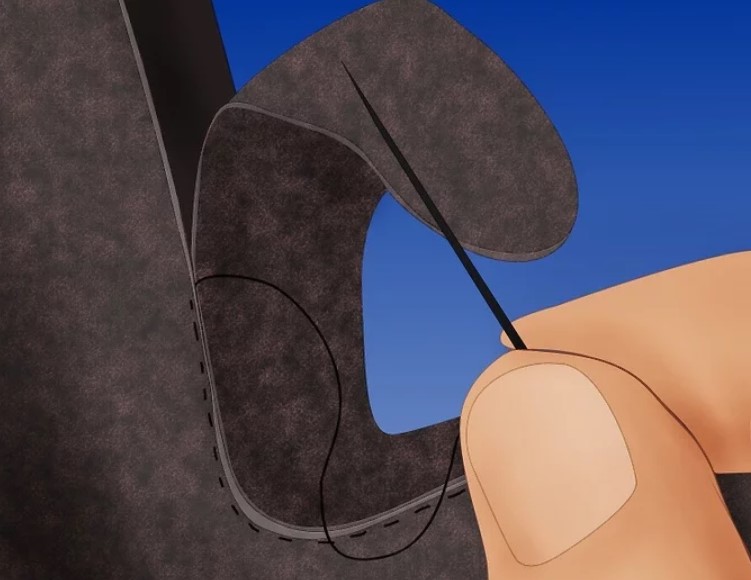 Stages of work:
- We sew in the gussets of the fingers.
- Sew the side seam.
- We bend the blank for the thumb in half and stitch it.
- The bottom is open.
- Turn it inside out.
- We cut the corner.
- We match the seams of the index finger and thumb.
- We pin the thumb blank in 1-2 places with a pin, or attach it with a short-lived glue stick.
- Let's try on the glove.
- We sew in the thumb detail.
- We process the bottom cut of the glove.
- Let's try it on.
- We make the second glove in the same way.
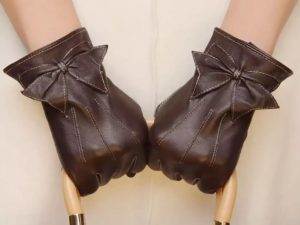
Decor
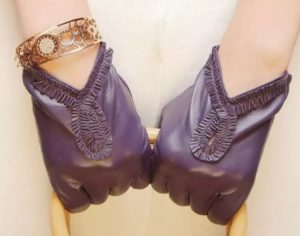
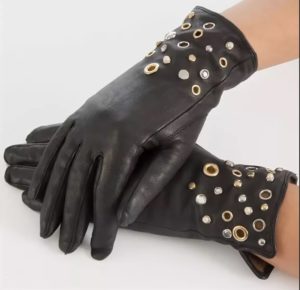
You can use the following as decoration for gloves:
- Embroidery, including beads and bugles.
- Applications, including leather.
- Brooches, chains.
- Tassels, laces, edgings.
Various modeling of gloves based on the basic pattern is possible.
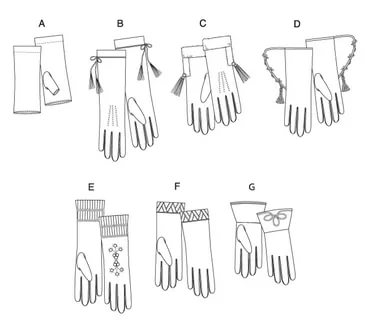
Having convenient glove patterns for your hand, you can easily make a variety of glove models for any occasion.


 0
0